Listing
Organize resources, products or other content in beautiful filterable listings. Not to be confused with the blog listing page. This is not a replacement for your blog layout.
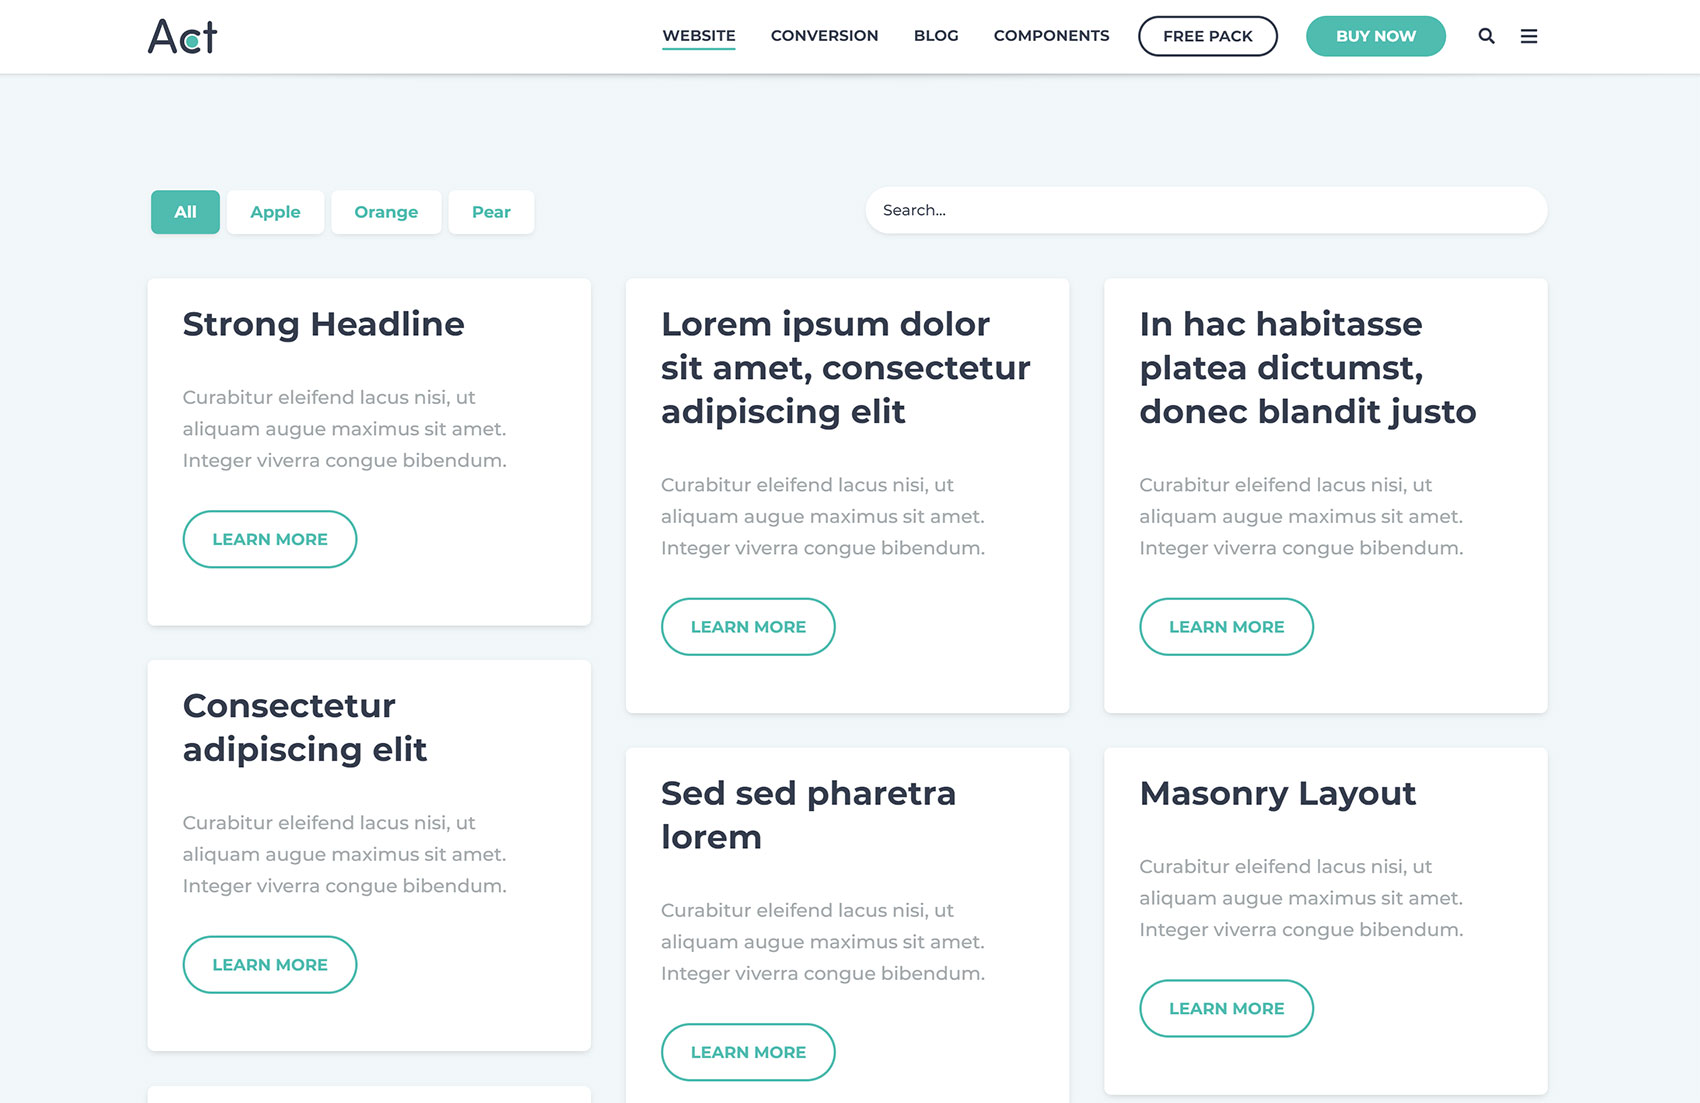
There are two methods for building a listing:
- Flexible Listing, using the HubSpot Flexible Column module, recommended if you plan to quickly add single modules at the page level
- Advanced Listing, for more complex item layouts and content choices (listing items that can contain multiple modules and groups), that requires editing the template to add, remove or reorder items. The content of individual modules can be locked in the template to avoid making changes in two places (page and template)
1. Flexible Listing
This method is already applied on Act21 Flexible Listing template and is recommended if you plan to quickly add single modules at the page level in a Flexible Column module.
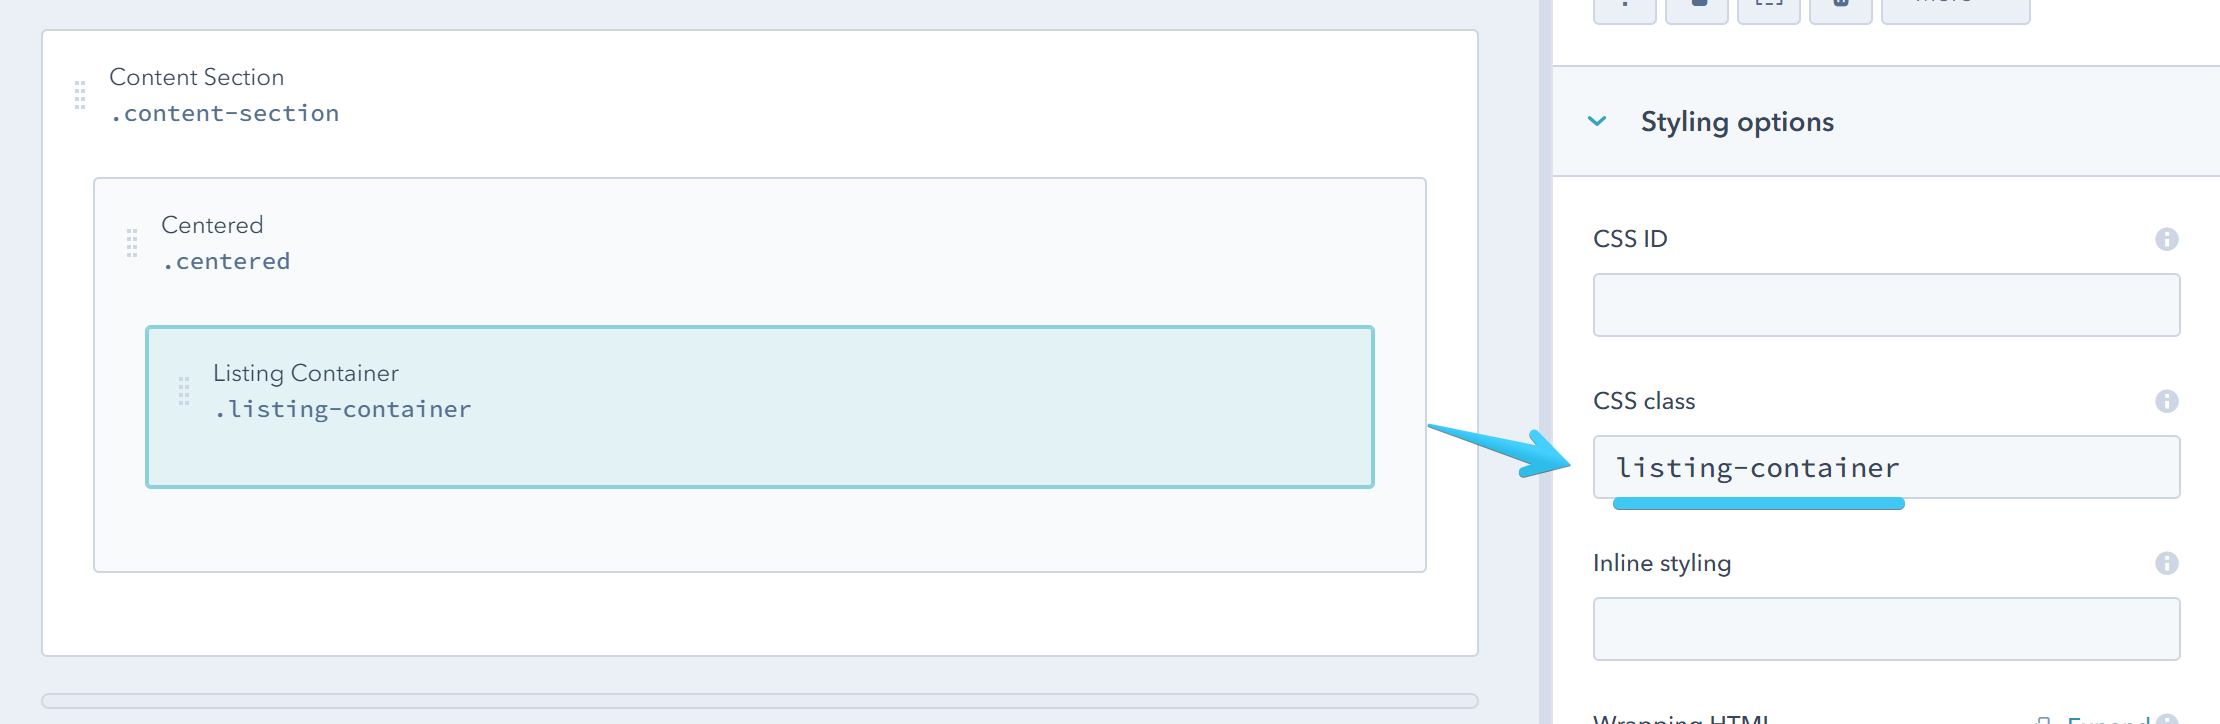
Listing Container
Add a group with this class listing-container
By default the items are placed in a masonry layout that optimizes the use of space by reducing any unnecessary gaps, placing the next item at the highest availabe point in the layout, even if that's just a few pixels above the others:
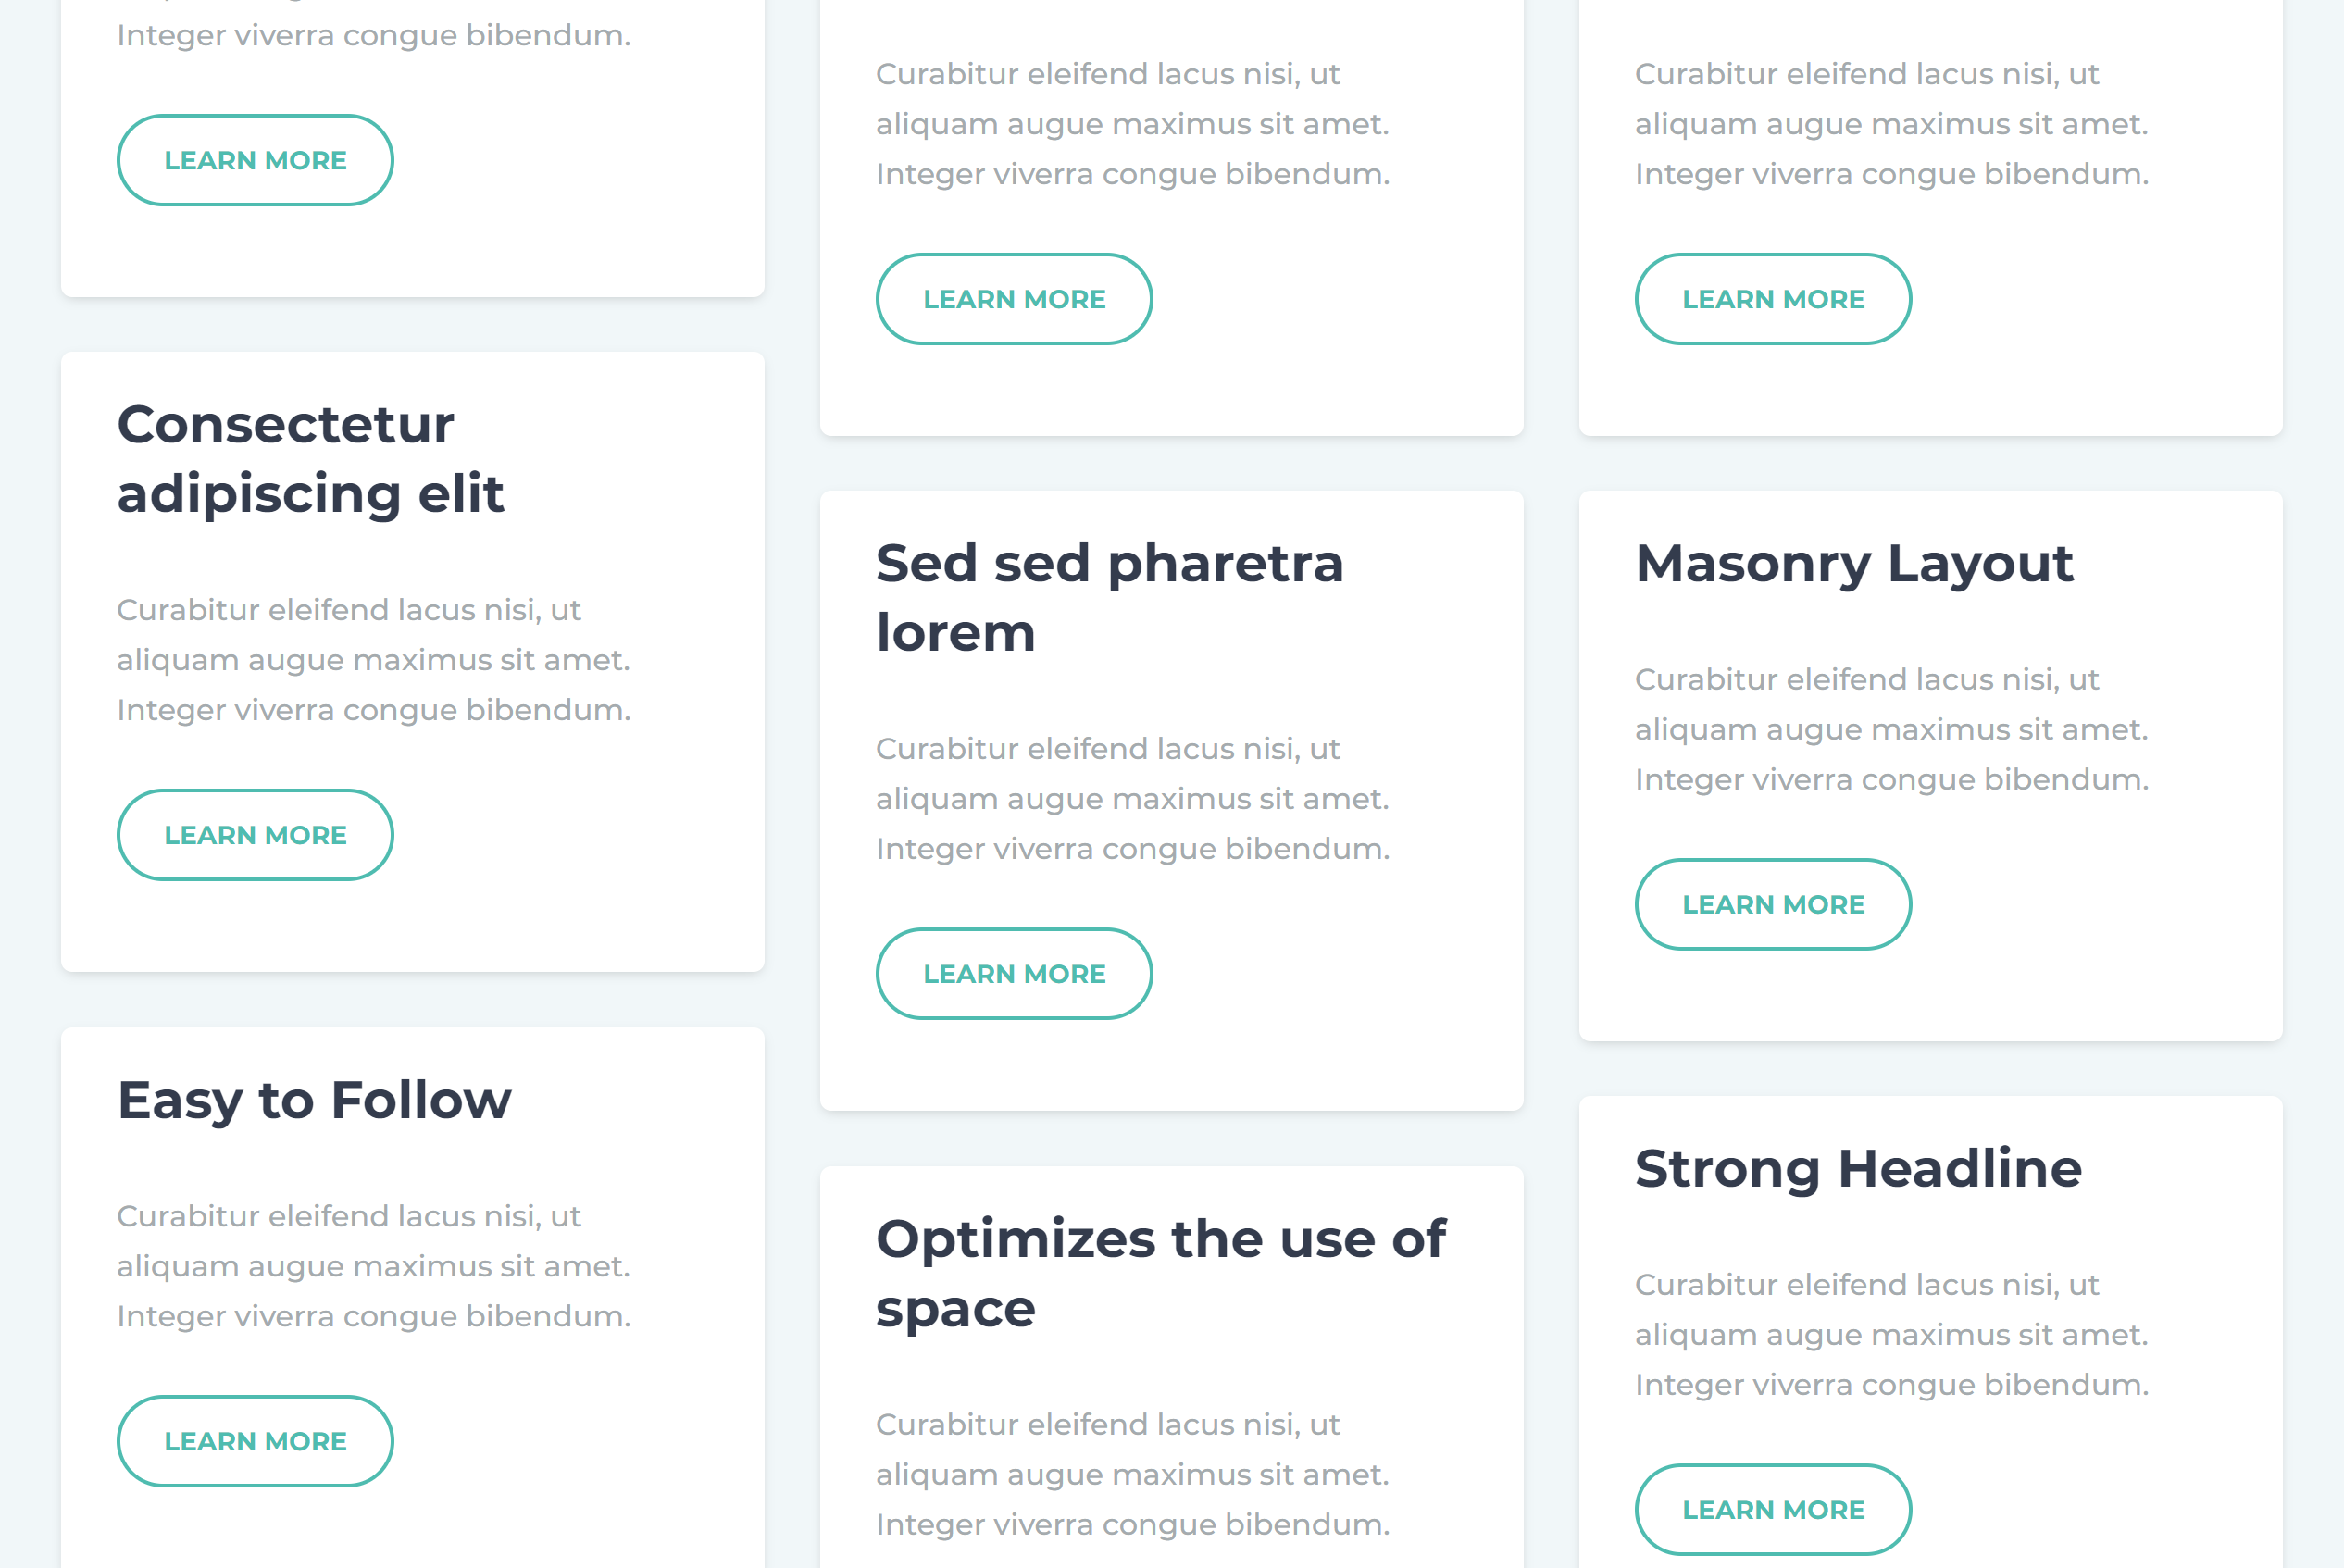
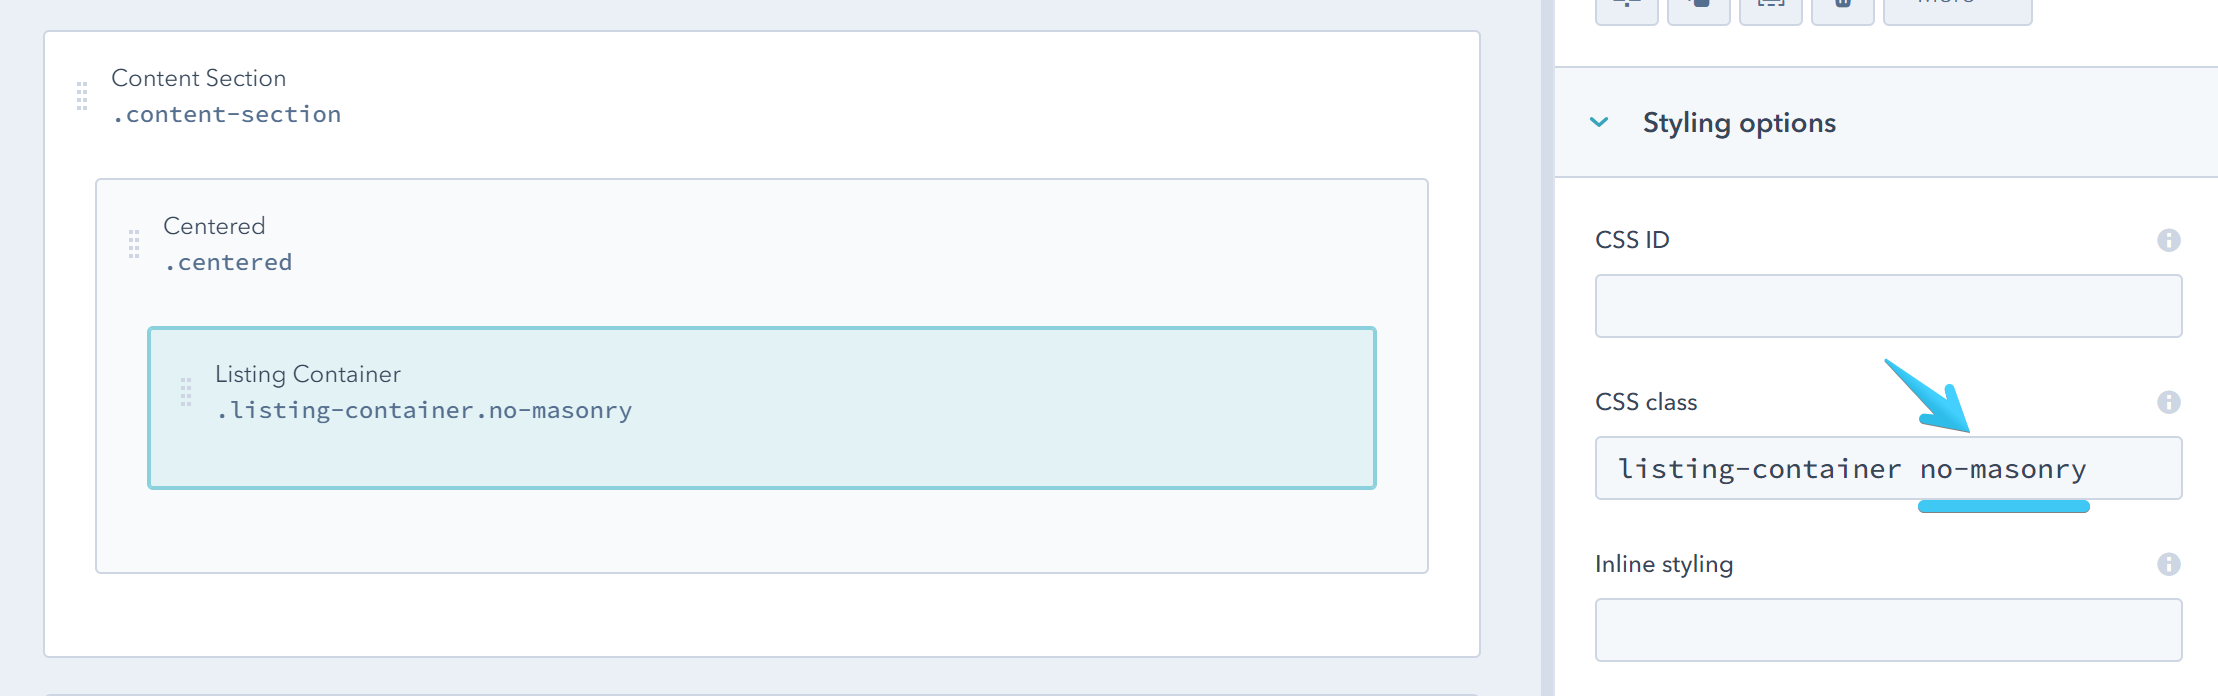
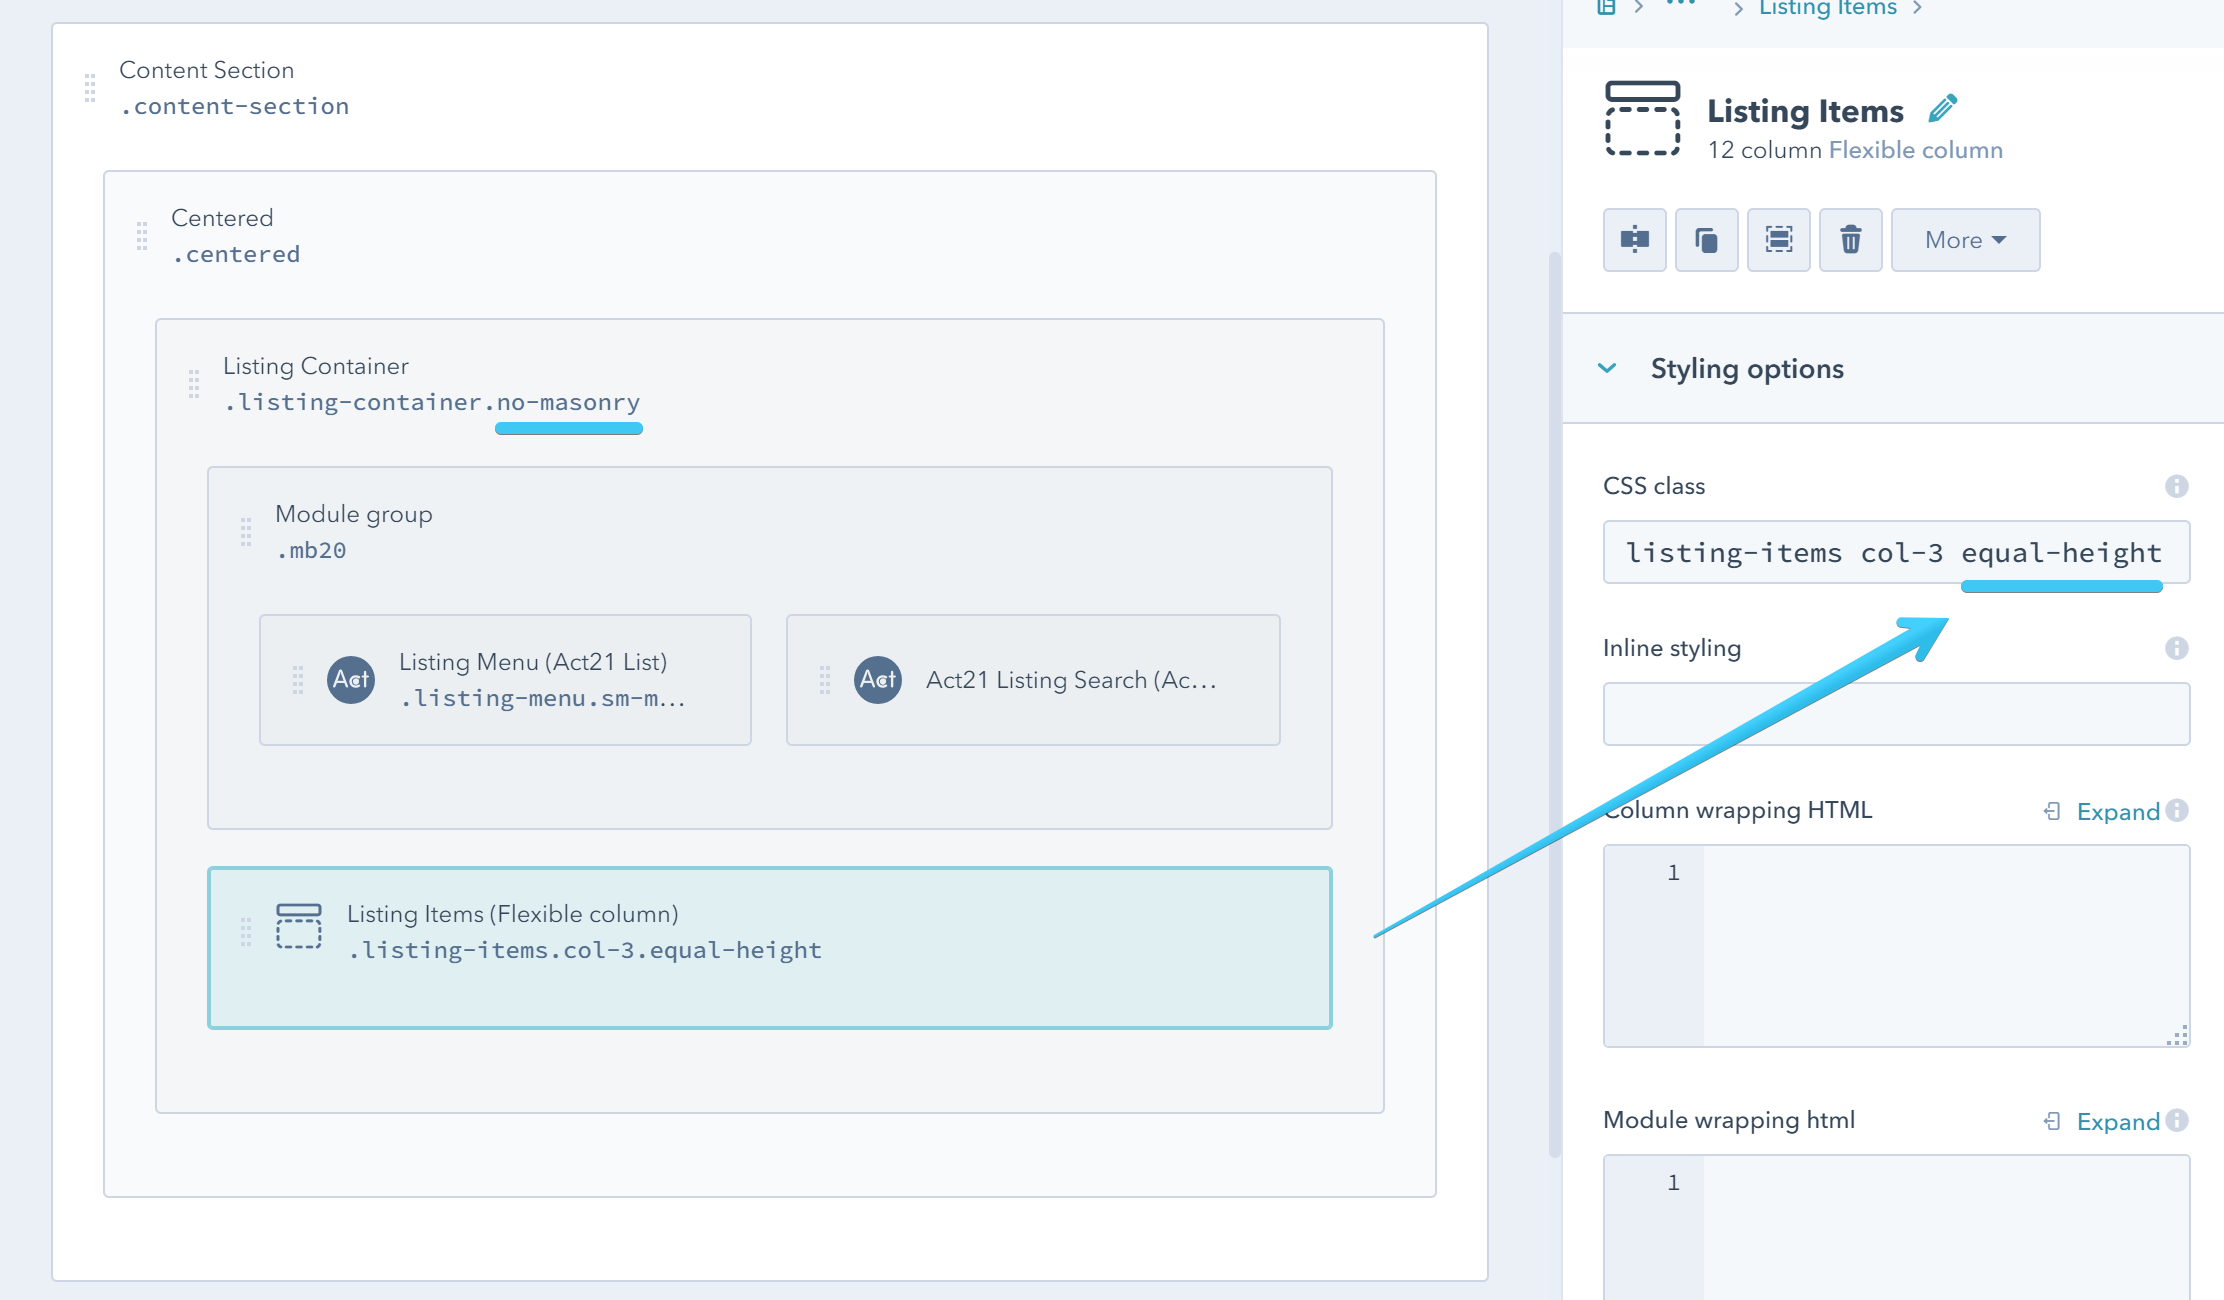
You can disable the masonry layout by adding this class no-masonry to the Listing Container:
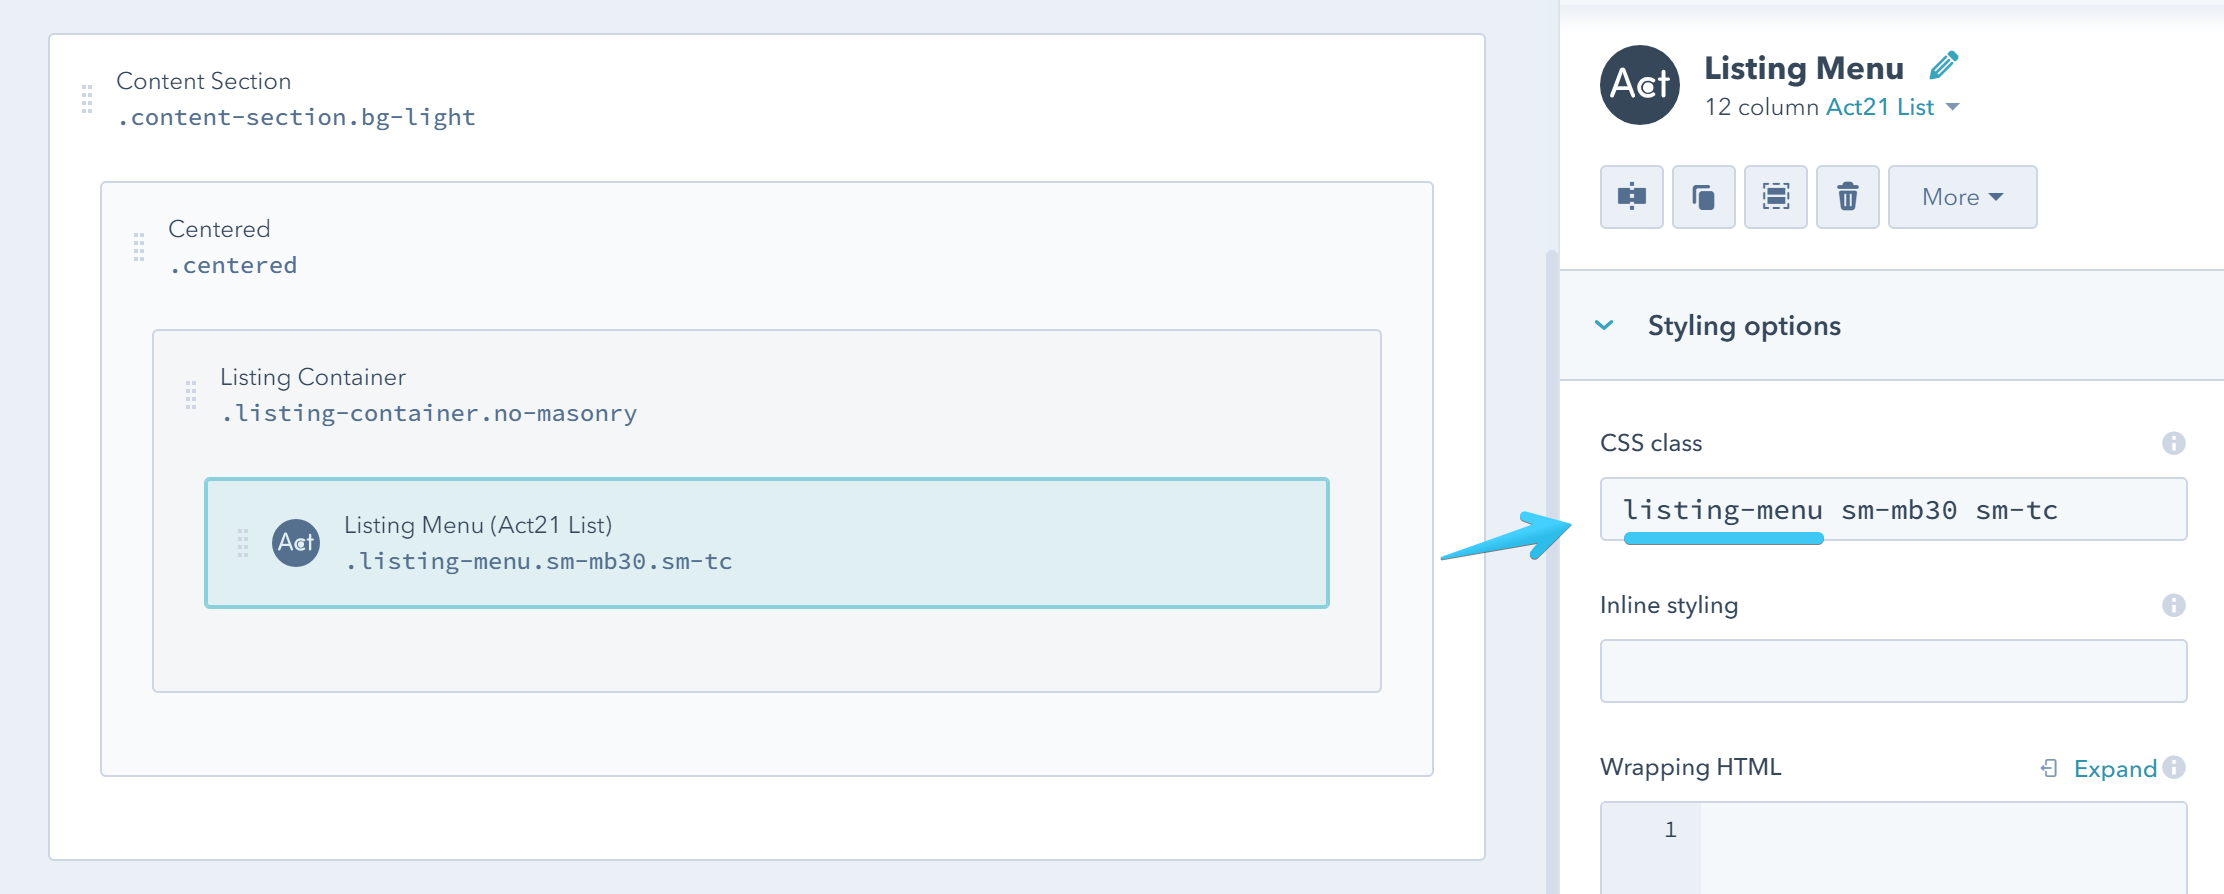
Listing Menu
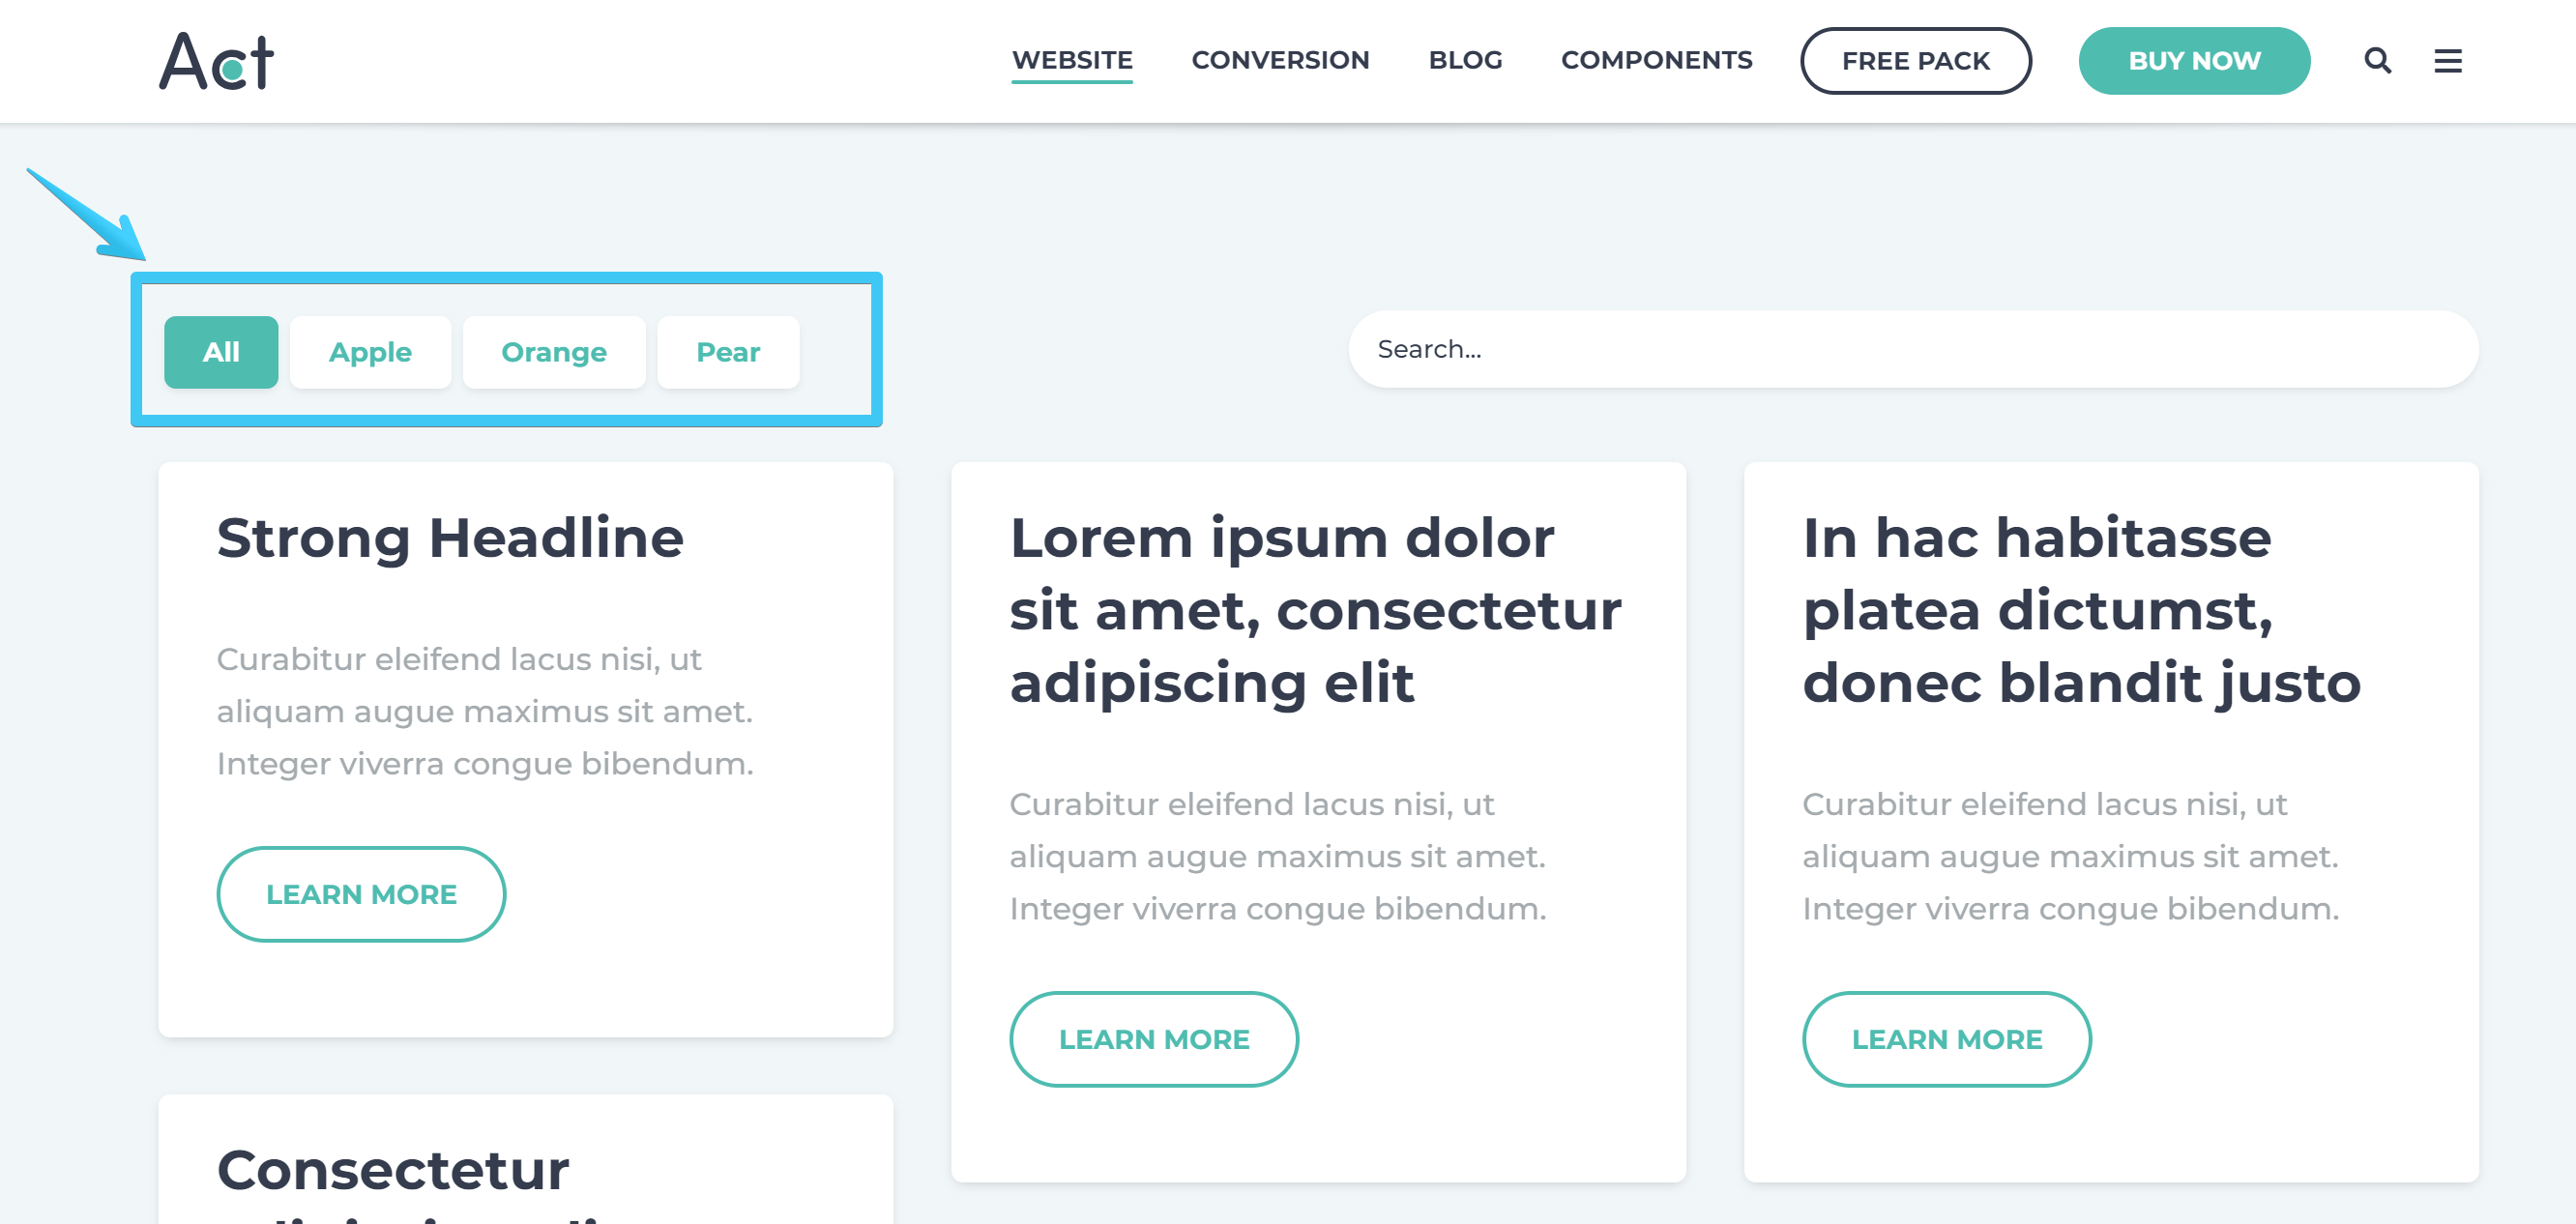
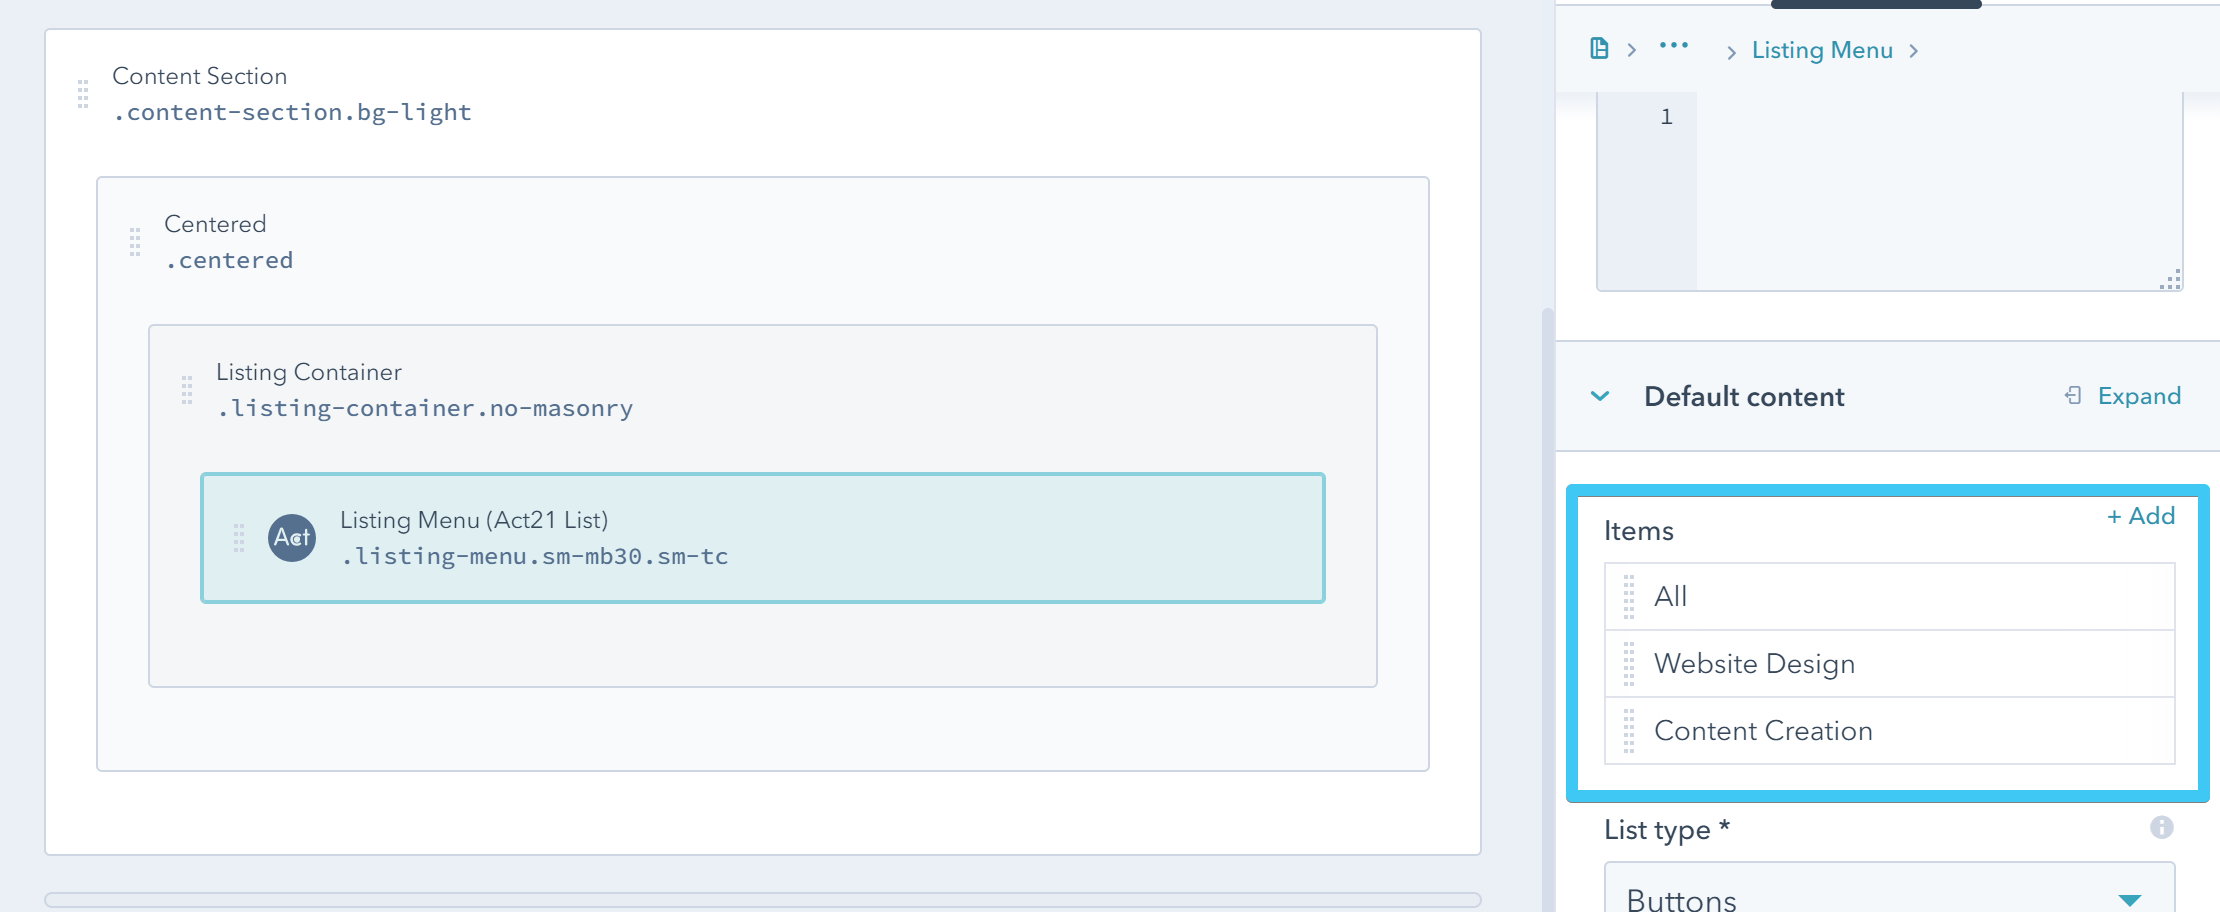
Add one Act21 List module, or any module/group that can contain links, anywhere inside your Listing Container group (except Listing Items) with these classes: listing-menu sm-mb30 sm-tc
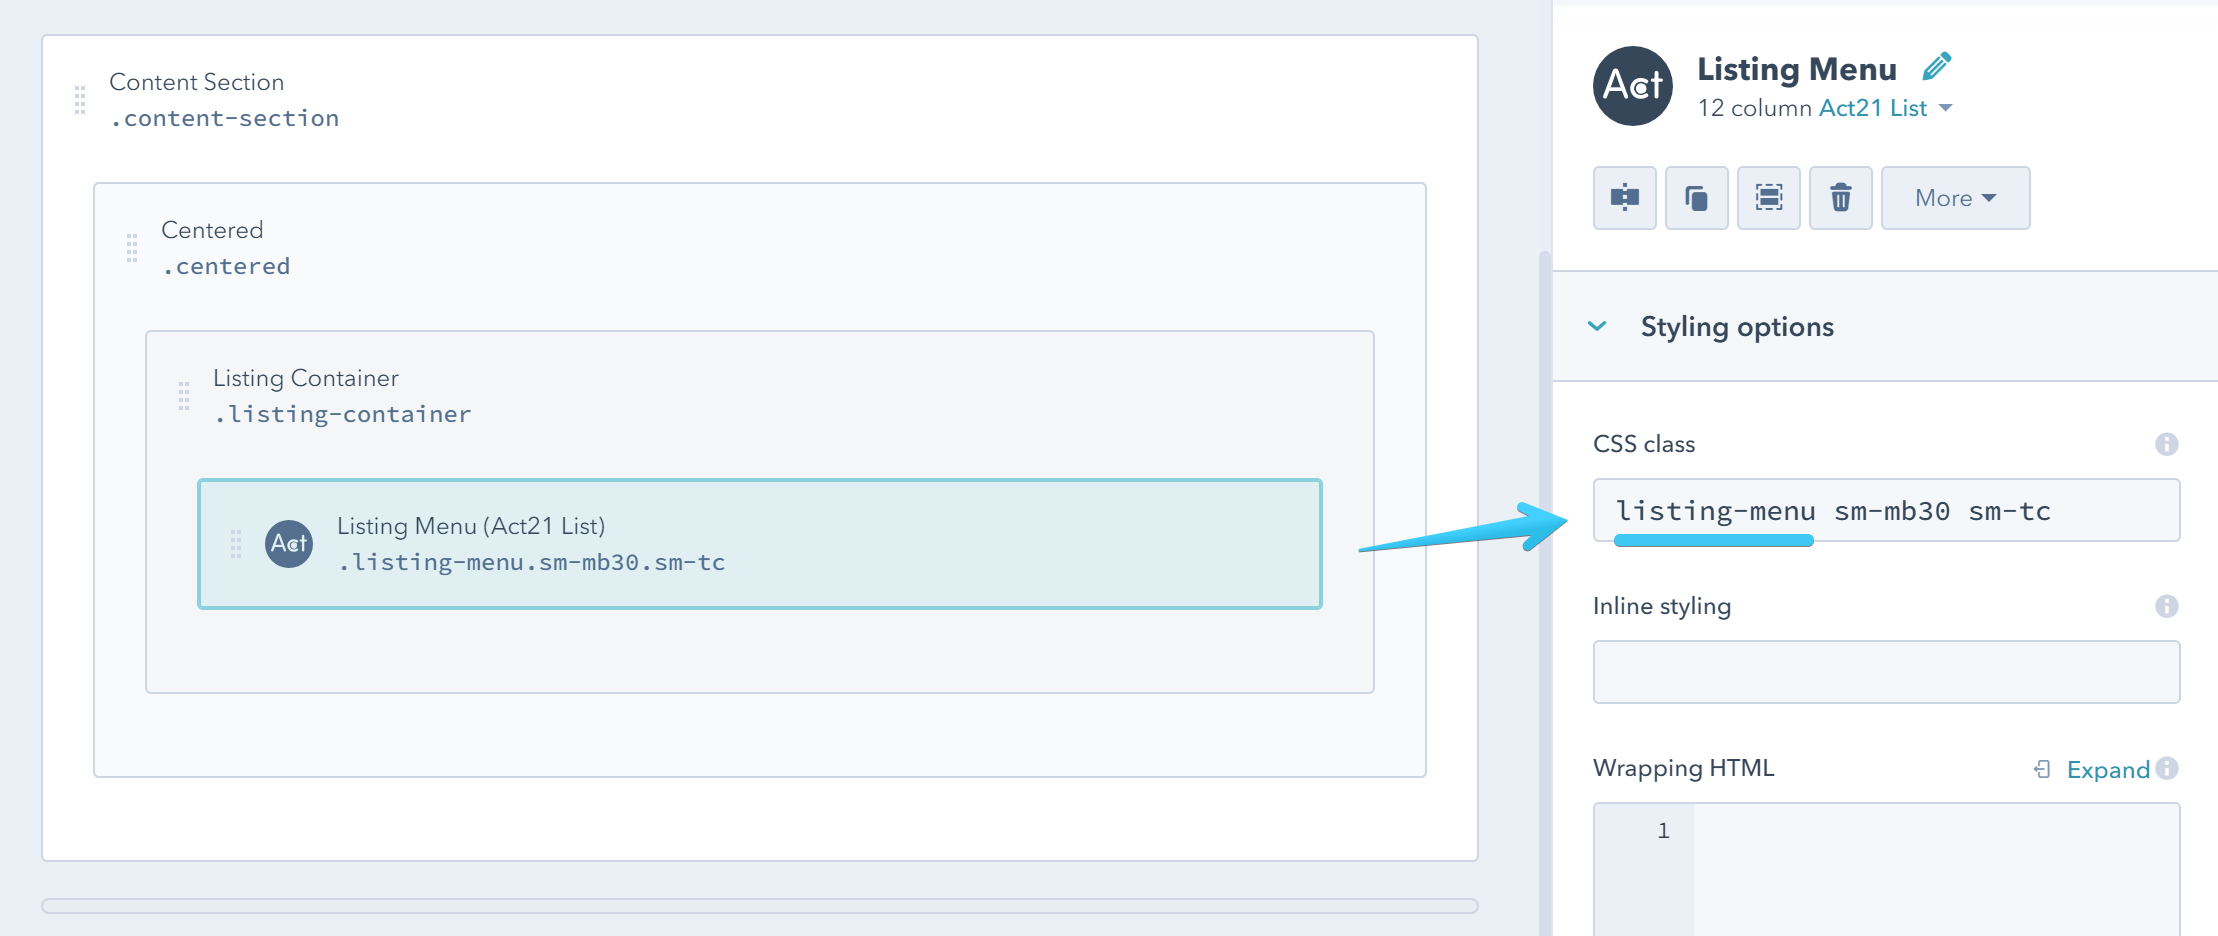
The first class listing-menu is required, the others are just utility classes for bottom margin and centering items on small screens.
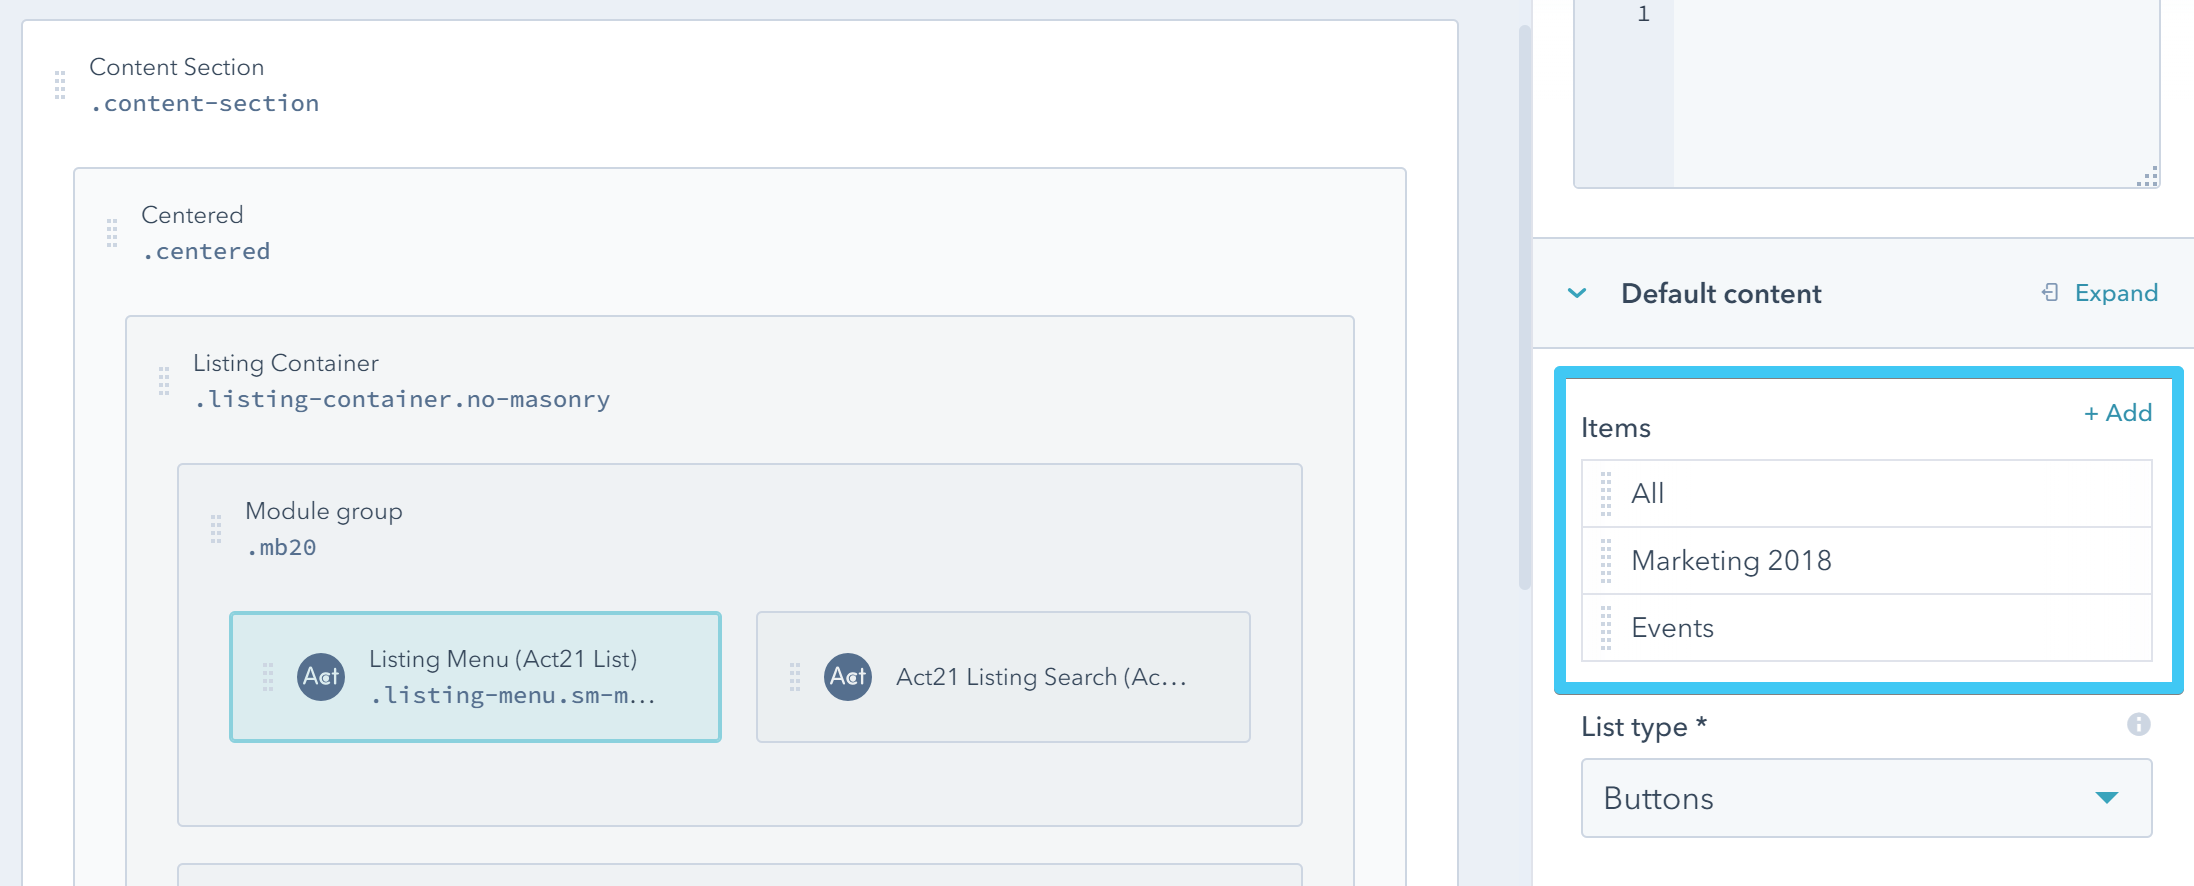
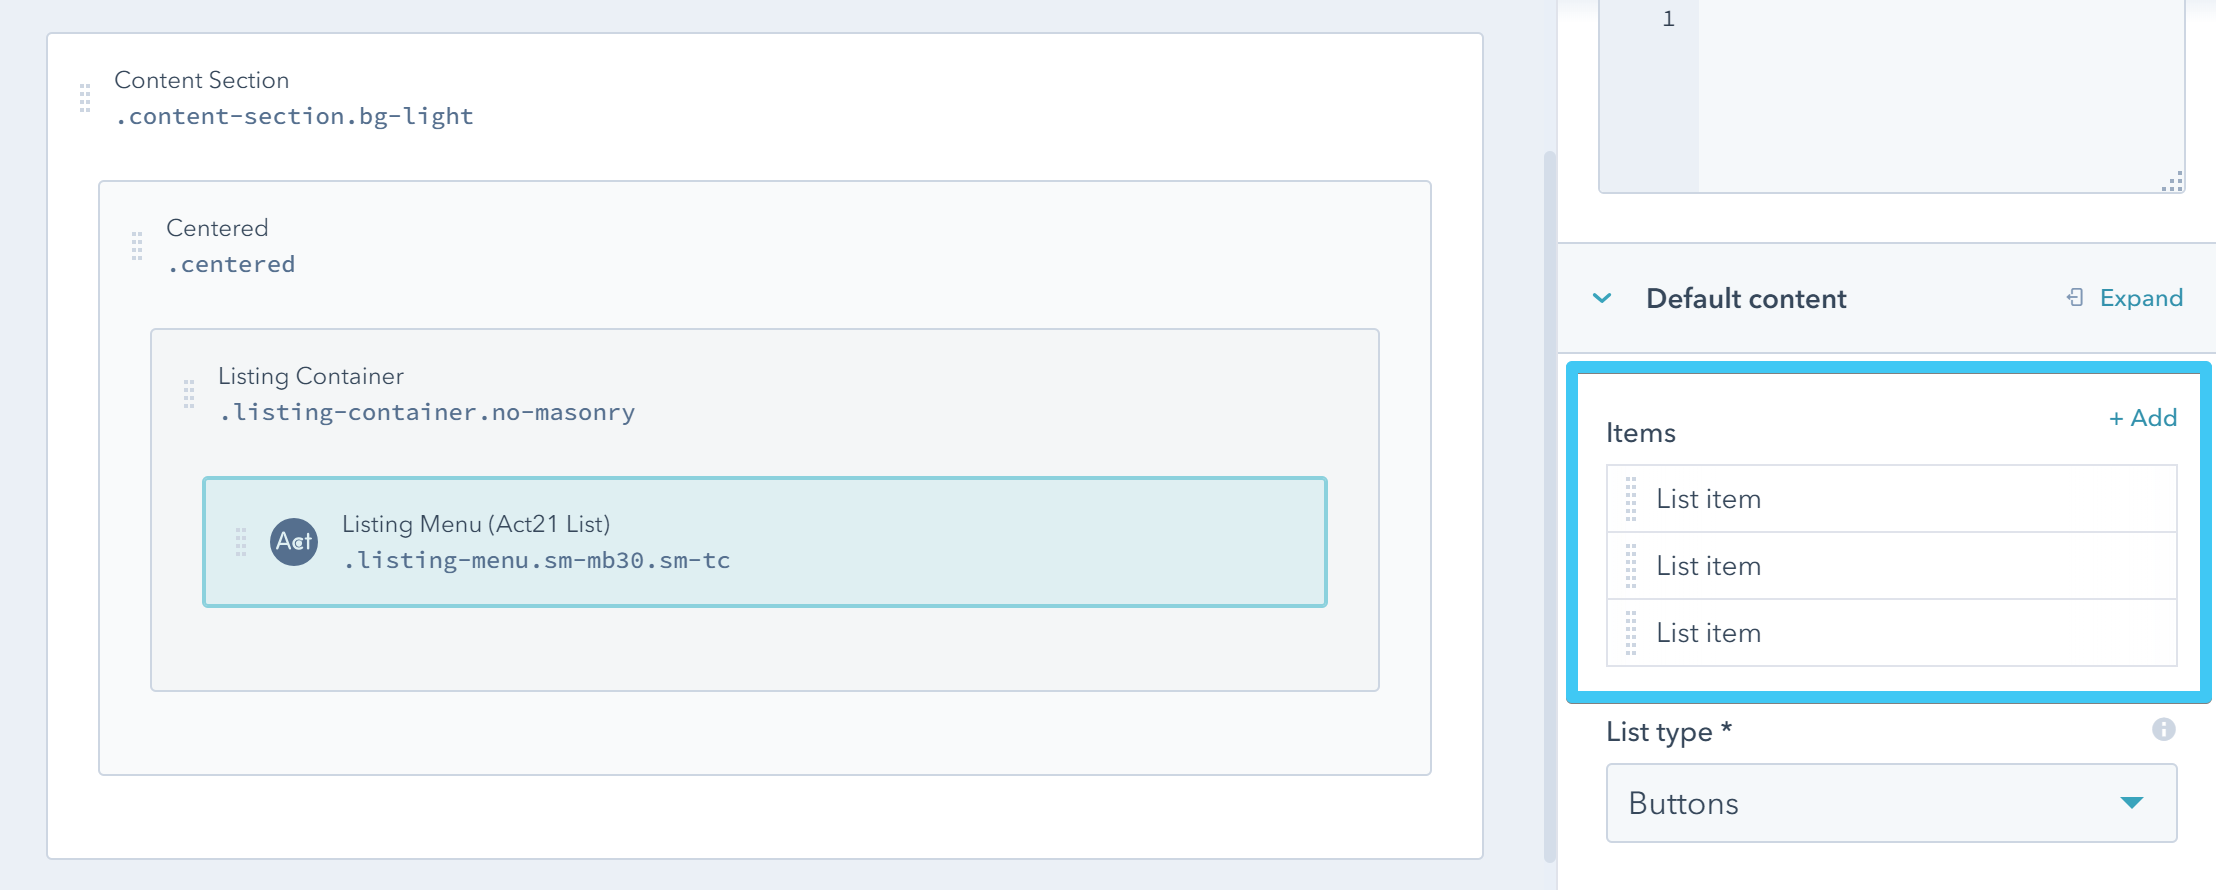
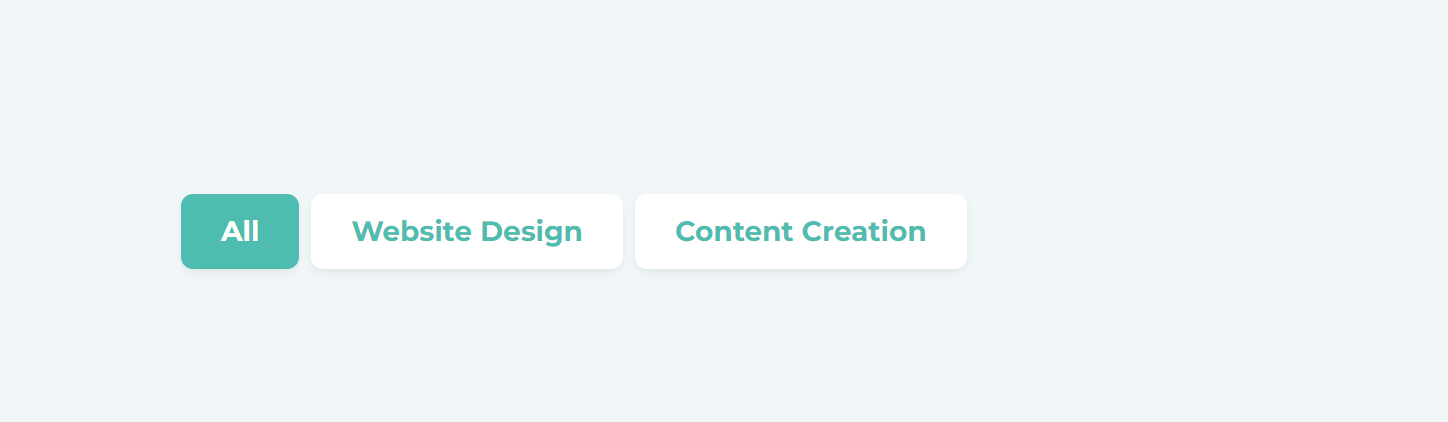
Edit this module to add your listing menu items:
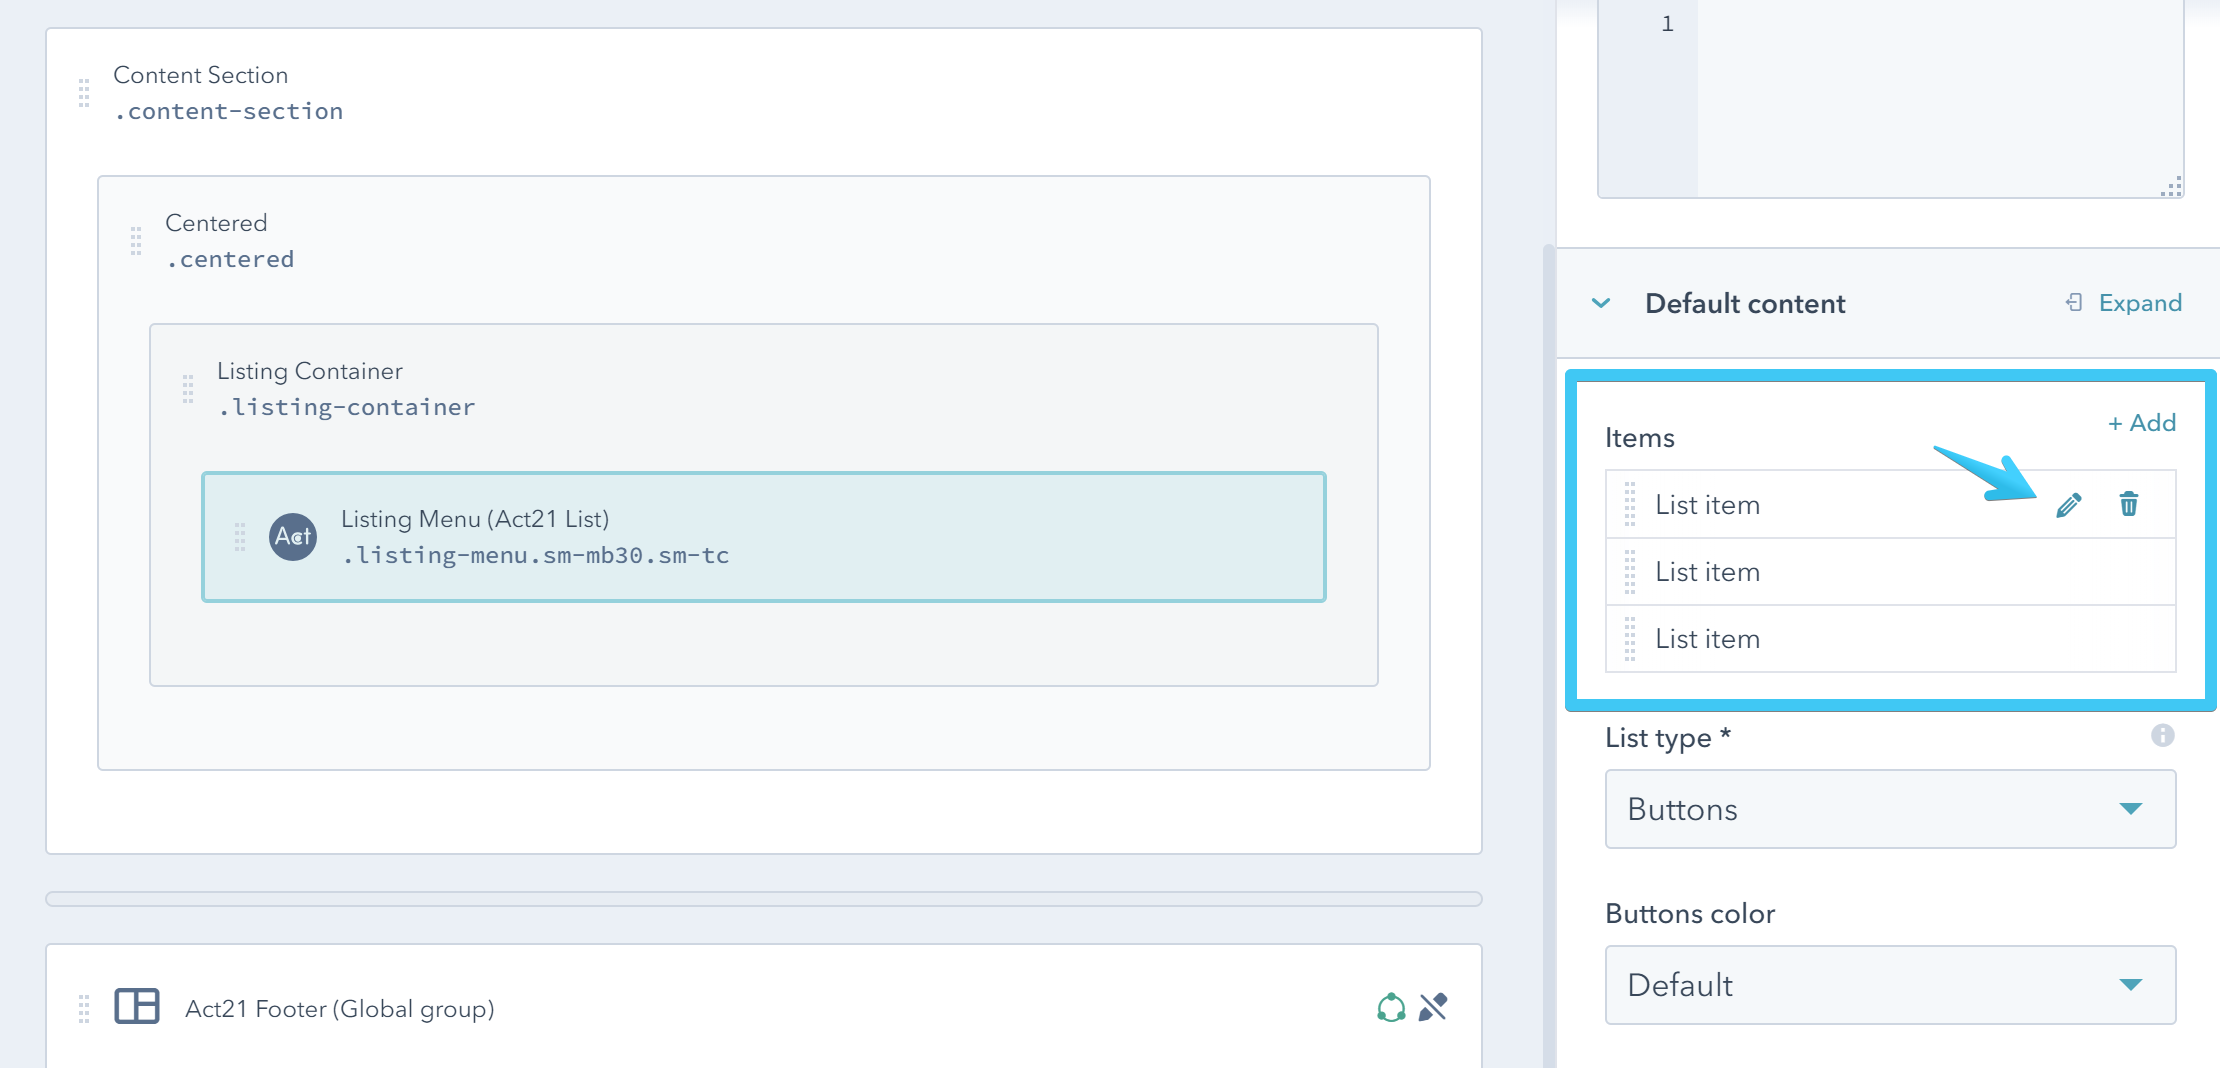
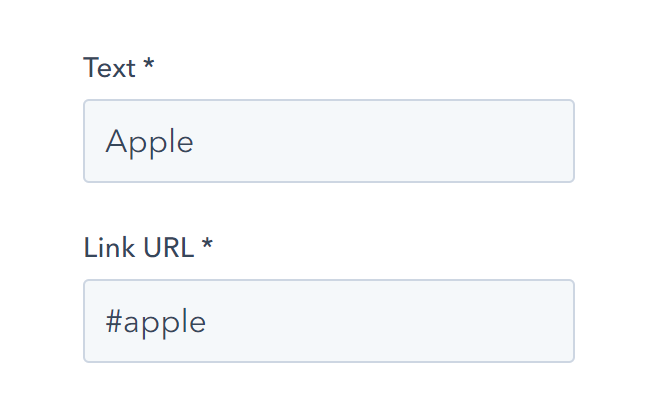
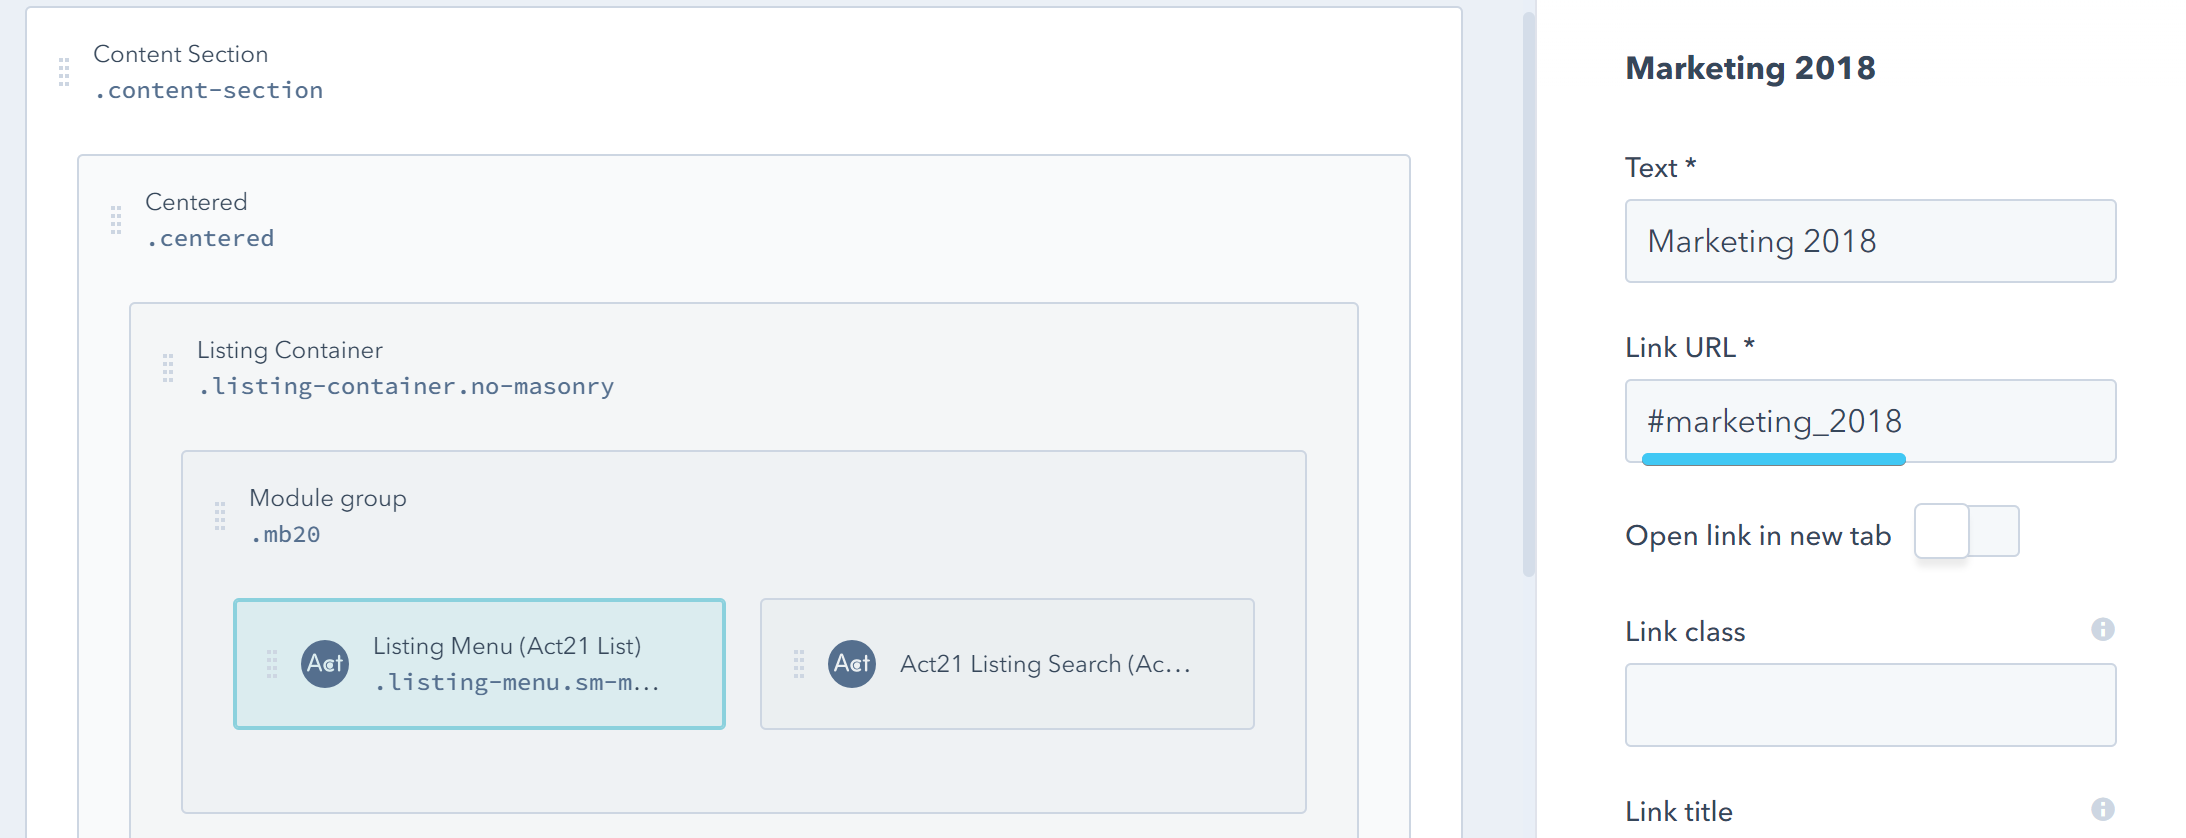
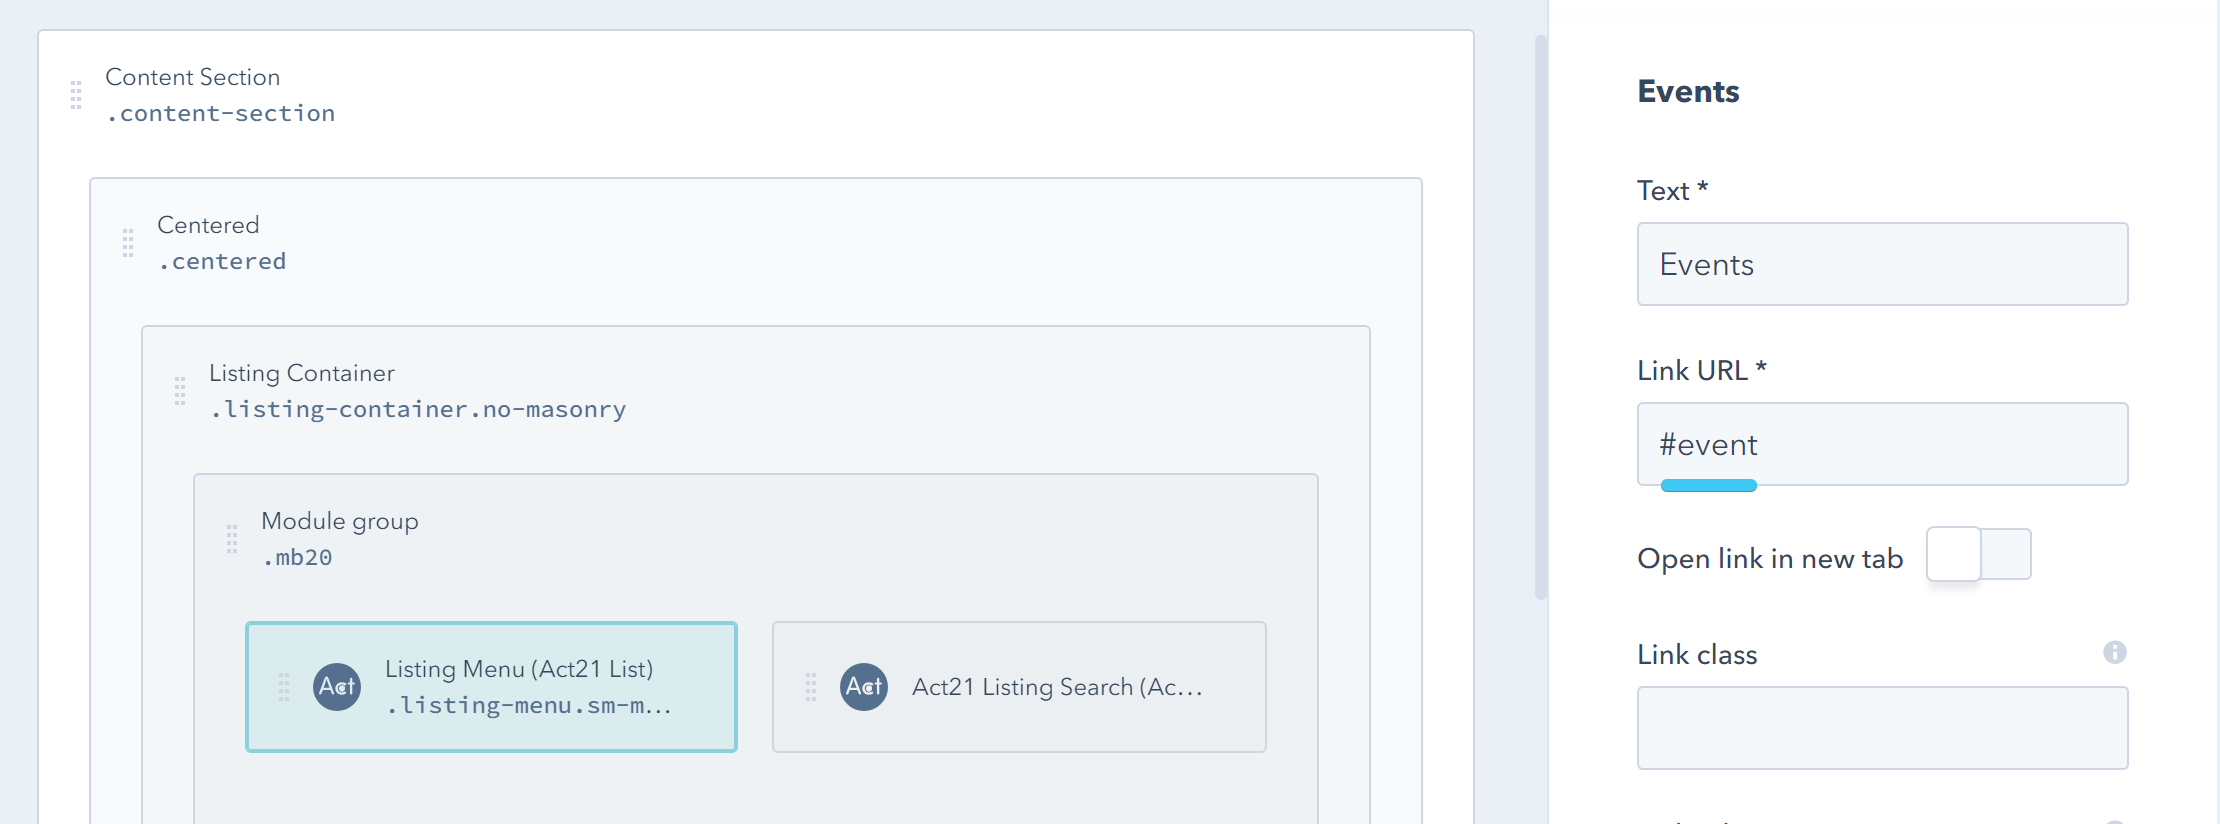
To properly link to your category, you must first add a #, followed by the category of your items, as shown in the Listing Items section below.
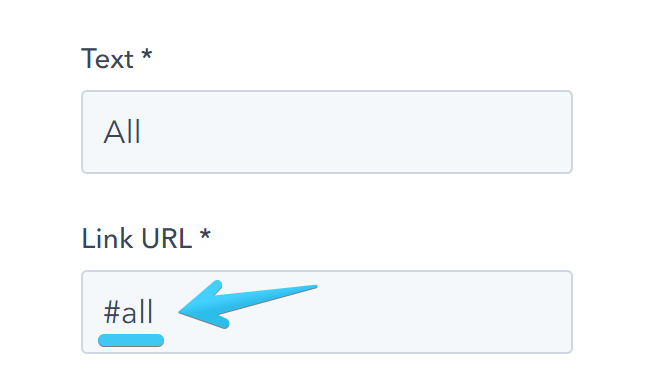
For a link that shows all items add this Link URL: #all
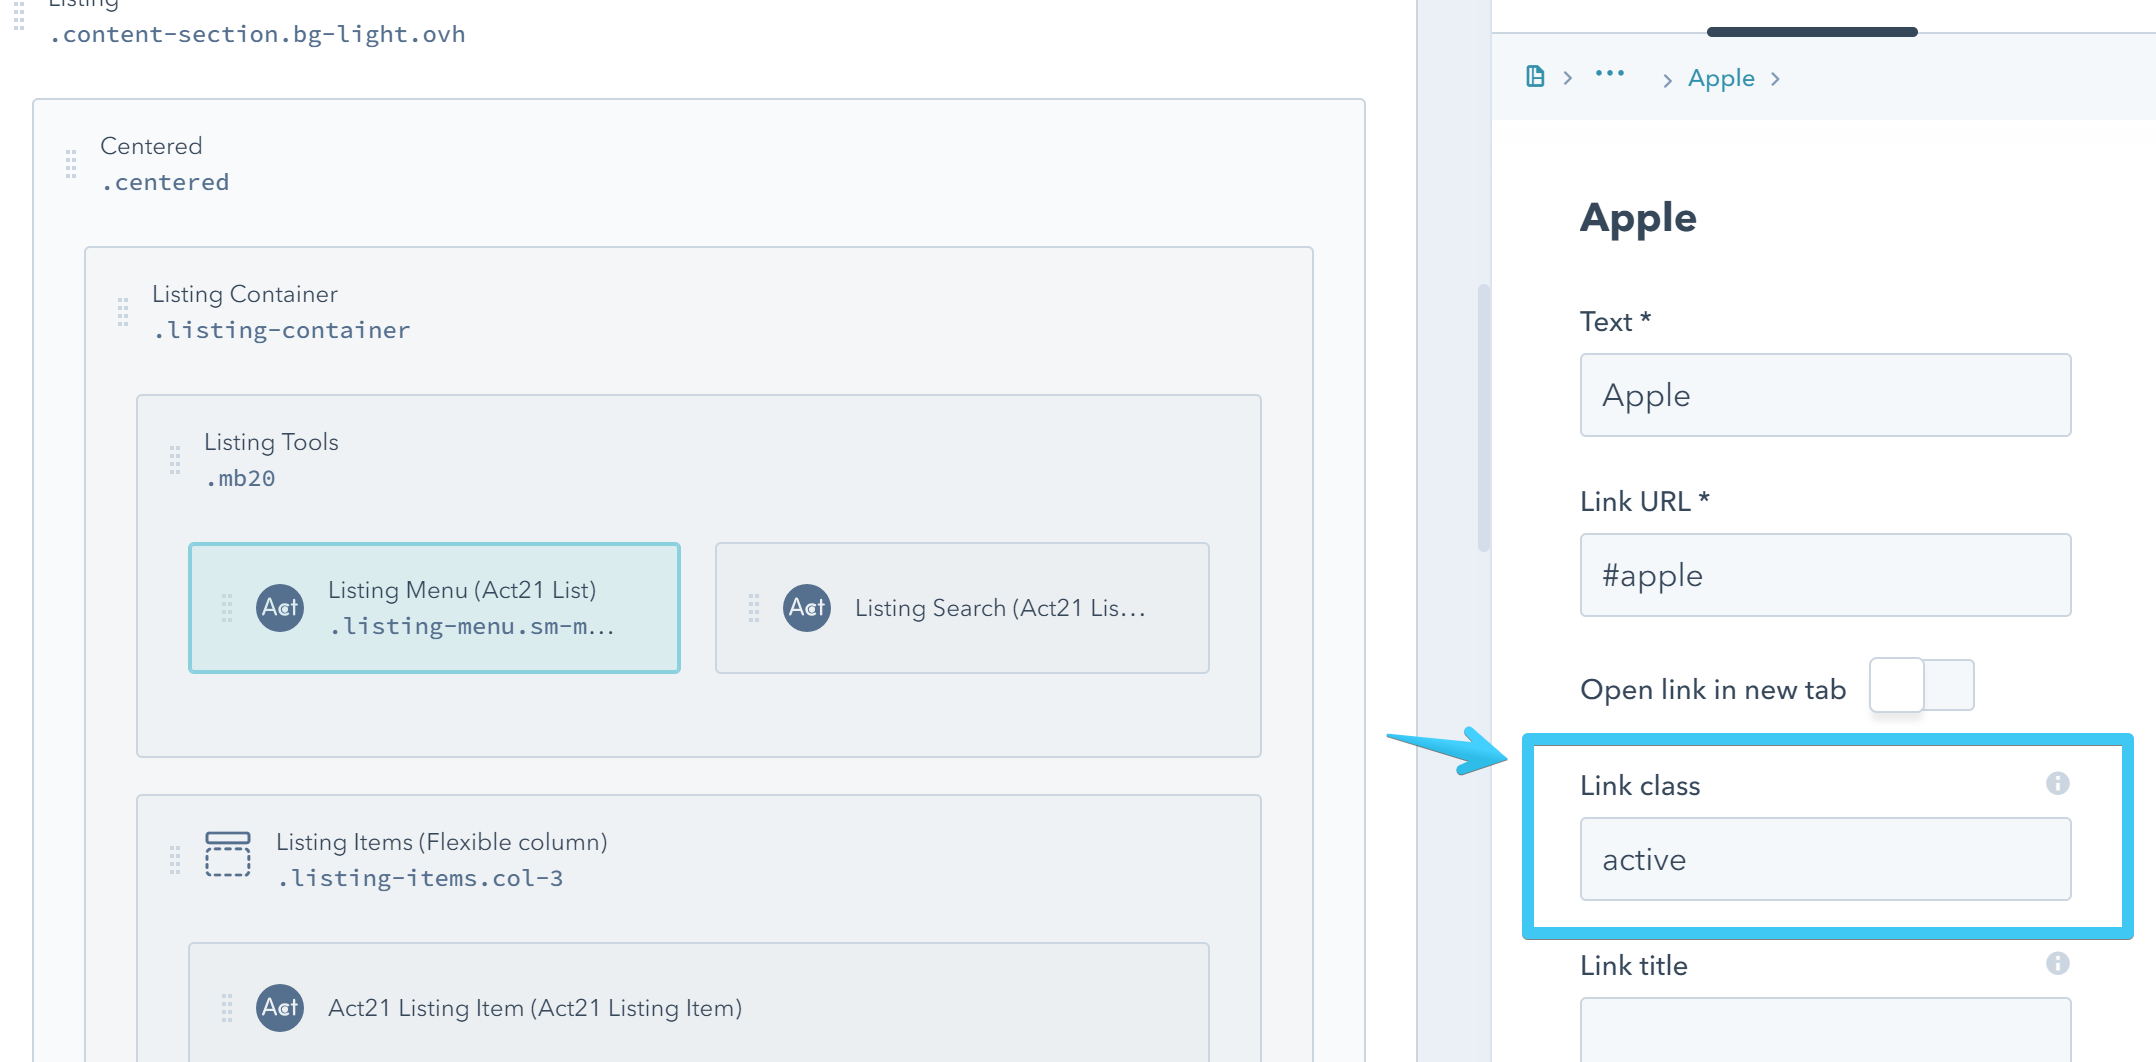
To make a category active by default, you can add this class to that link in the menu: active
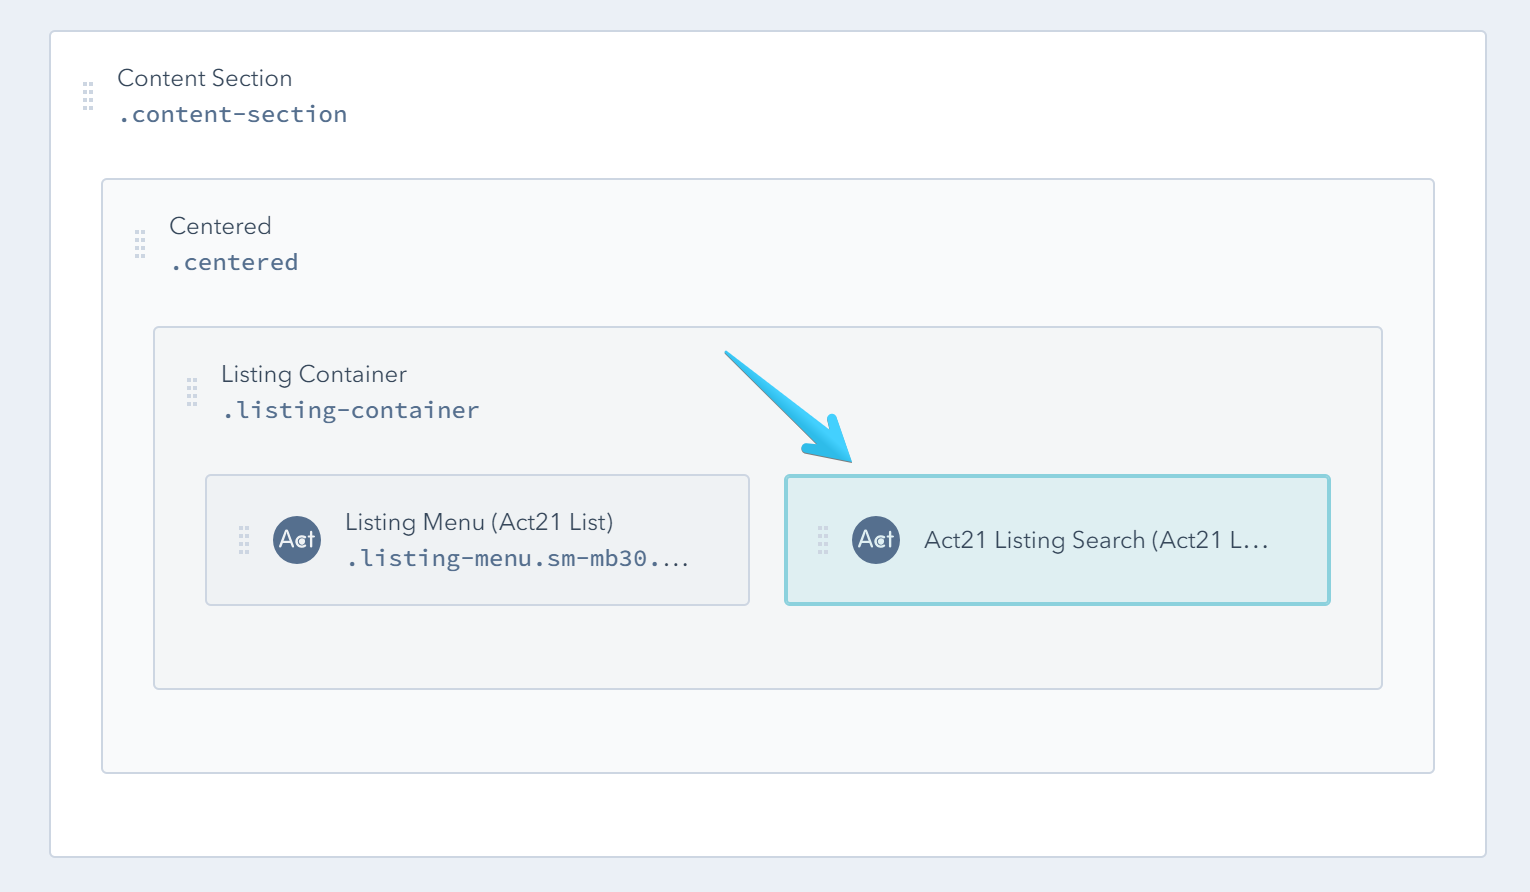
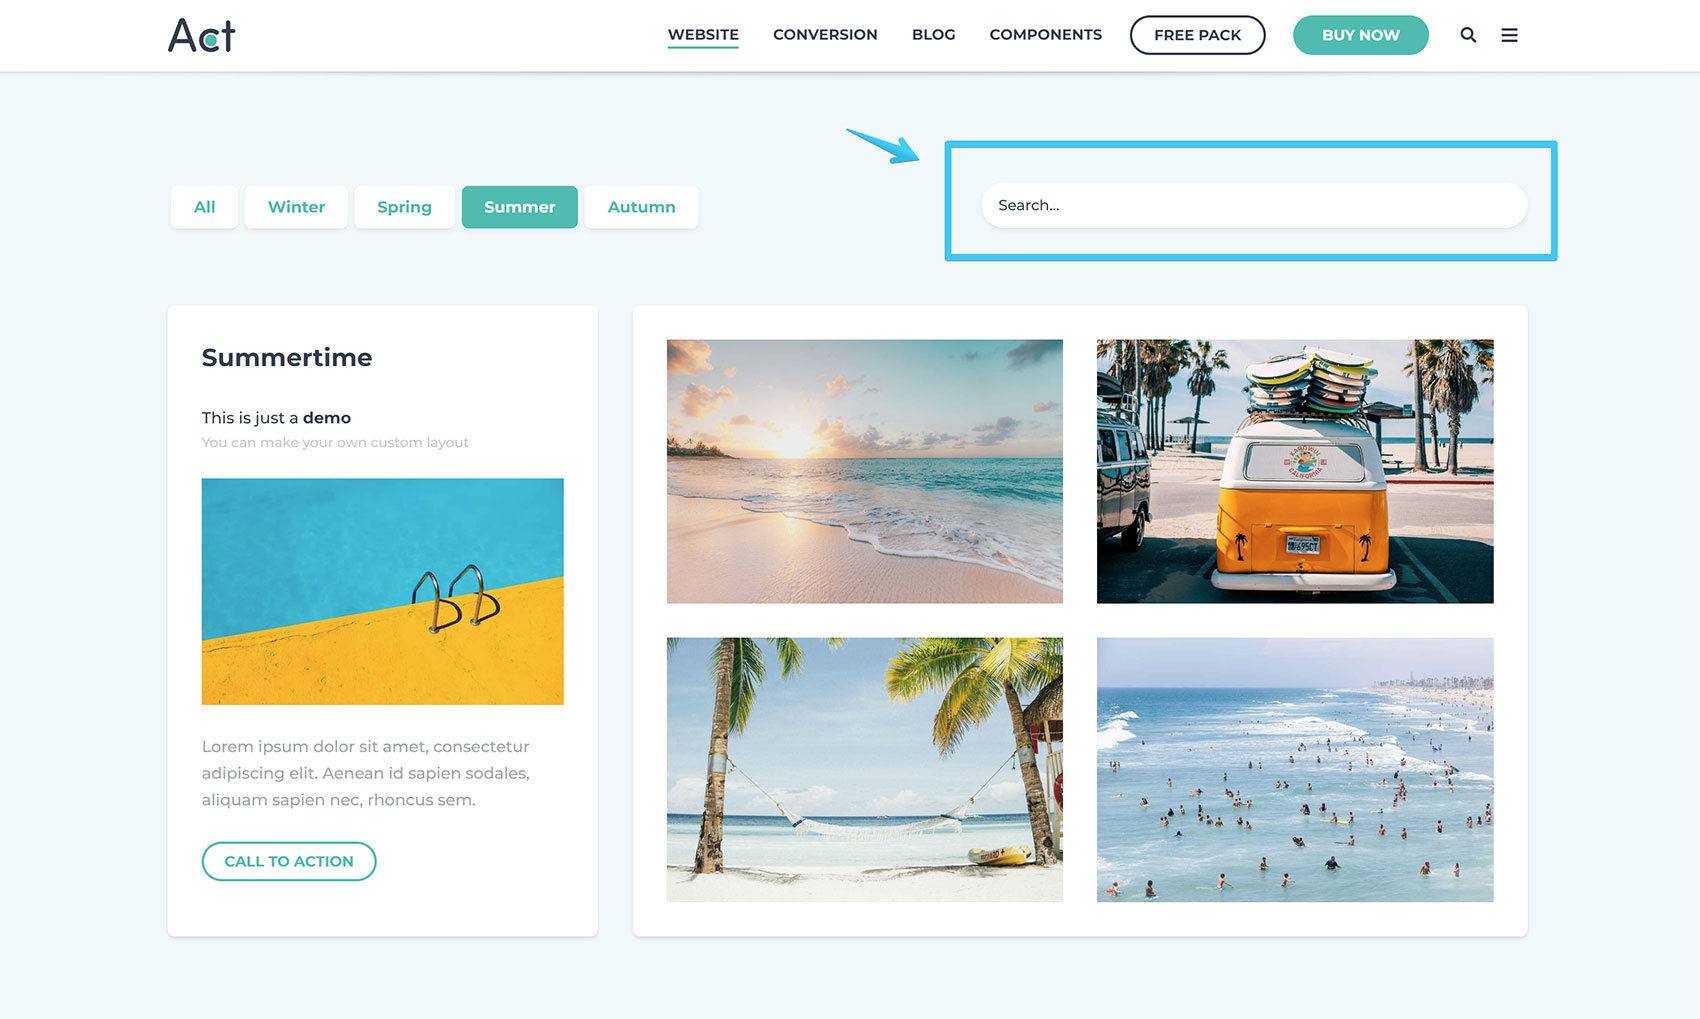
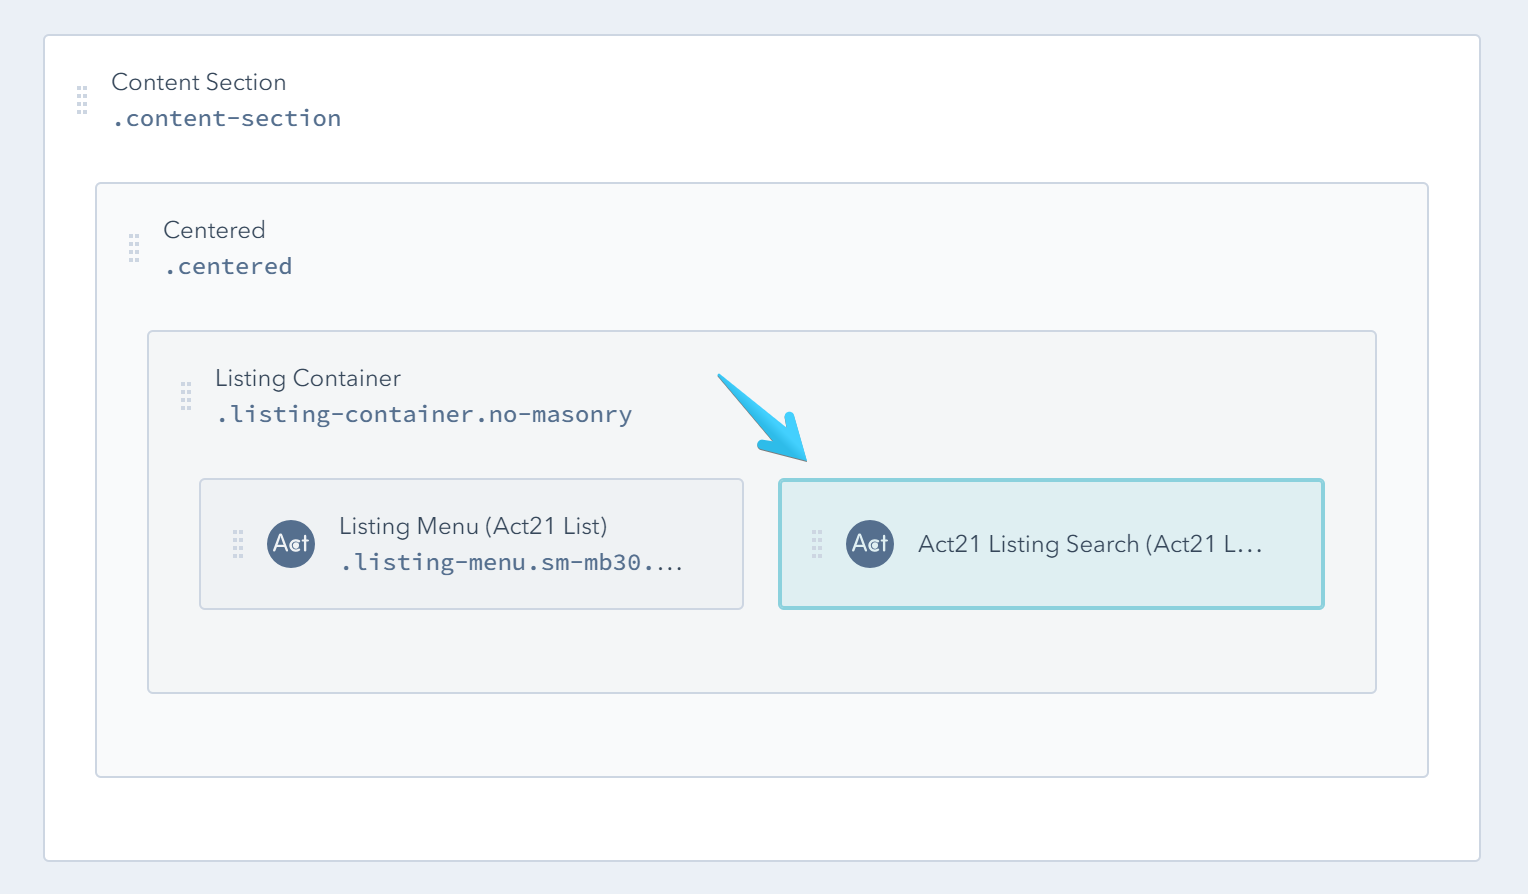
Listing Search
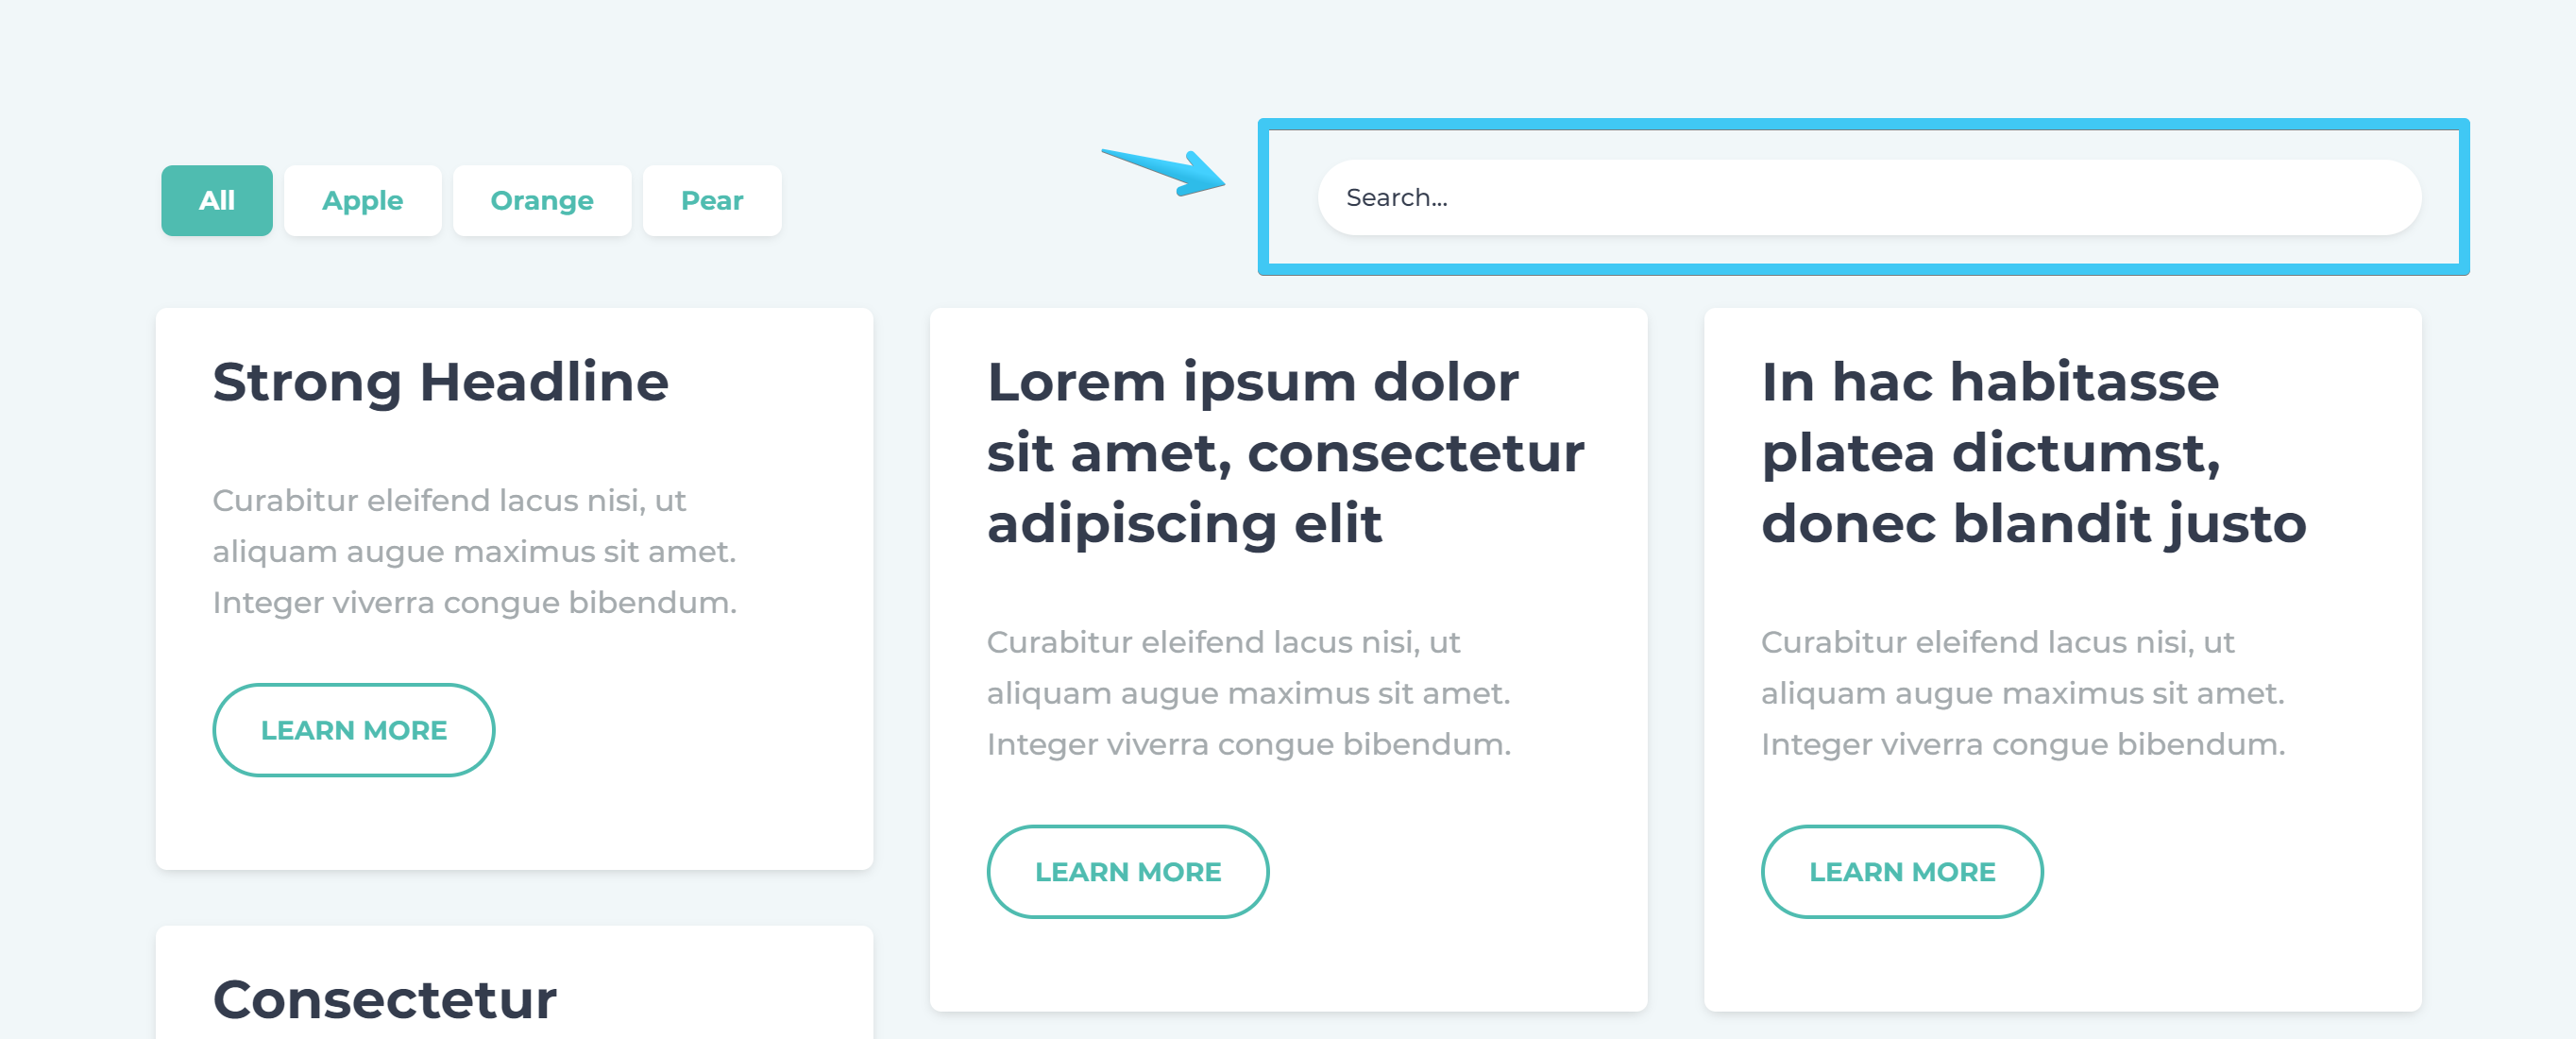
Add one Act21 Listing Search module anywhere inside your Listing Container group, except Listing Items:
Alternatively, you can add an Act21 HTML module with the following code:
<div class="listing-search">
<input class="hs-input" type="text" placeholder="Search...">
</div>
Listing Items
Add a HubSpot Flexible Column module anywhere in the Listing Container group, with these classes: listing-items col-3

You can replace col-3 with col-1, col-2 or col-4 to specify a different number of columns.
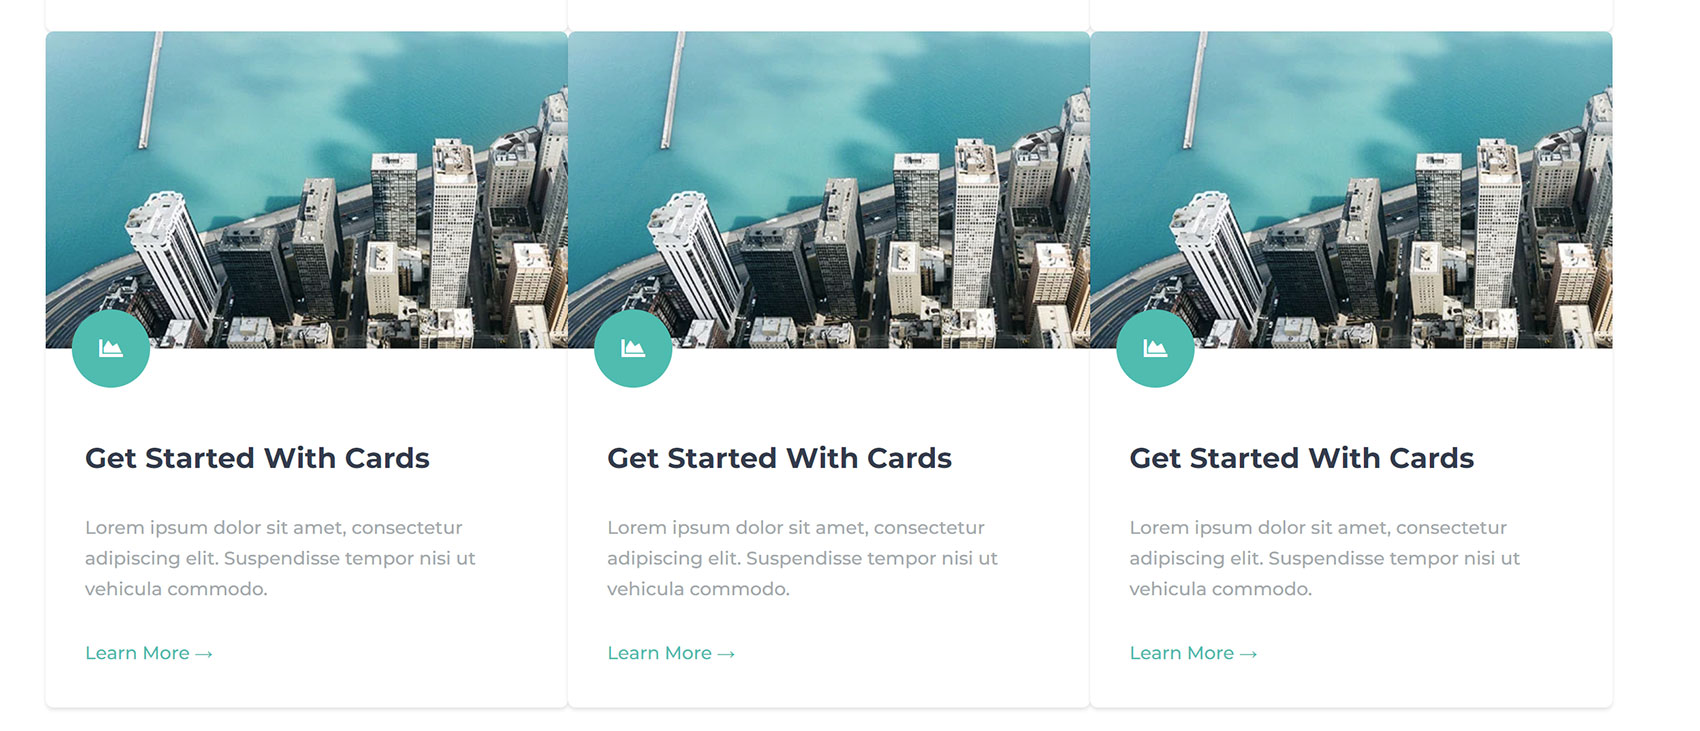
If you disabled the masonry layout in the Listing Container, you can also add equal-height to the Listing Items module to make all items in a row have equal height:

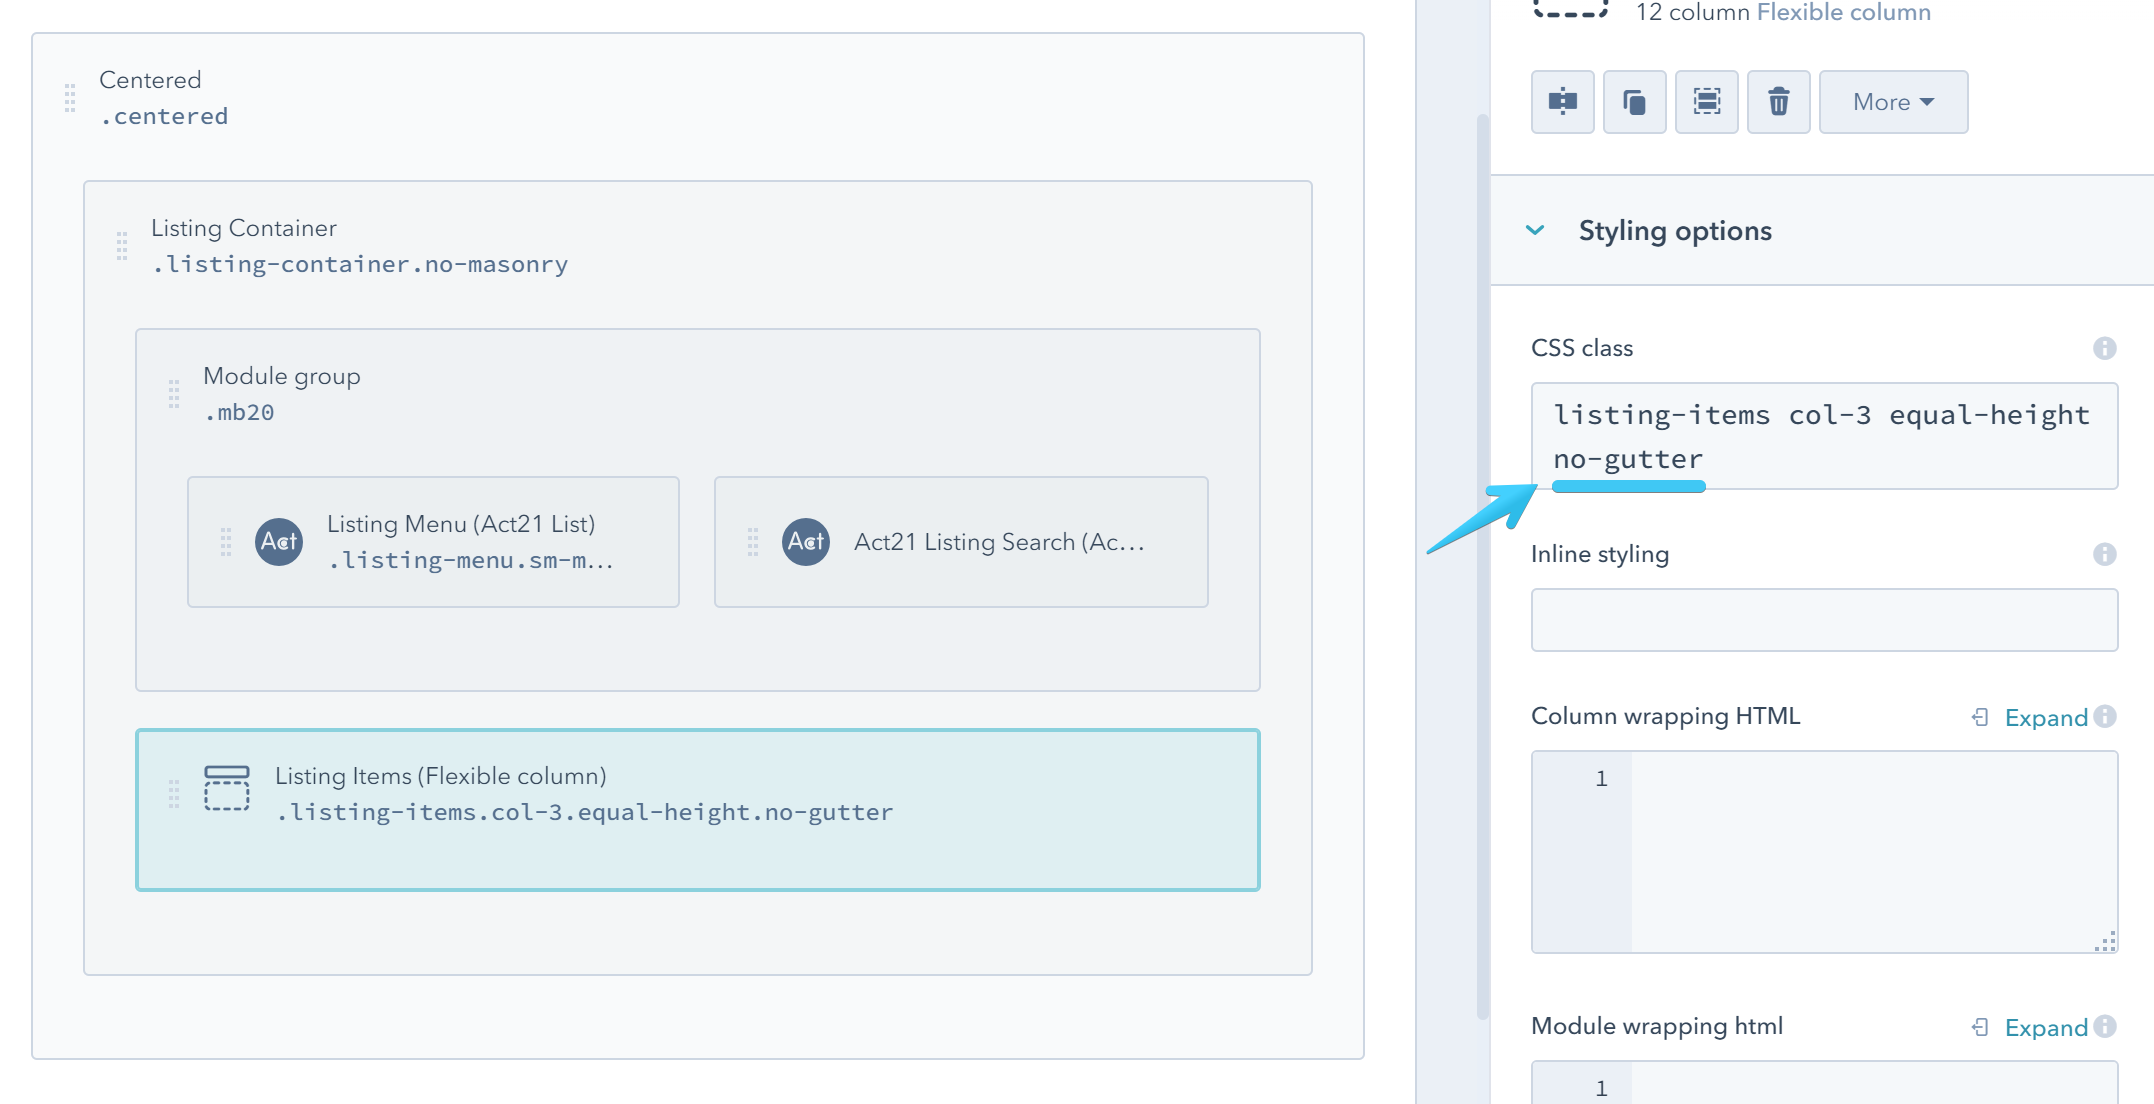
Additionally, you can add the no-gutter class to the Listing Items module to remove the gap between items:
You can now add modules to the Listing Items Flexible Column:
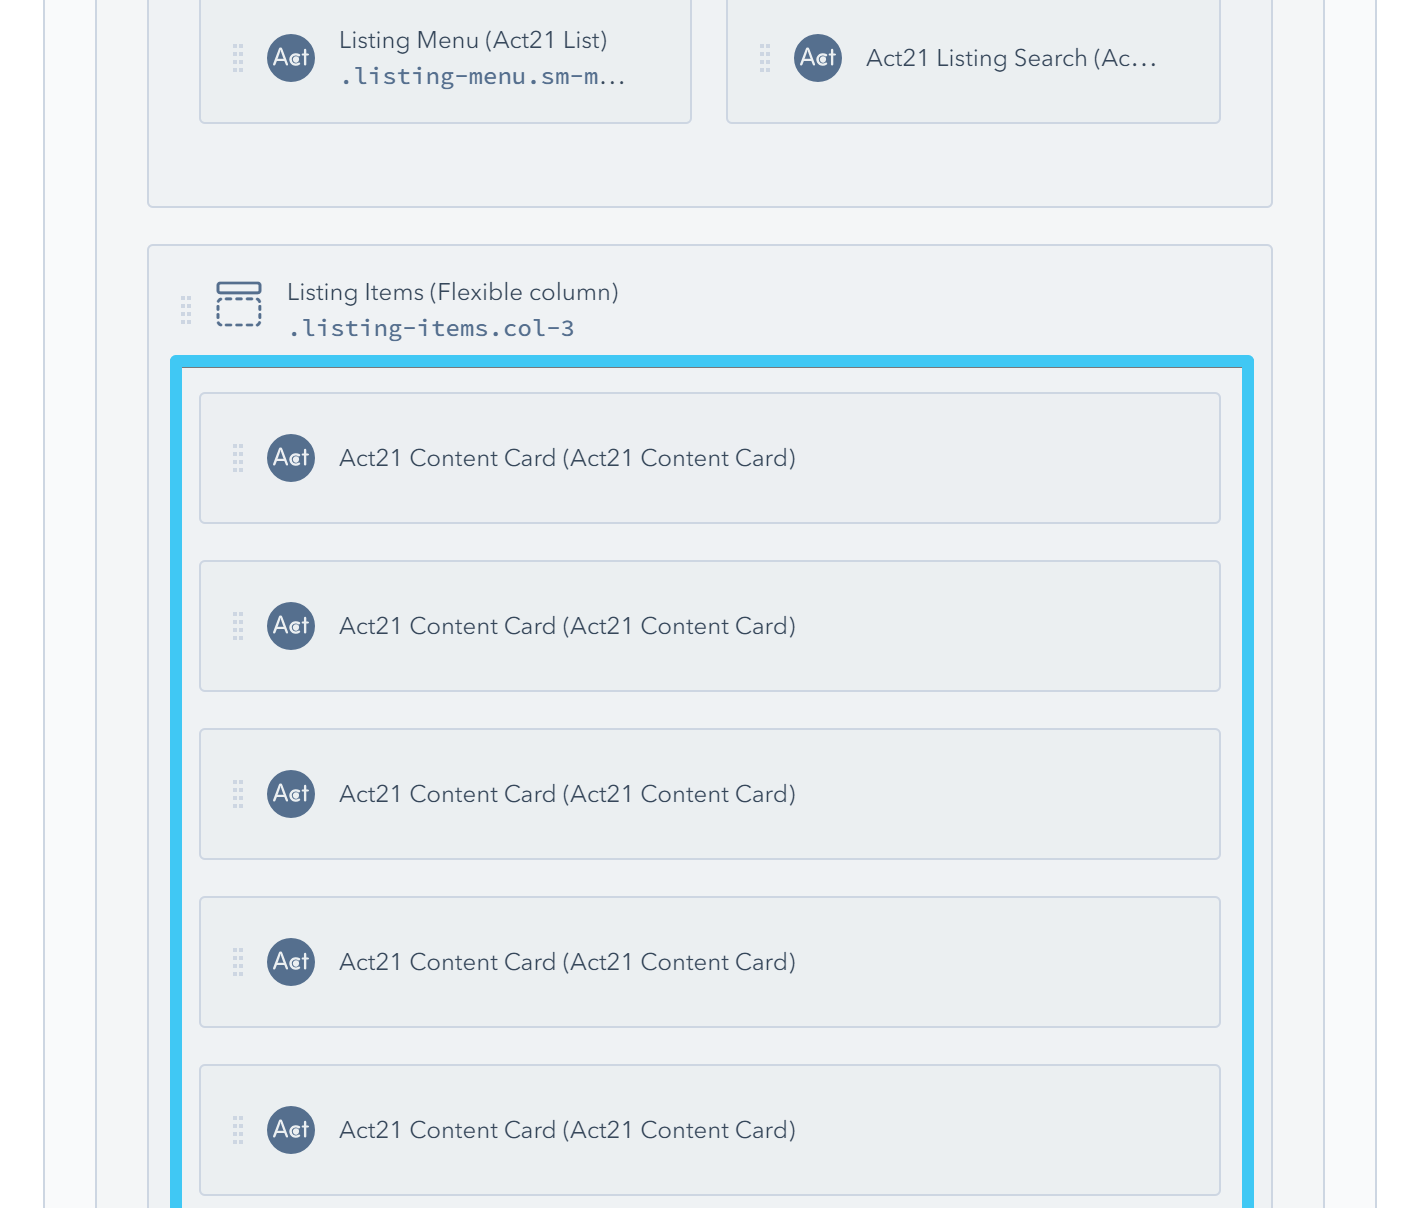
You can add these types of modules:
- Act21 Listing Item
- Act21 Content Card
- Act21 Content Card - button
- Act21 Card Box
- Act21 Change Image
- Act21 Custom Embed
- Act21 Featured Box
- Act21 Image Box
- Act21 Person Card
- Act21 Plain Card
- Act21 Audio Player
- Act21 Video Player
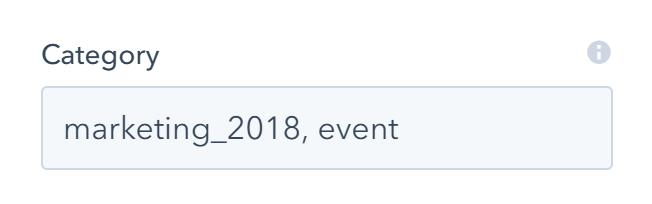
All these modules have a Category field included, where you can specify the categories separated by comma. Example: marketing_2018, event
Then you can add links to your Listing Menu like this:
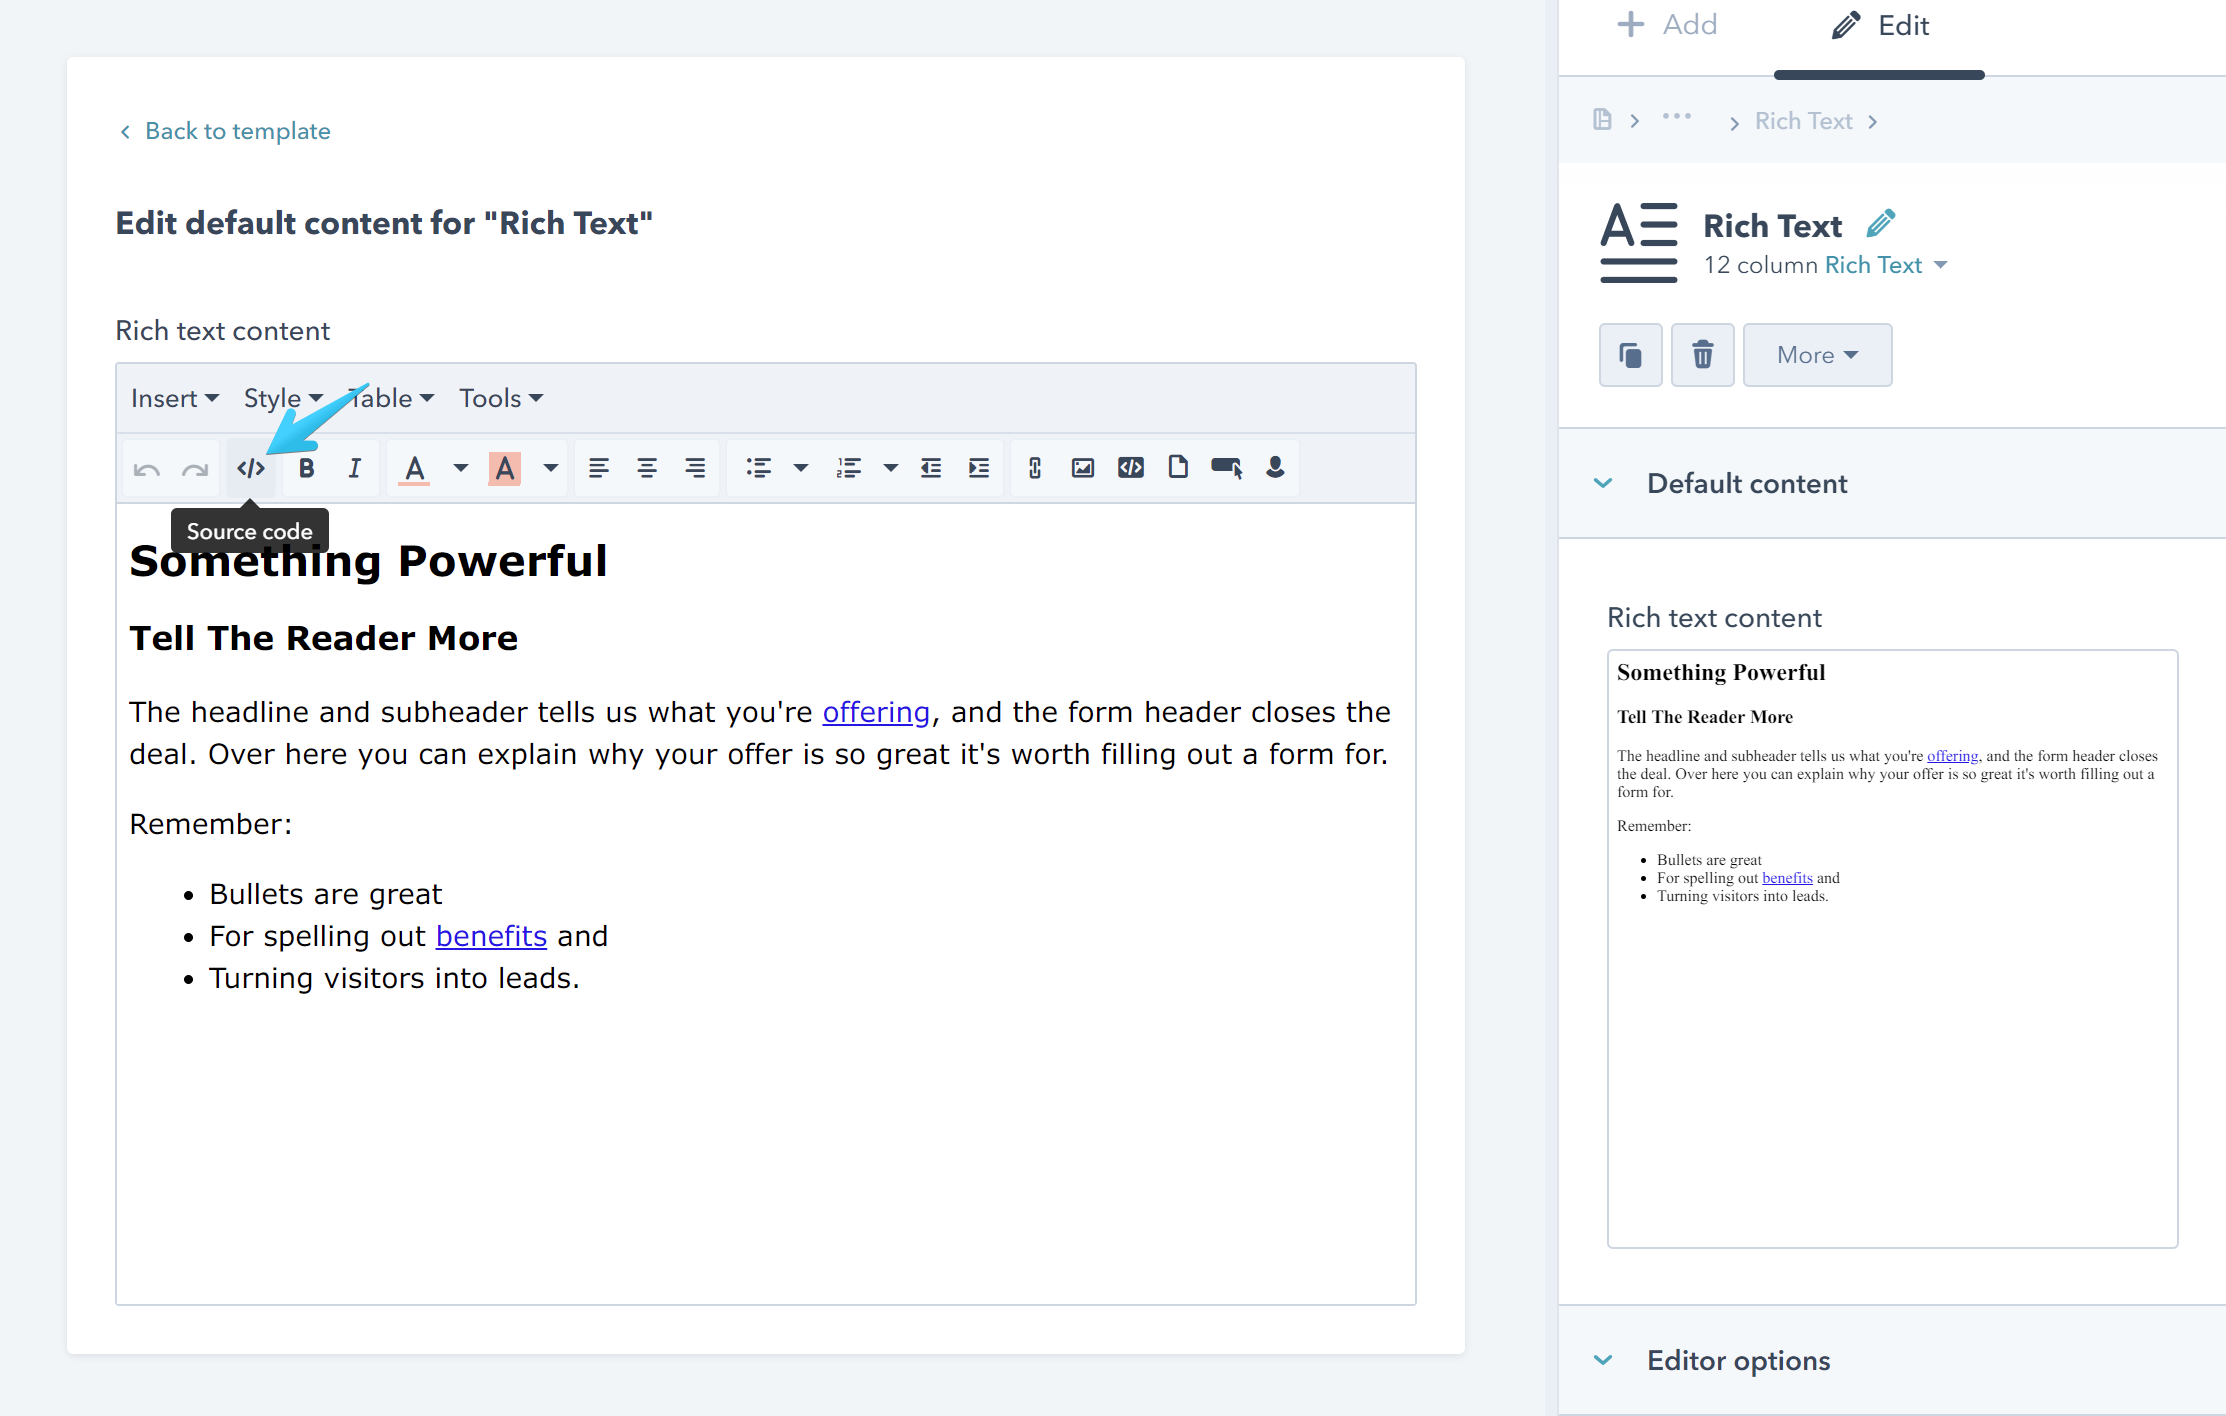
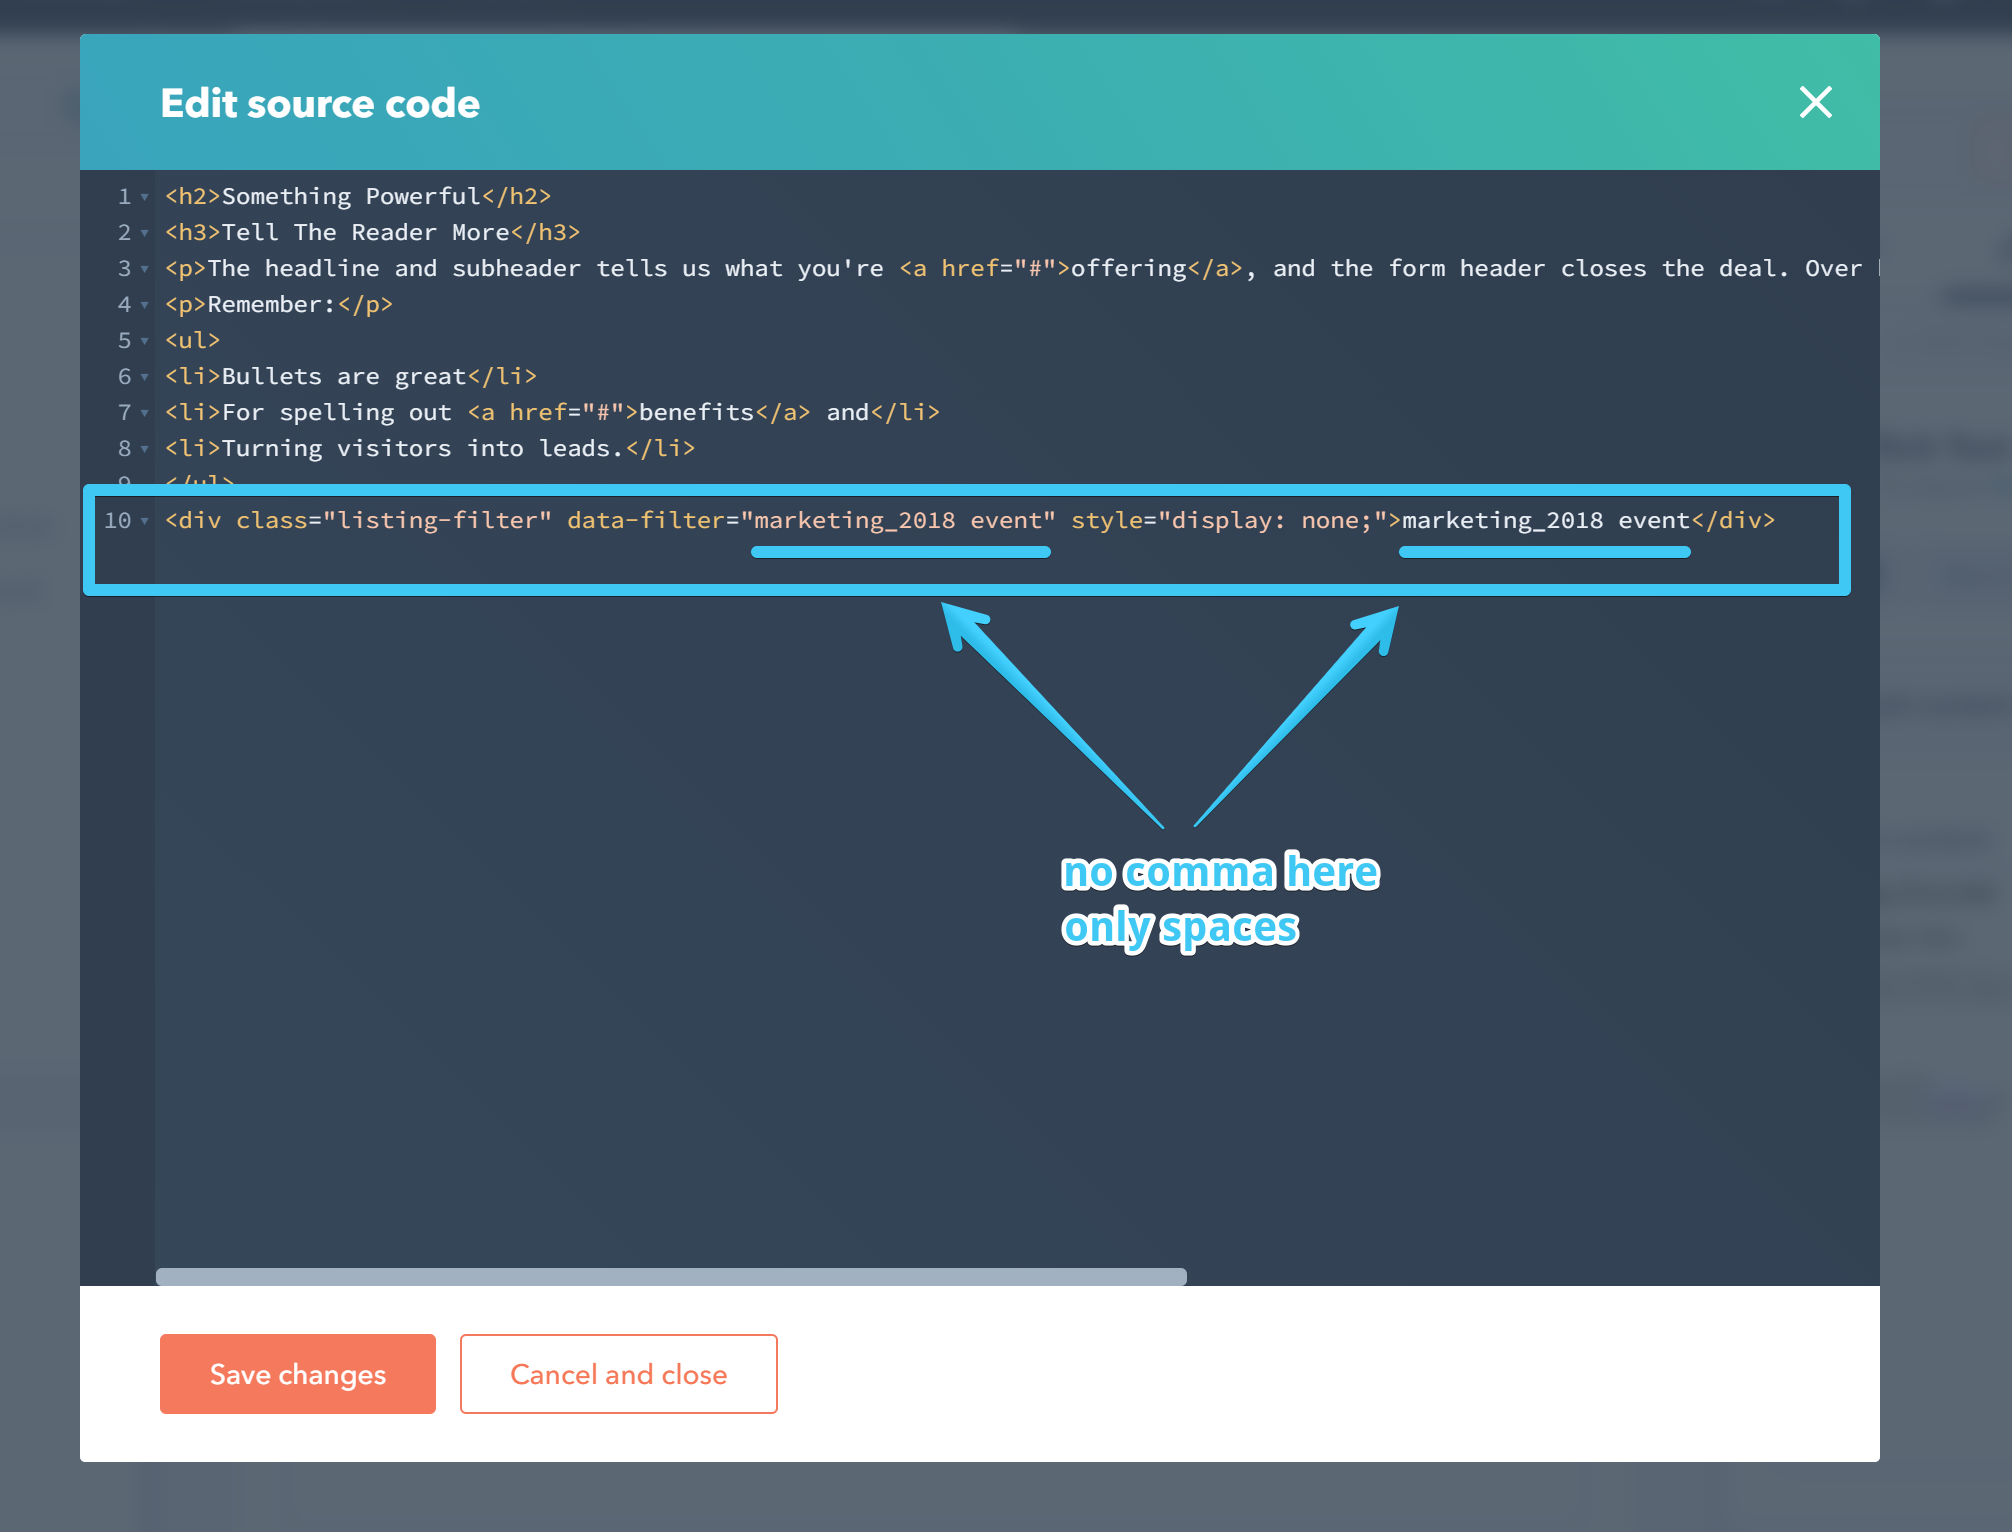
You can add other modules as well if they allow a HTML <div> inside to specify the category (e.g. Rich Text, HTML, etc), otherwise they are not filterable. For example, you can add Rich Text modules and edit the content source code to include a <div> like this for filtering:
<div class="listing-filter" data-filter="marketing_2018 event" style="display: none;">marketing_2018 event</div>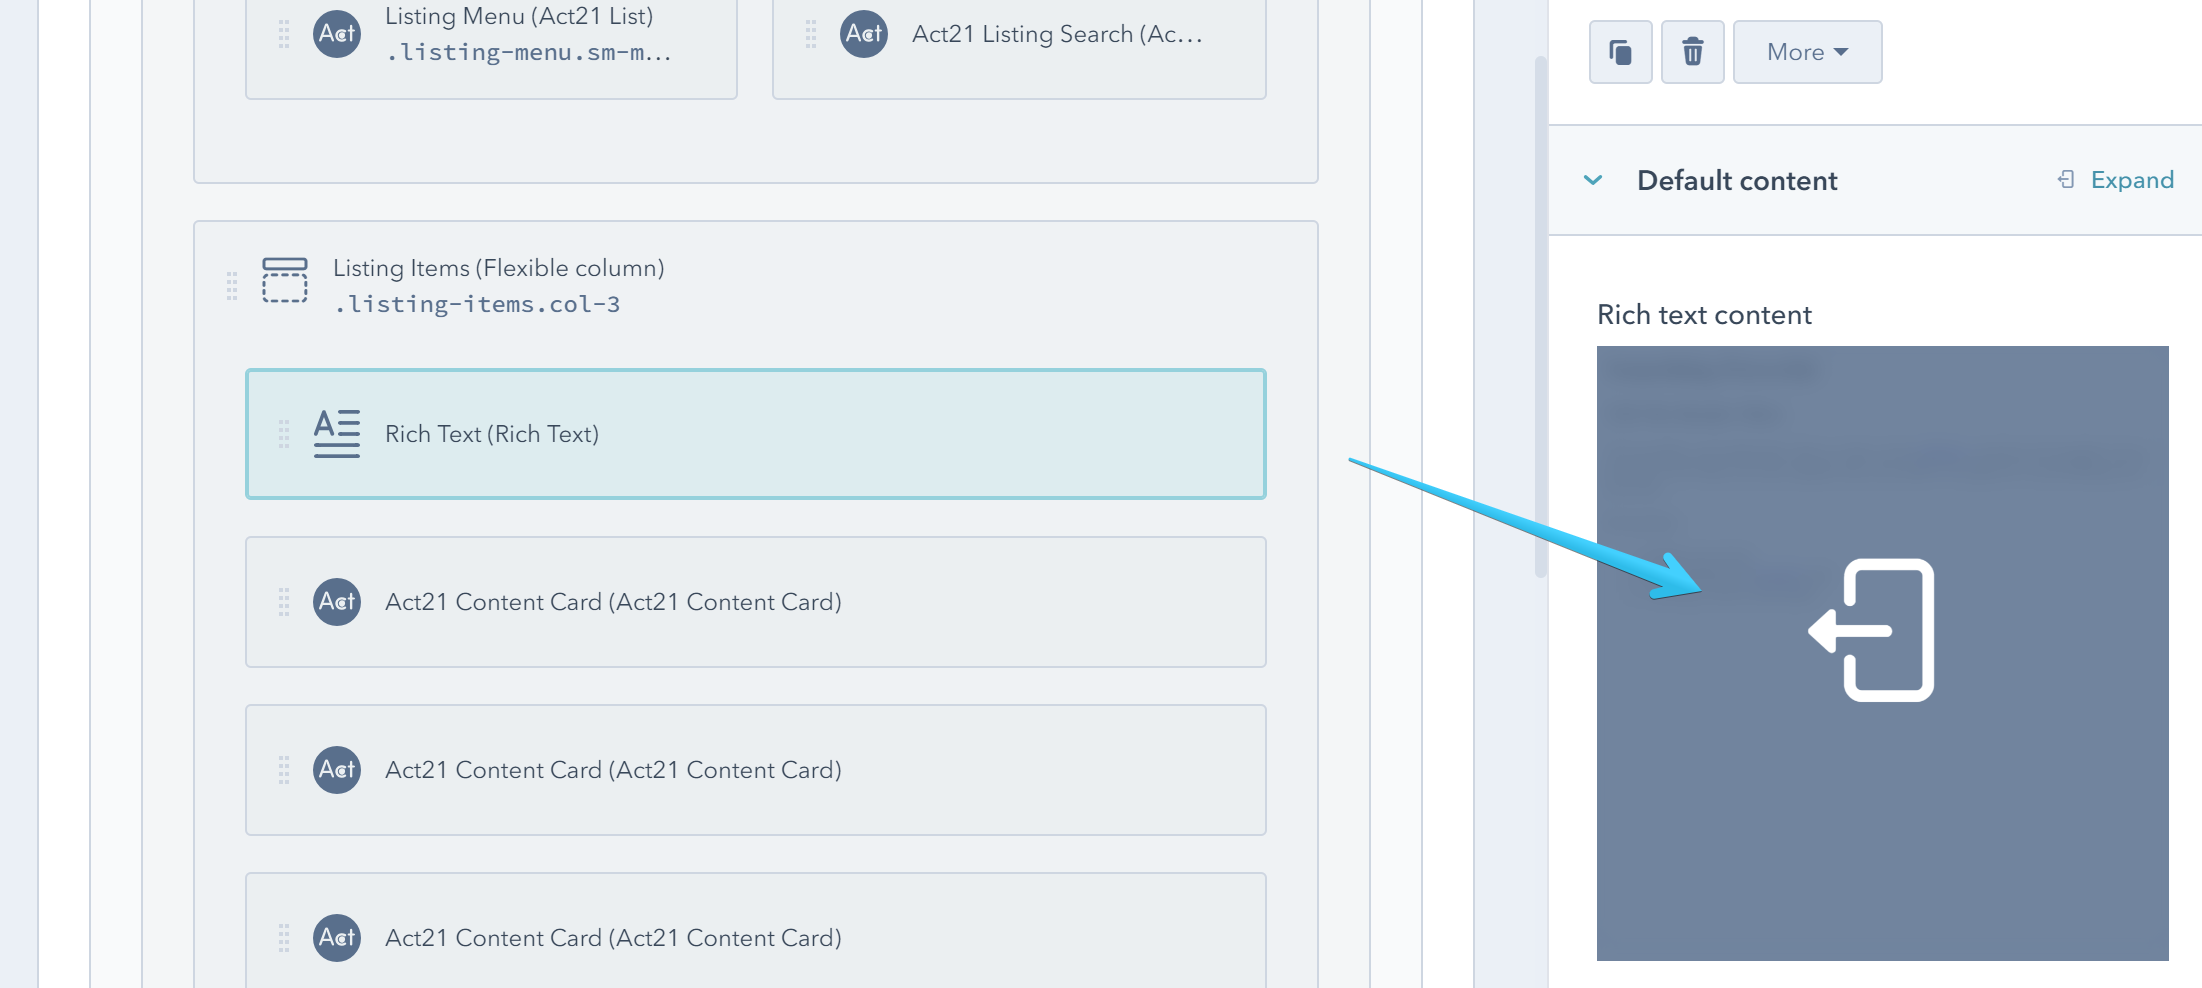
If you add Rich Text or Act21 Listing Item modules you can style all items at once by adding a HTML wrapper to the Listing Items Flexible Column module:
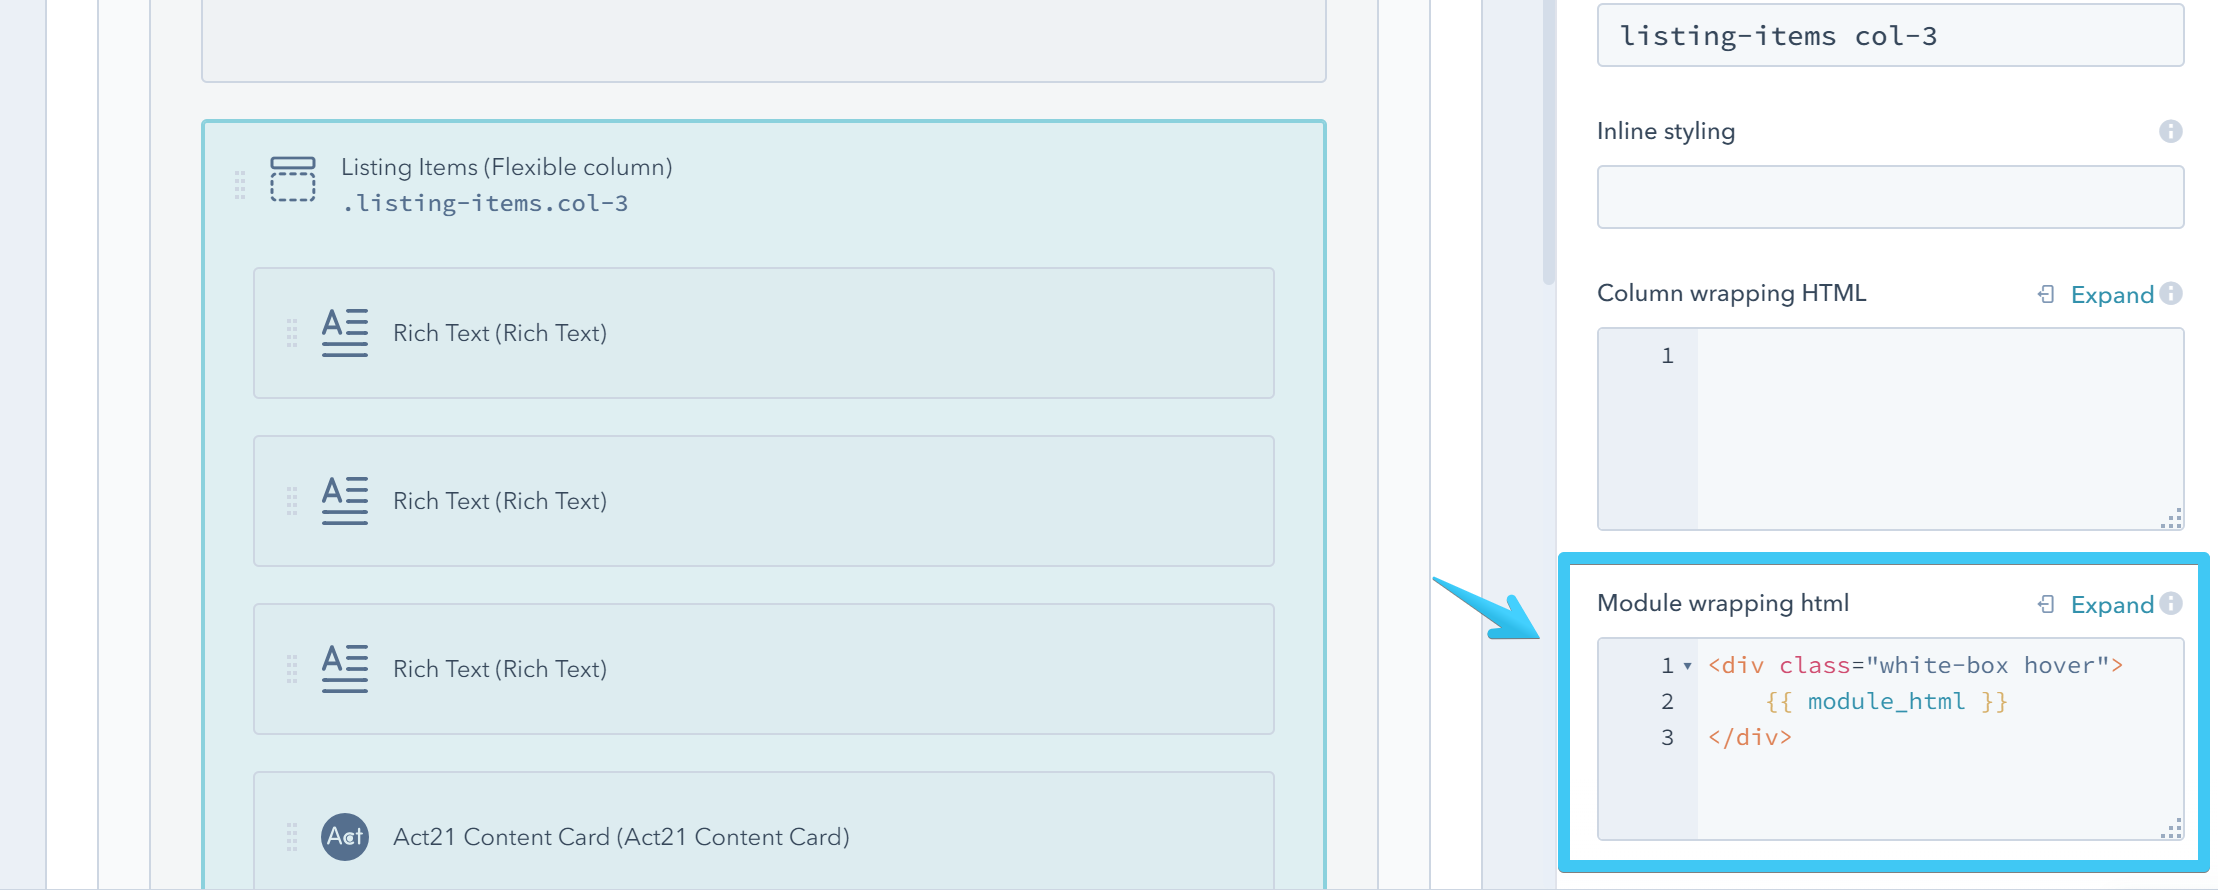
For example, the following code will add each module in a white box:
<div class="white-box hover">
    {{ module_html }}
</div>
If you want to remove the white box styling from the Act21 Flexible Listing template you would have to delete that code from the Listing Items module.
Listing Pagination

Add one Act21 Listing Pagination module anywhere in the Listing Container group, except Listing Items, to show a pagination and specify the number of items per page:
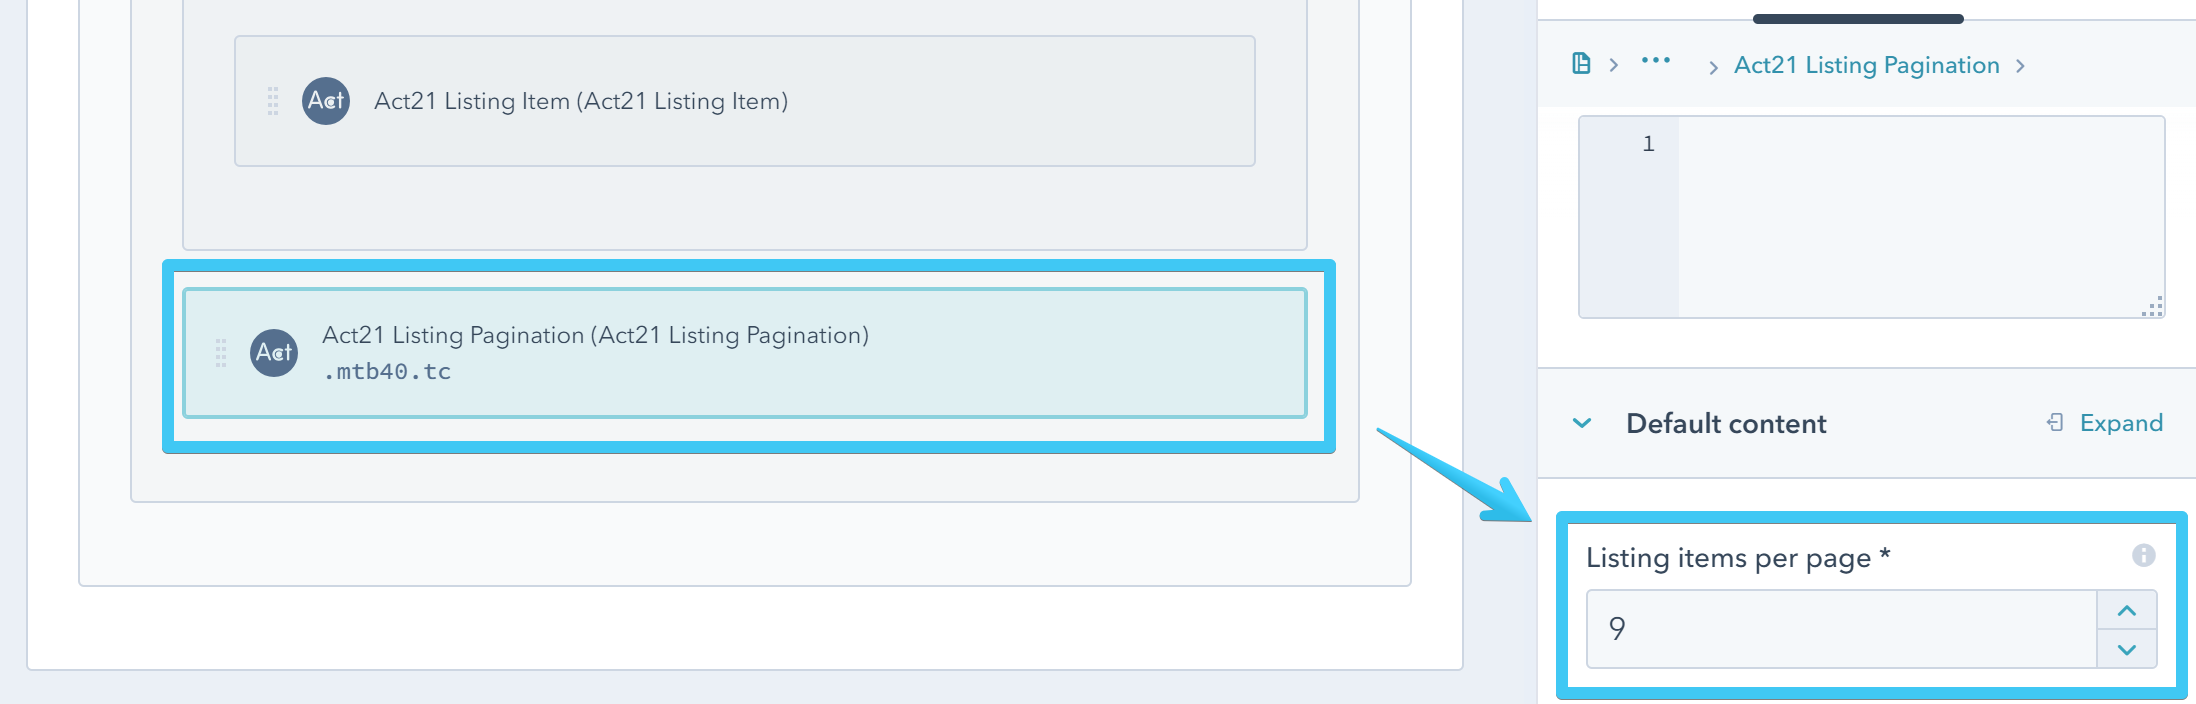
Alternatively, you can add an Act21 HTML module with the following code:
<div class="listing-pagination">
    <div class="listing-pagination-options" data-items-per-page="9"></div>
</div>
Auto-scroll
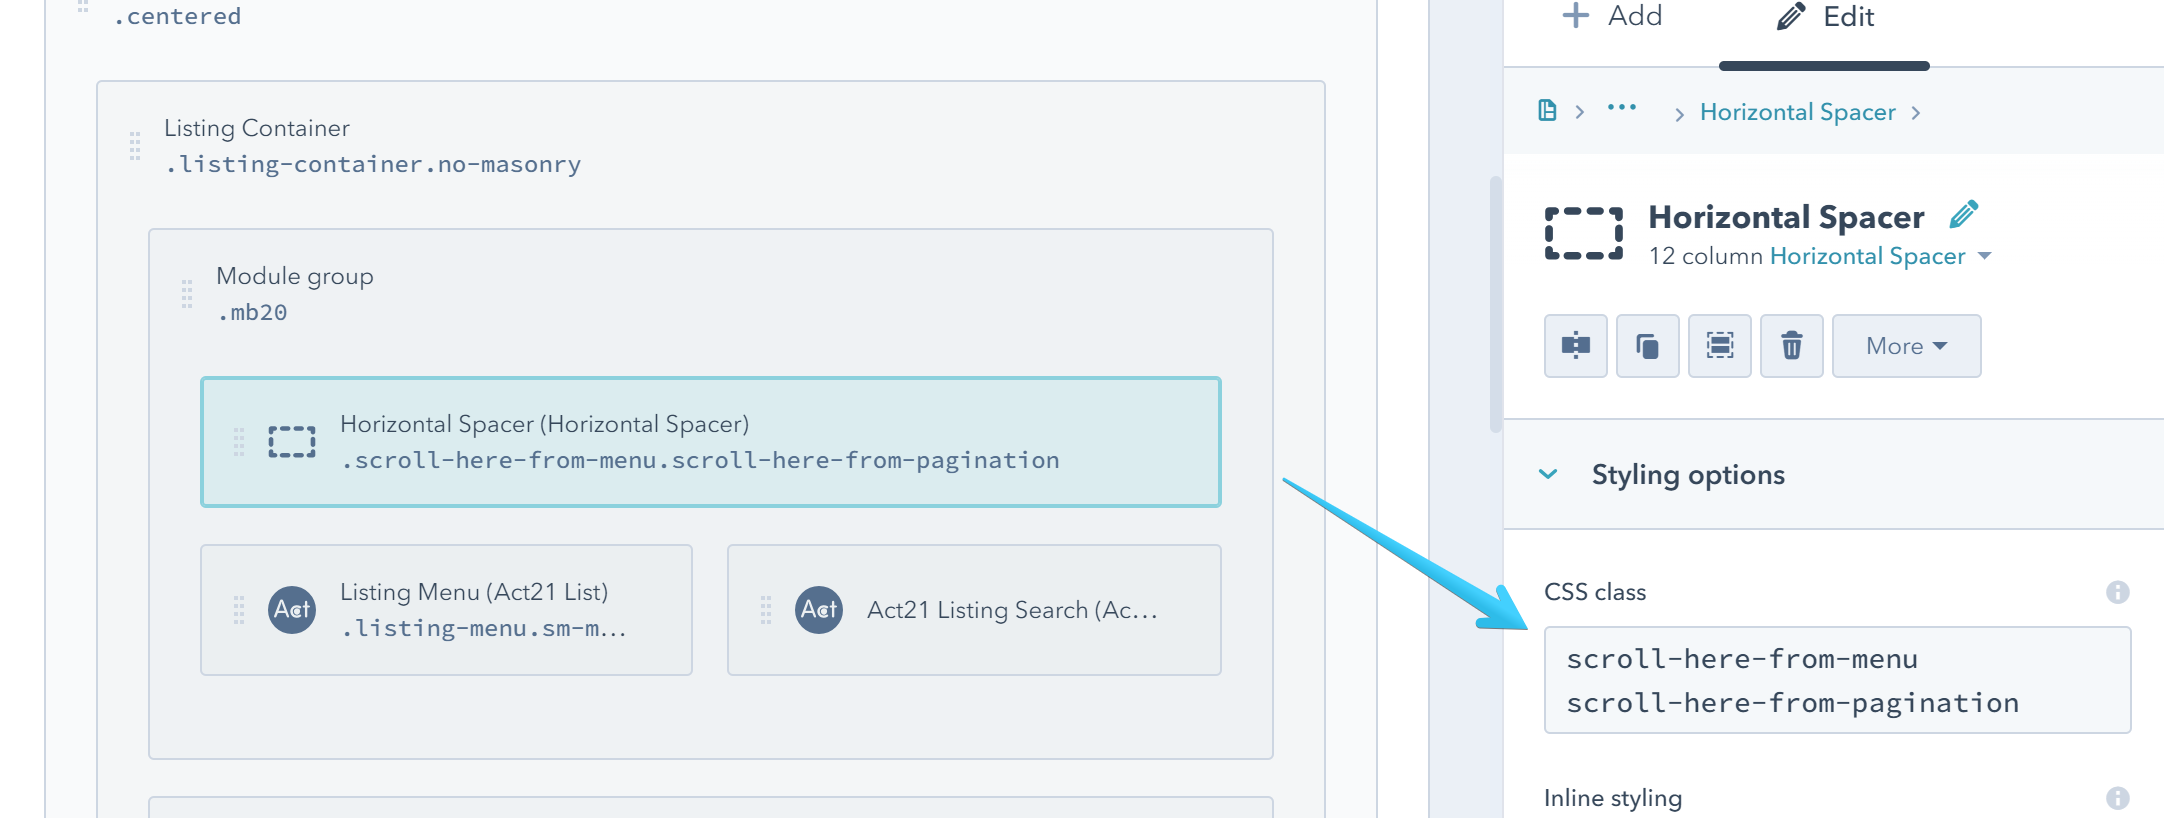
You can add a Horizontal Spacer module with one or both classes below to automatically scroll the page to its position when the user clicks a menu or pagination link. We recommend adding this before your filtering menu or listing items, but that depends on your design. You can also use two Horizontal Spacer modules, one for the menu and one for the pagination, each one with its class.
scroll-here-from-menu scroll-here-from-pagination
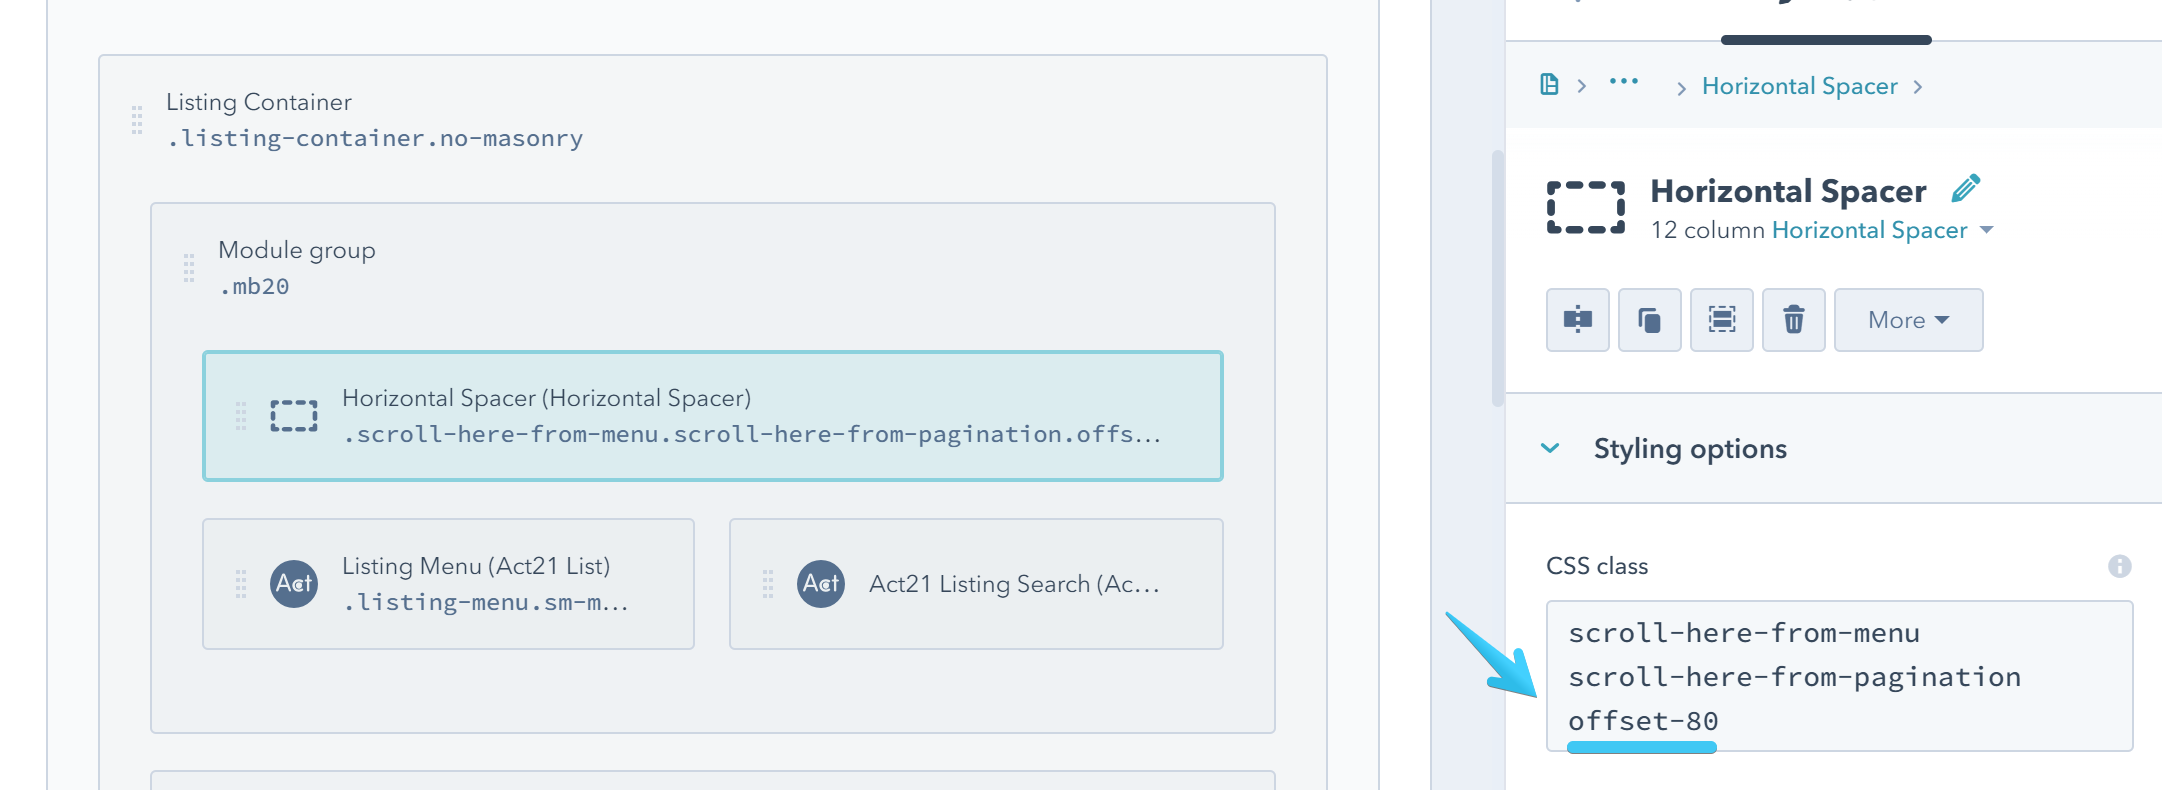
You can also increase the scroll position (especially if there is a sticky header on the page) by adding an offset class to your module: offset-80. Change 80 with the number of pixels you need. For example: offset-97. That is usually the height of your sticky header, but feel free to choose whatever value you want:
2. Advanced Listing
This method is already applied on Act21 Advanced Listing template and is recommended for more complex item layouts and content choices (e.g. listing items that can contain multiple modules and groups). This method requires editing the template to add, remove or reorder items. You can however lock the modules at the template level to avoid making content changes in two places (page and template).
Note:
Modules inside Flexible Columns cannot be split or grouped. This is the reason we created a fully editable listing at the template level, to also provide a way for more complex item layouts (groups, modules inside a listing item, etc), that can be filterable.
All the elements below are similar to those on the Flexible Listing method. Only the Listing Items are different.
Listing Container
Add a group with these classes listing-container no-masonry
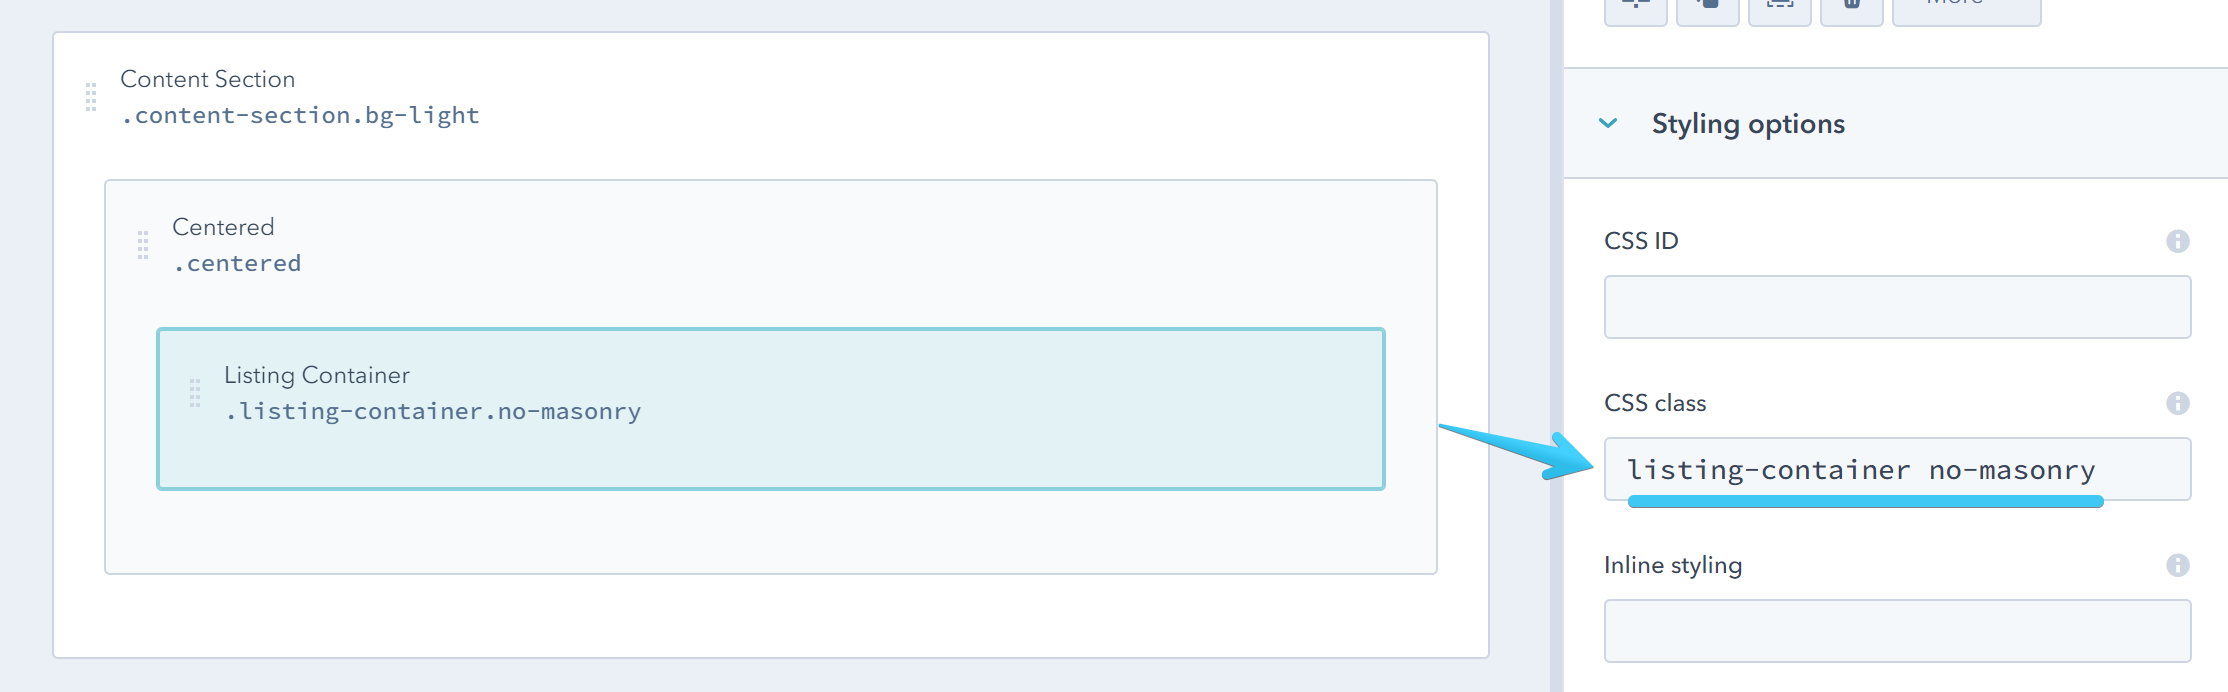
By default the items are placed in a masonry layout that optimizes the use of space by reducing any unnecessary gaps, placing the next item at the highest availabe point in the layout, even if that's just a few pixels above the others. We disabled the masonry layout by adding the no-masonry class to the Listing Container.
Listing Menu

Add one Act21 List module, or any module/group that can contain links, anywhere inside your Listing Container group (except Listing Items) with these classes: listing-menu sm-mb30 sm-tc
The first class listing-menu is required, the others are just utility classes for bottom margin and centering items on small screens.
Edit this module to add your listing menu items:
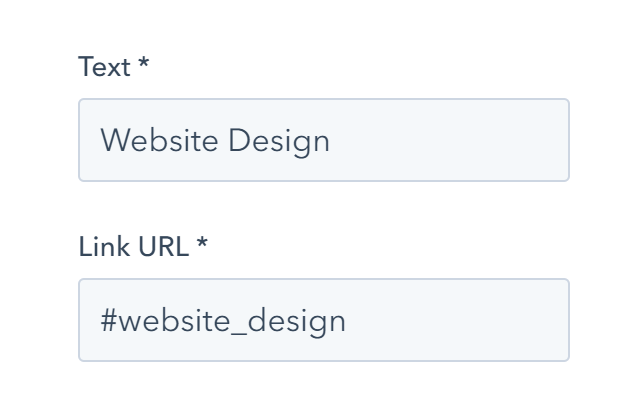
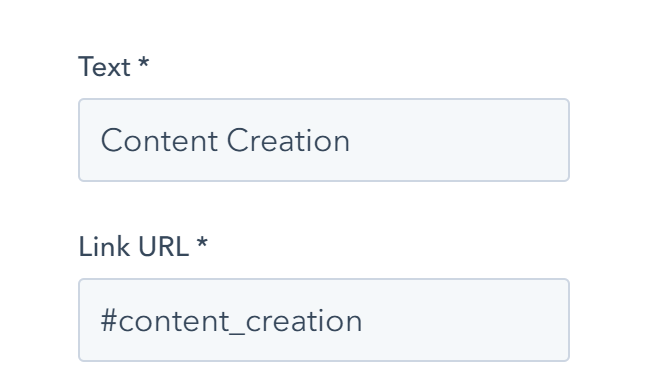
For a link that shows all items add this Link URL: #all
To properly link to your category, you must first add a # character, followed by the category of your items. For example, if you add the website_design category to your listing items, you need to add this menu link: #website_design
Listing Search
Add one Act21 Listing Search module anywhere inside your Listing Container group, except Listing Items:
Alternatively, you can add an Act21 HTML module with the following code:
<div class="listing-search">
<input class="hs-input" type="text" placeholder="Search...">
</div>
Listing Items
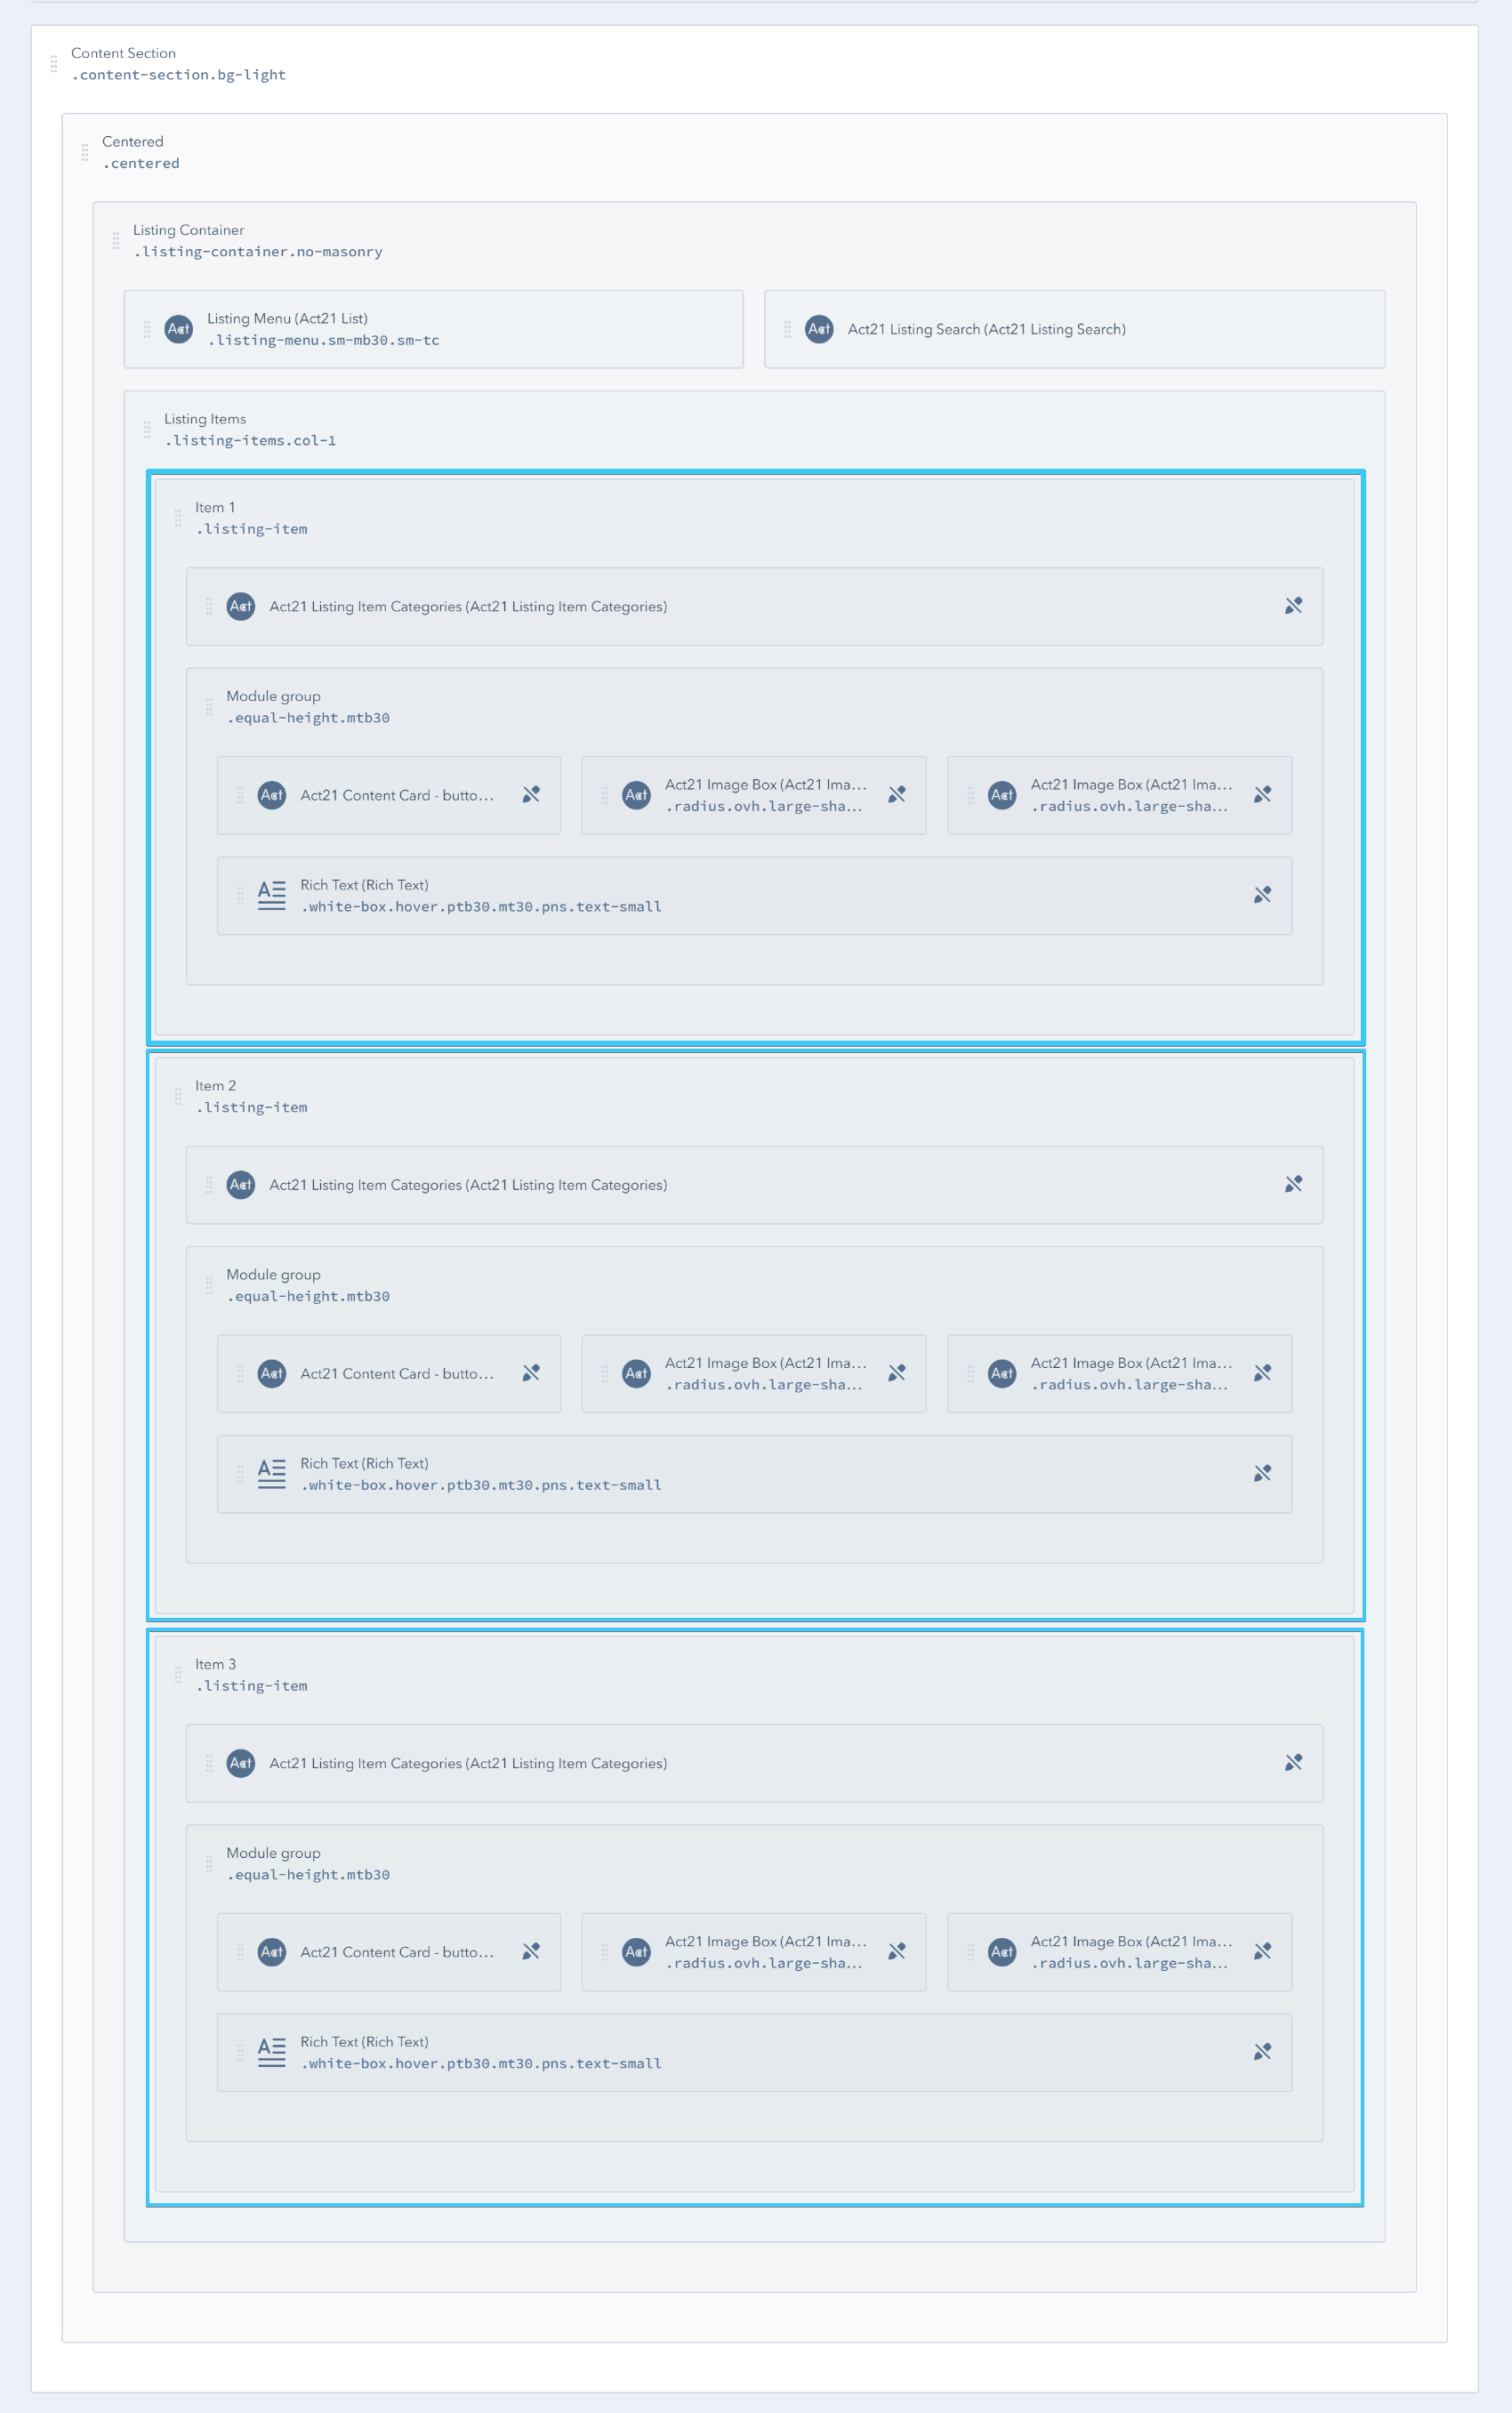
Add a module group anywhere in the Listing Container group, with these classes: listing-items col-1
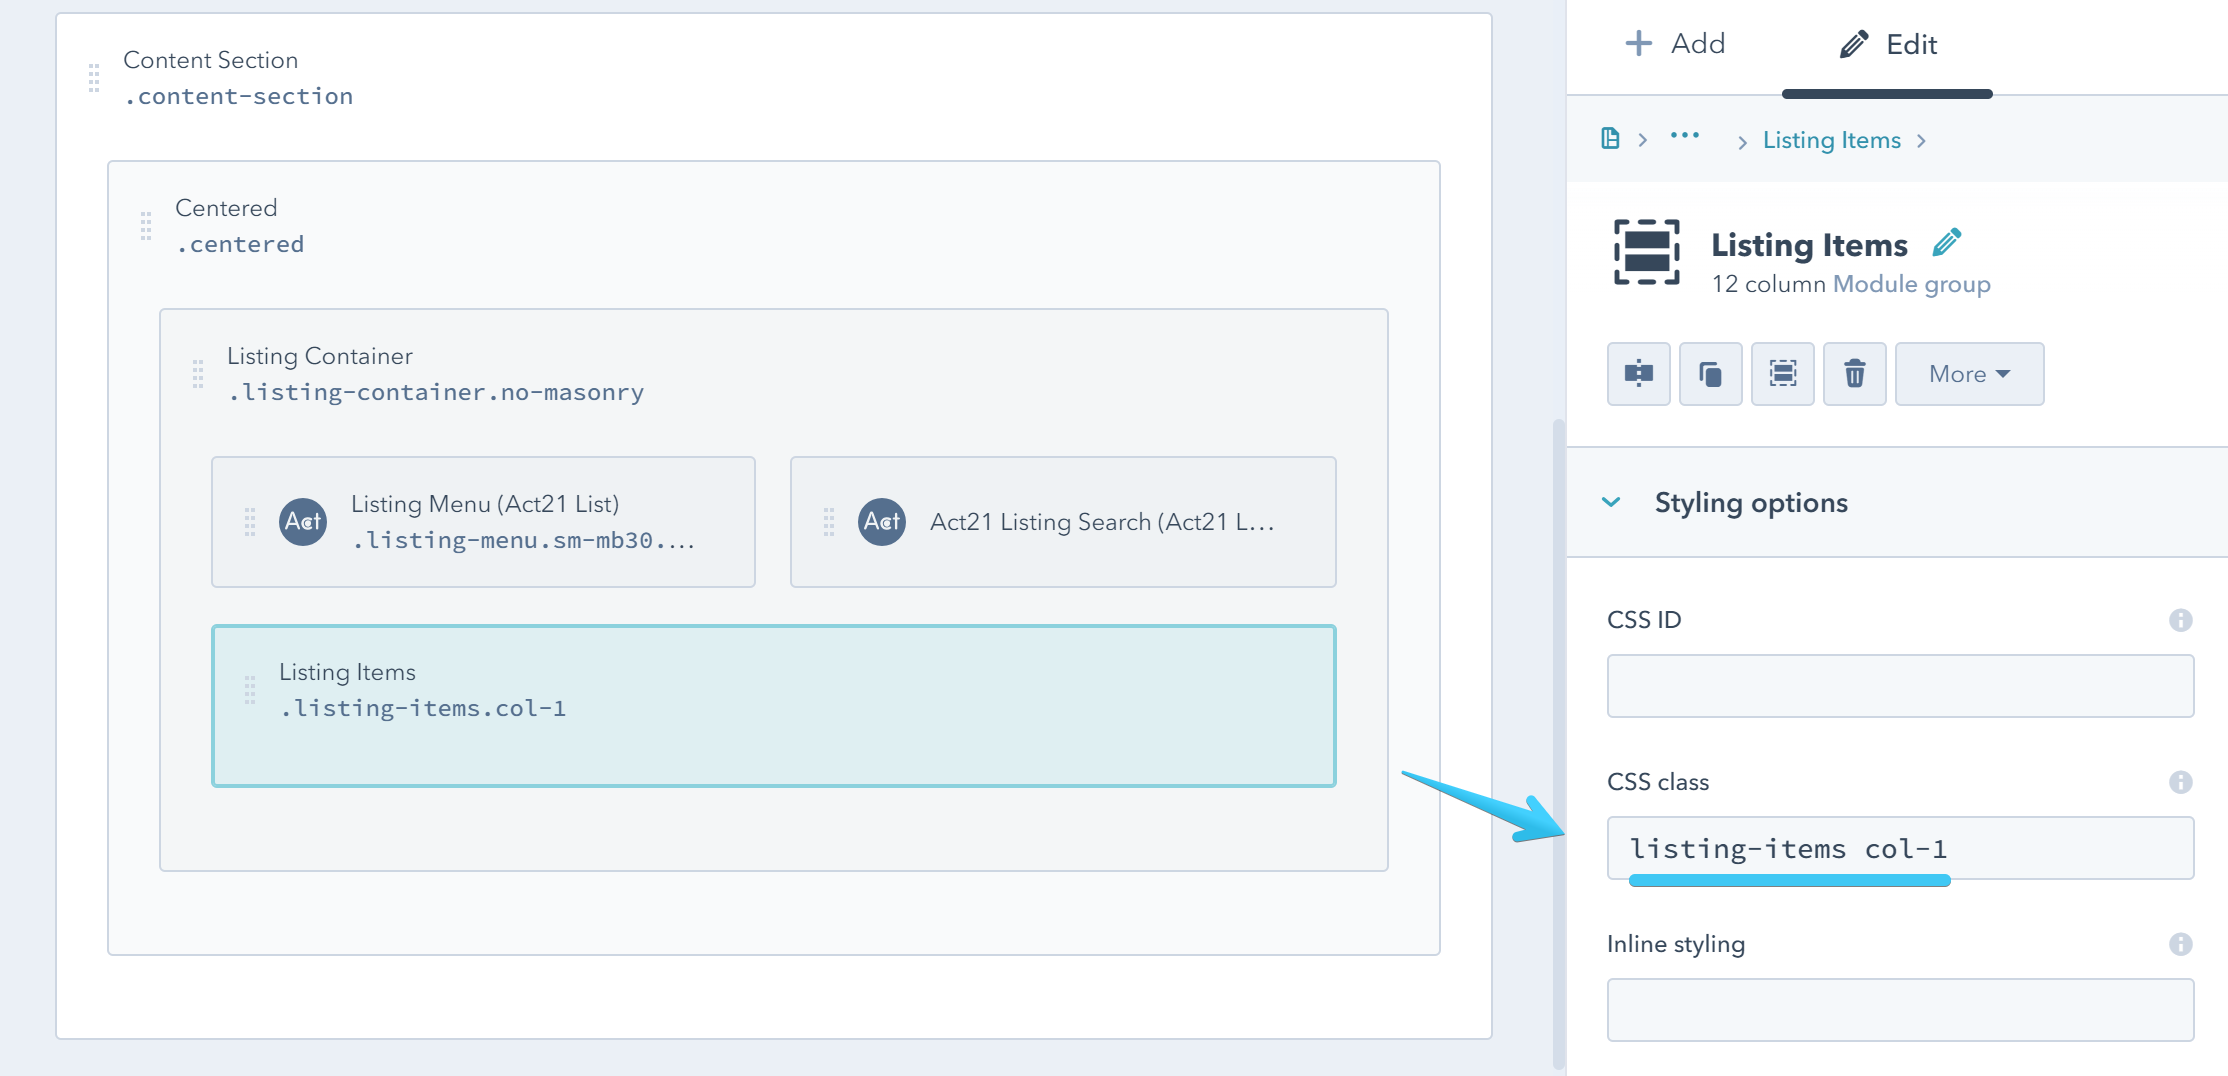
You can replace col-1 with col-2, col-3 or col-4 to specify a different number of columns, although this method is better suited for one column listings.
You can now add a group for each listing item inside the Listing Items group with this class: listing-item
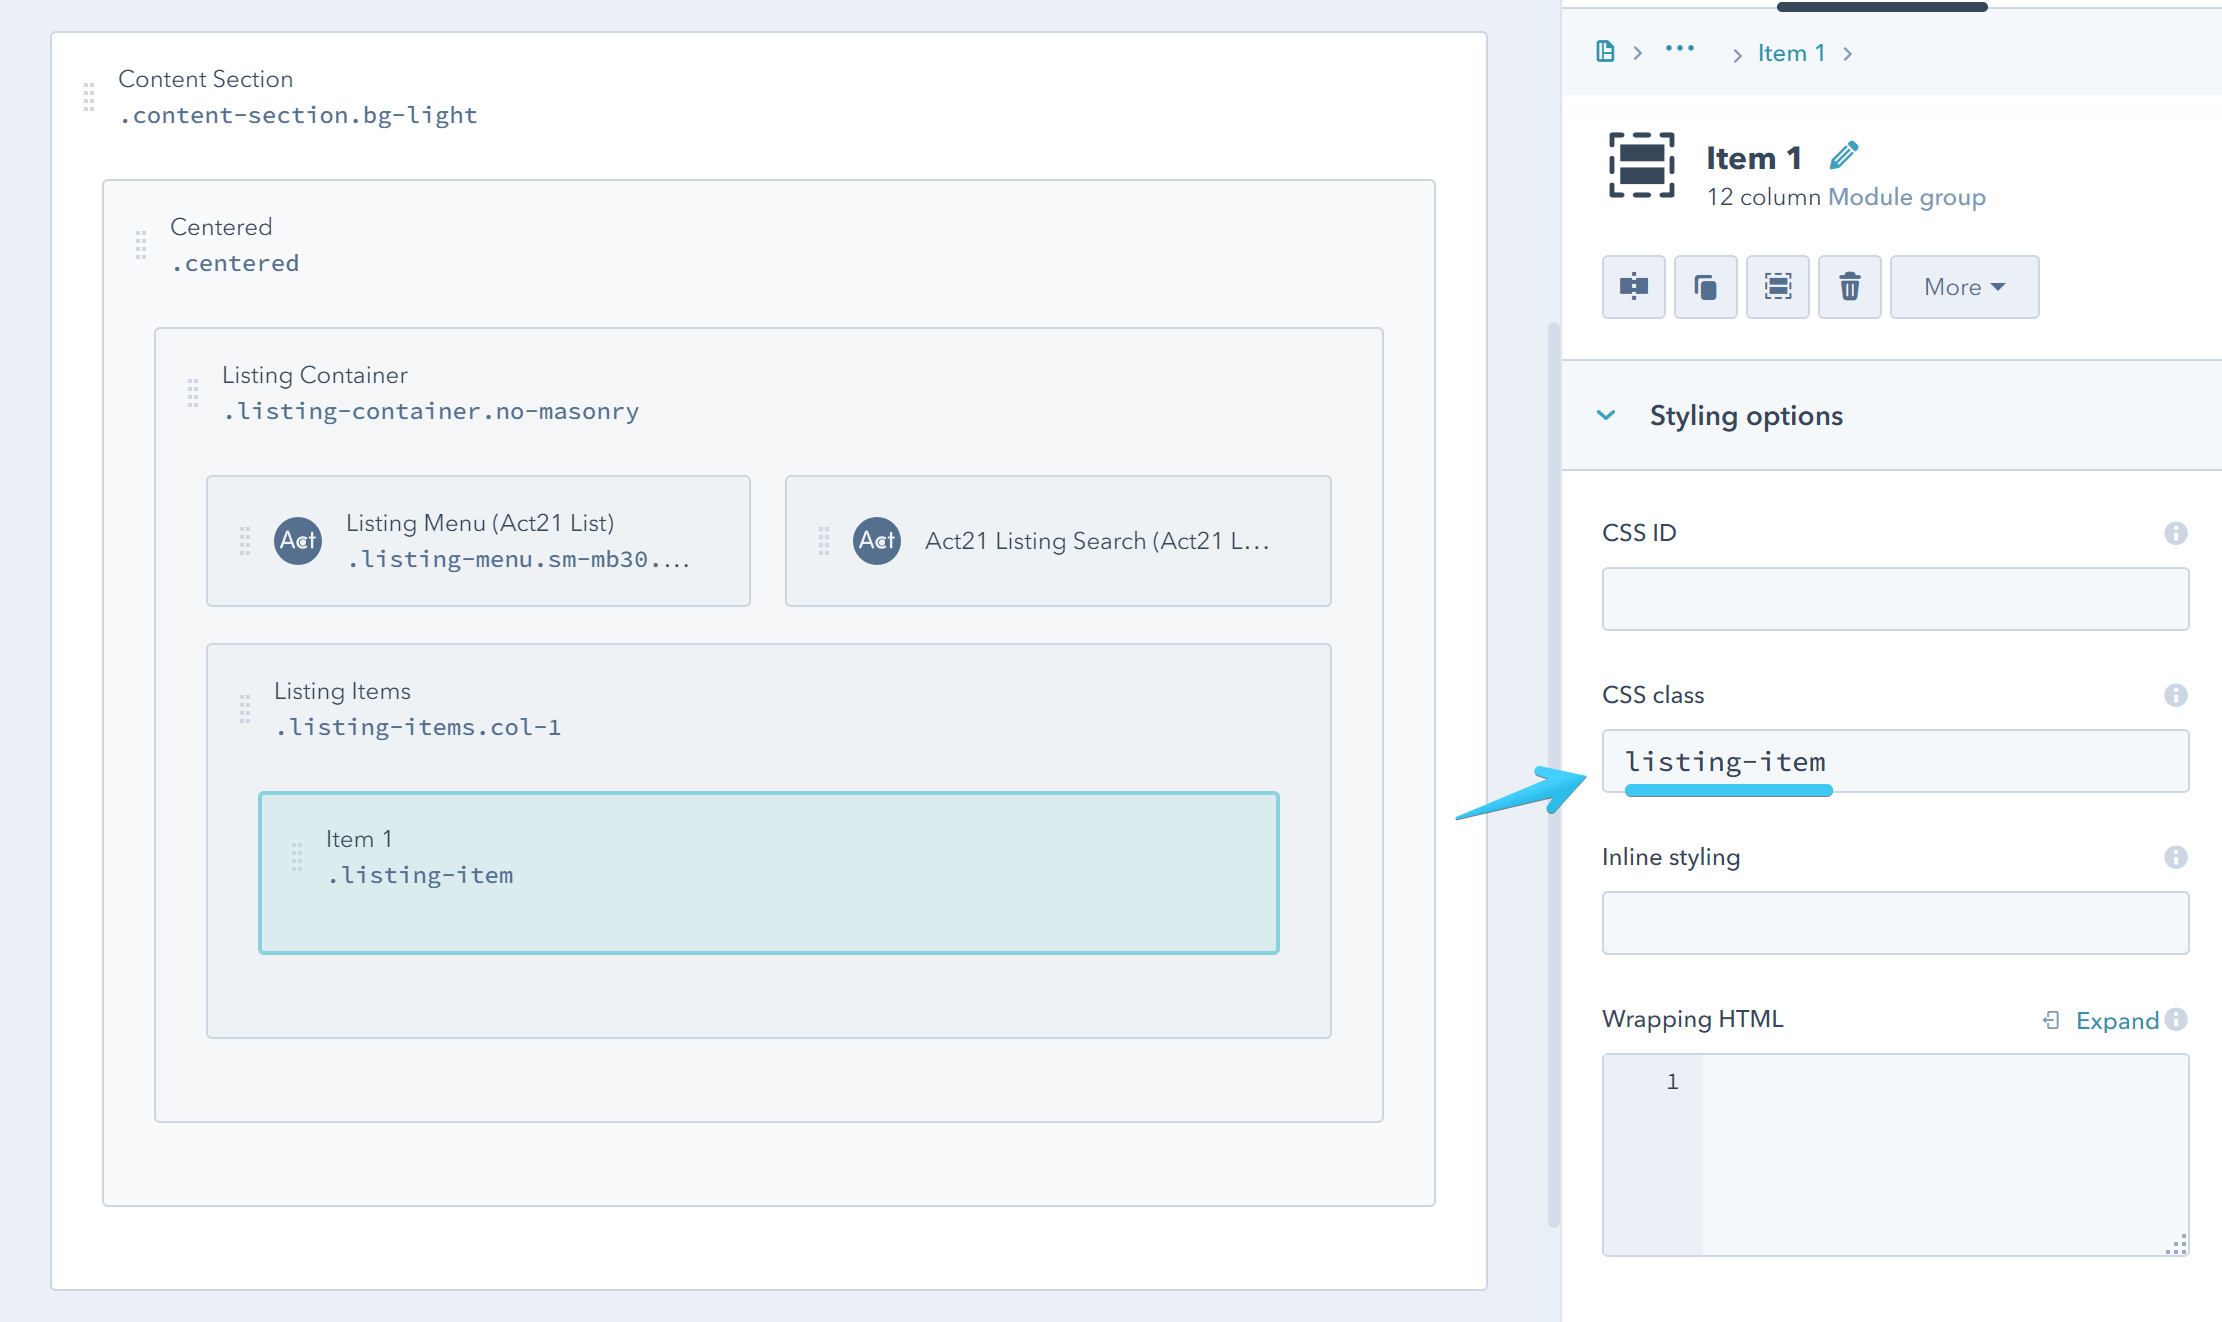
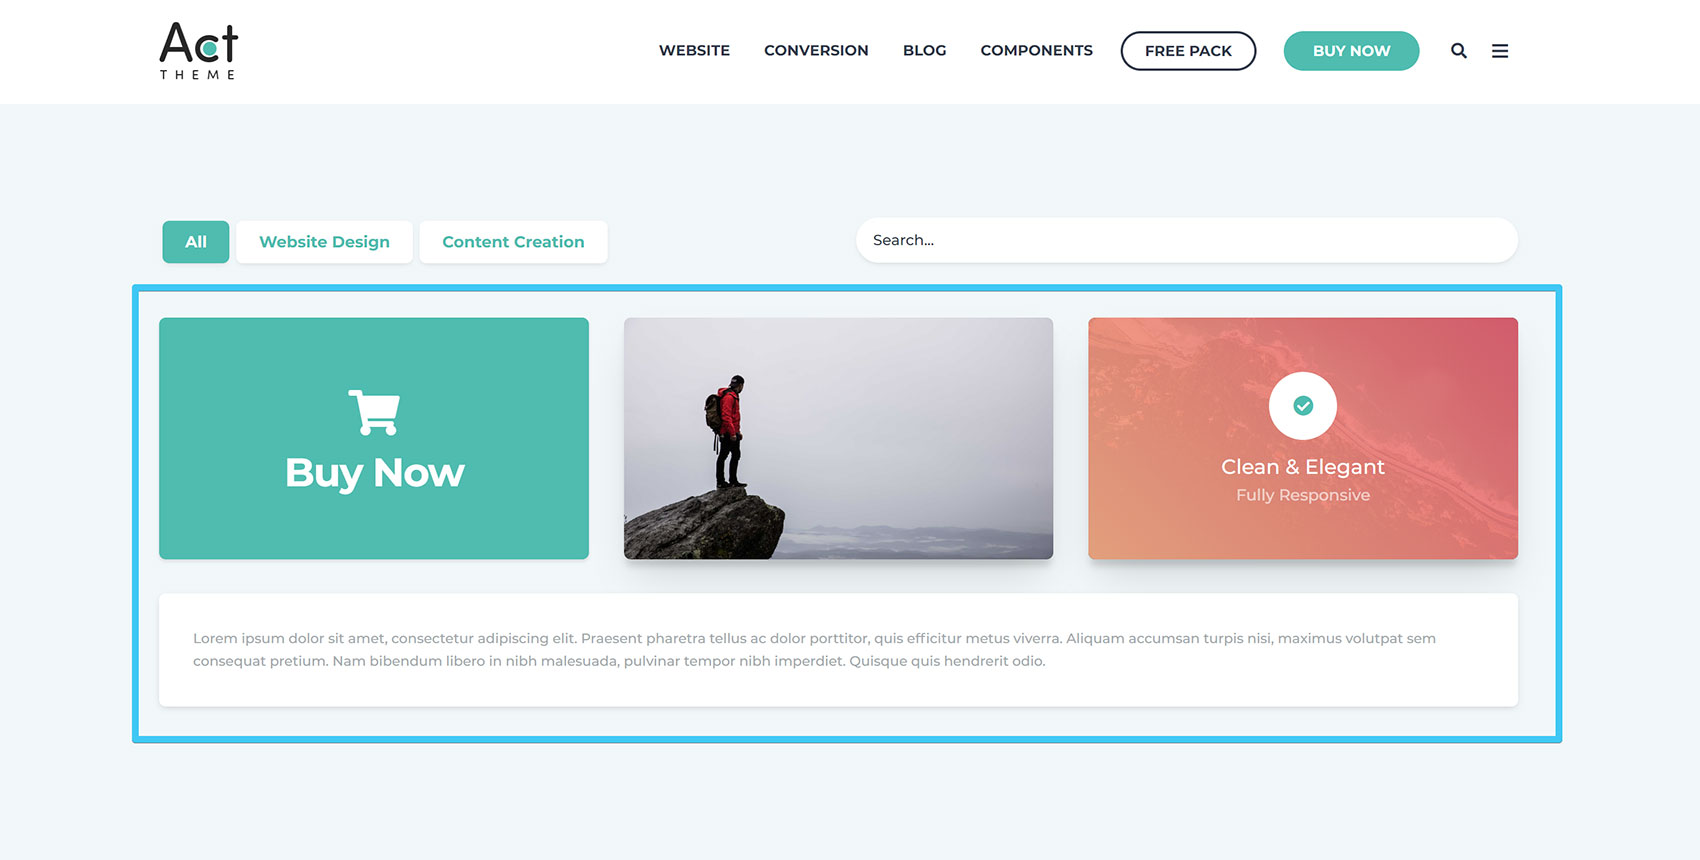
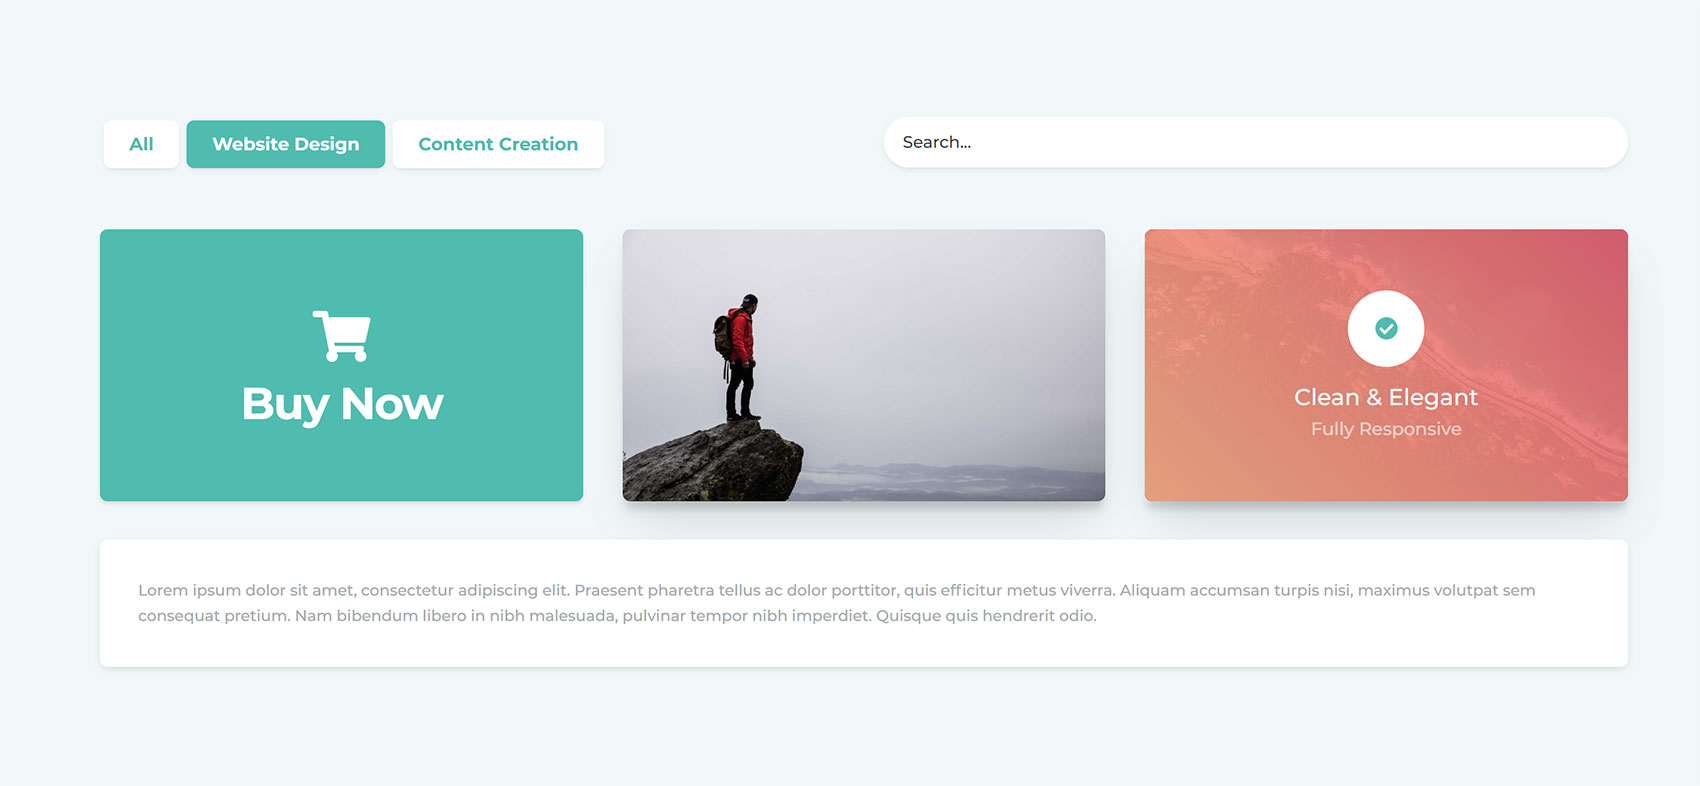
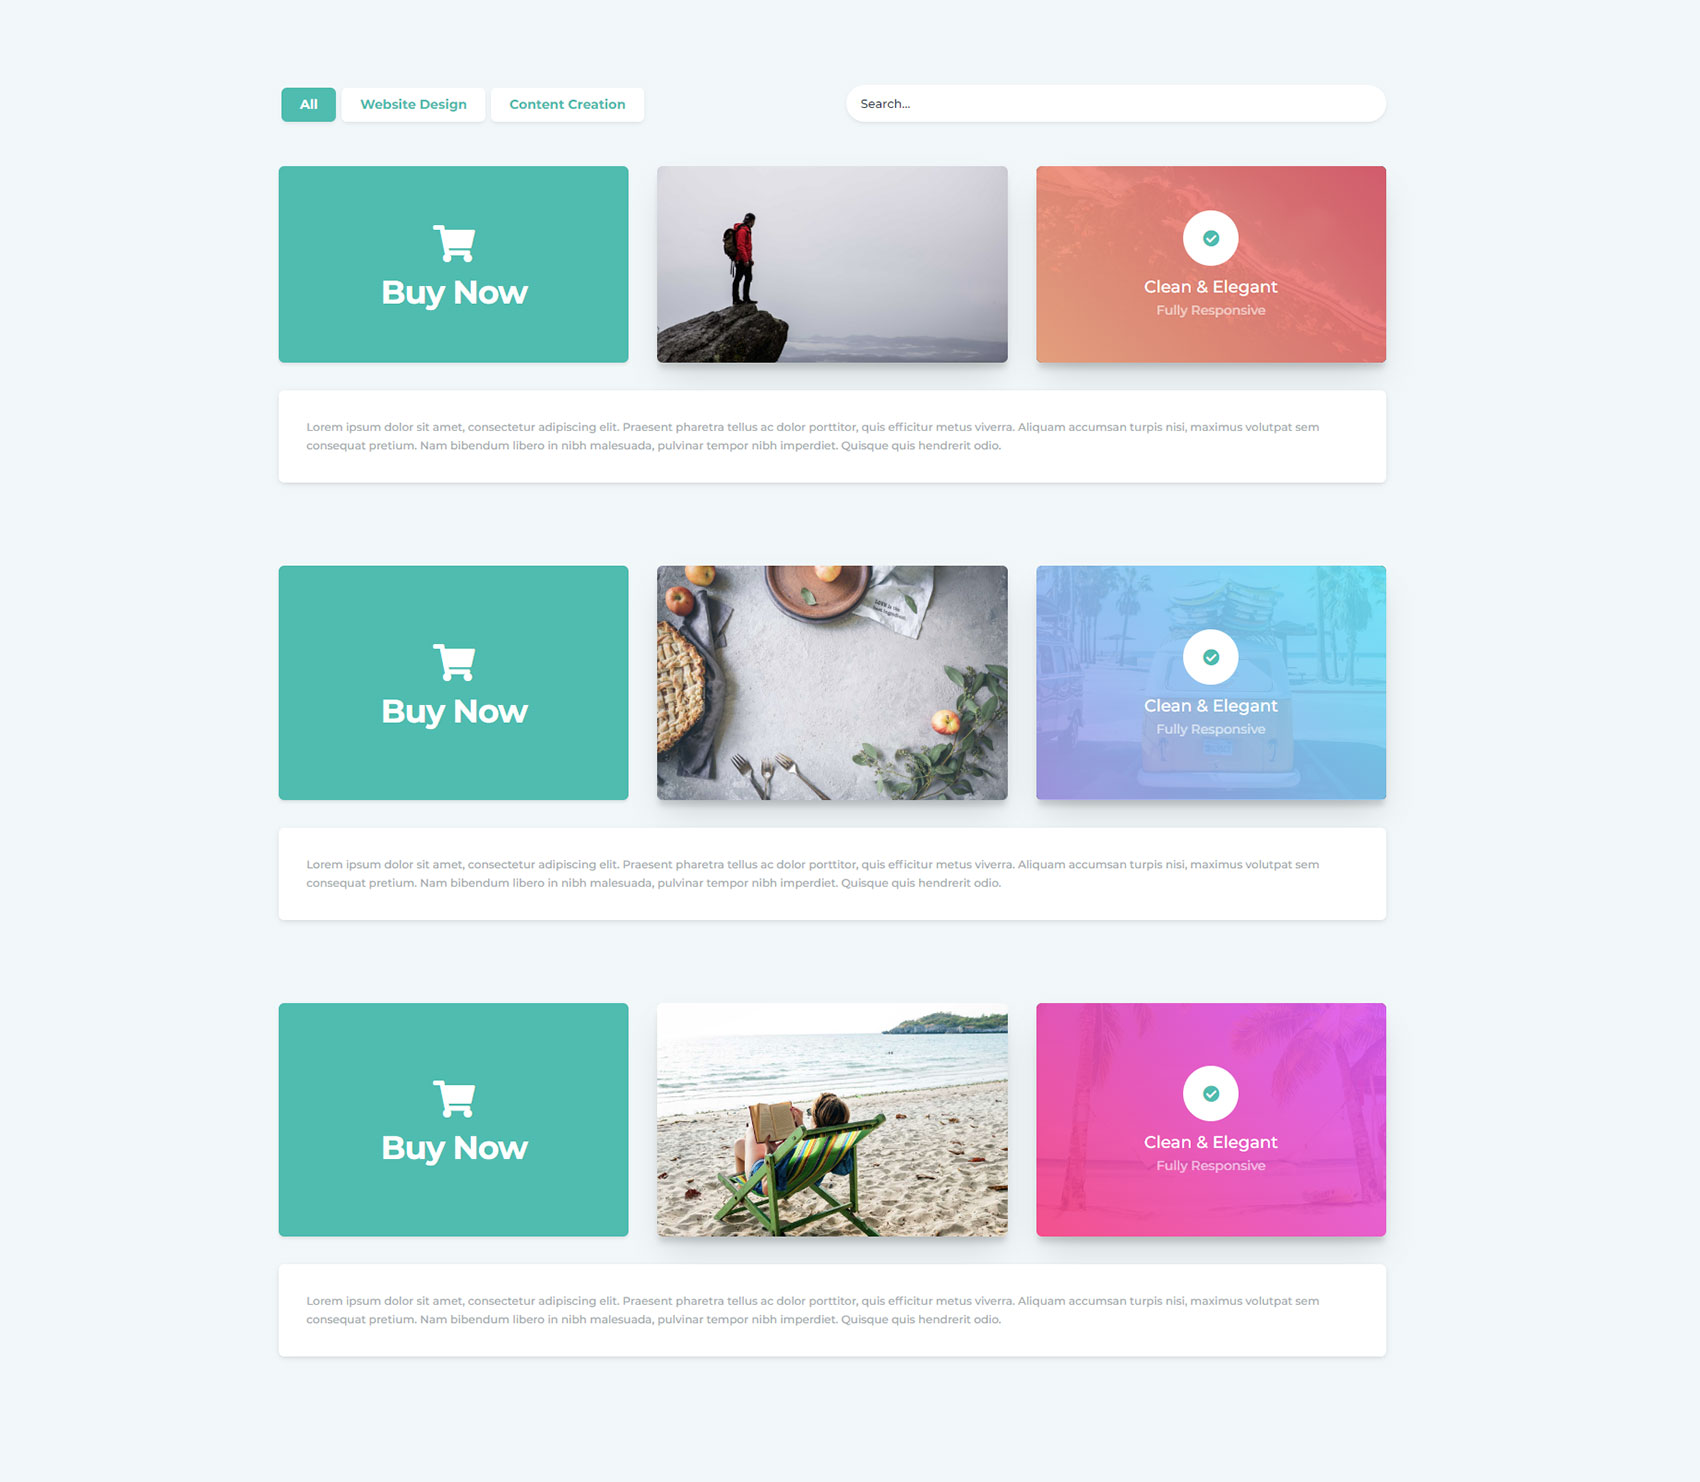
Add whatever layout and modules you want inside:
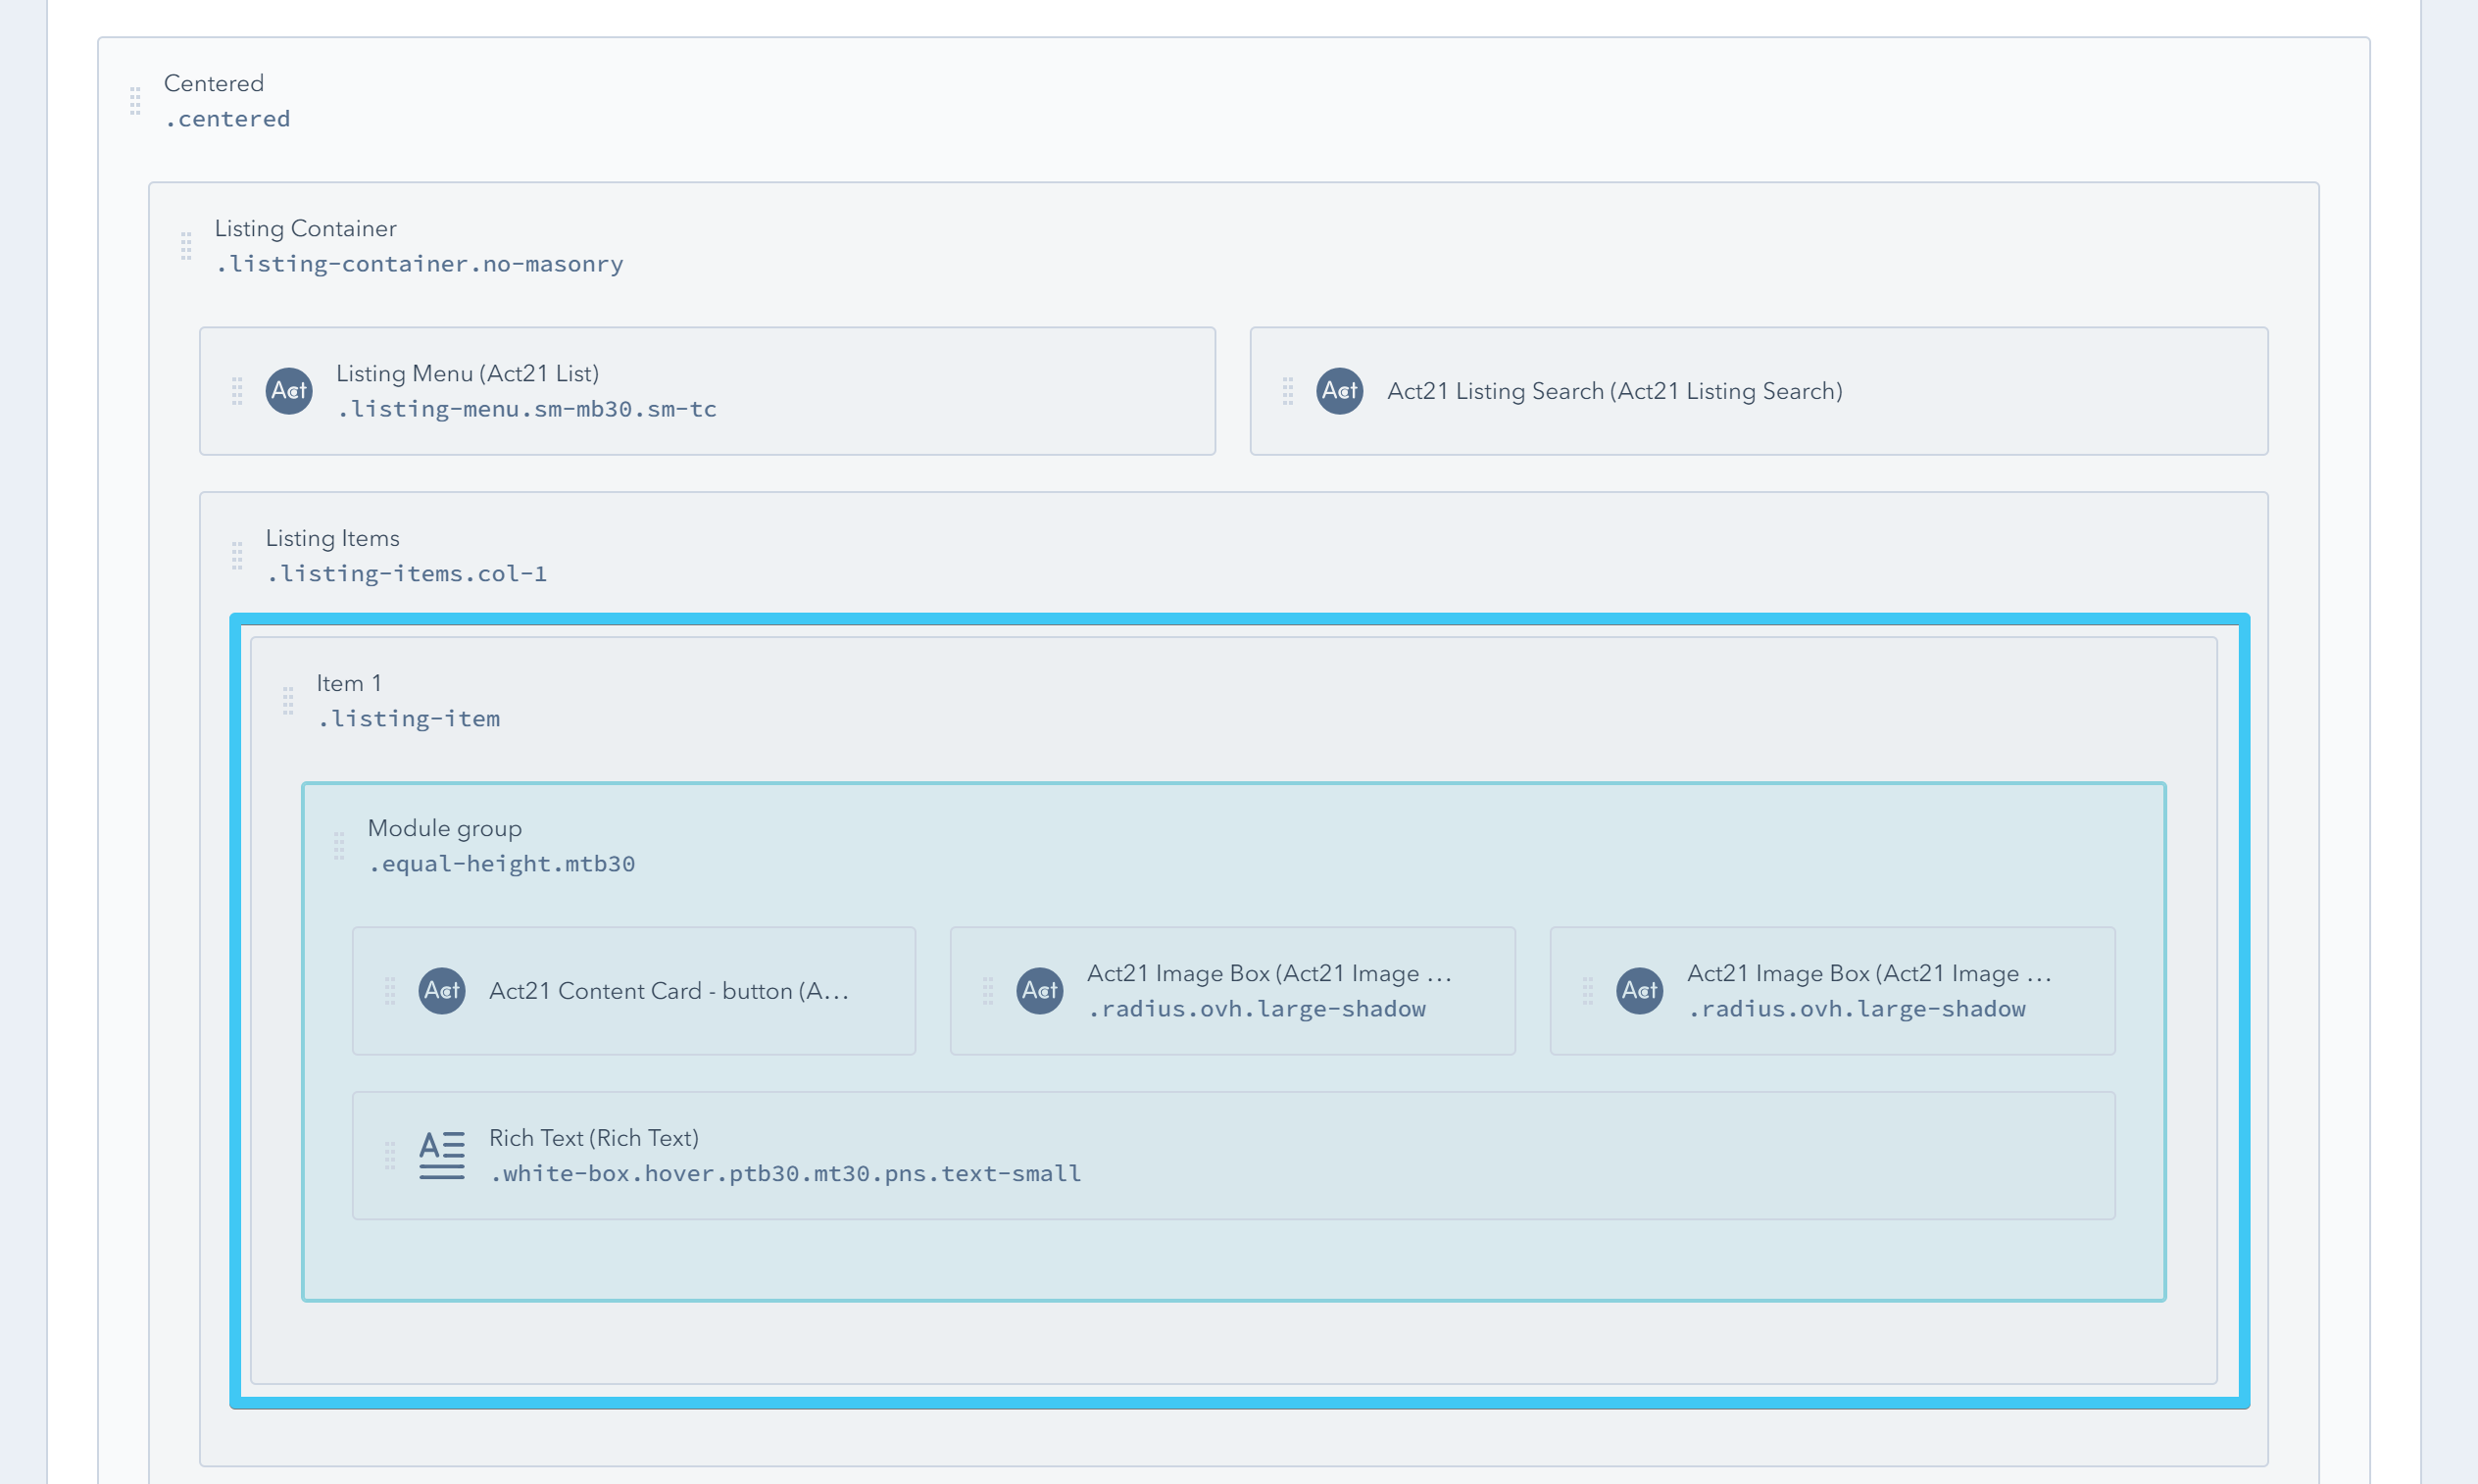
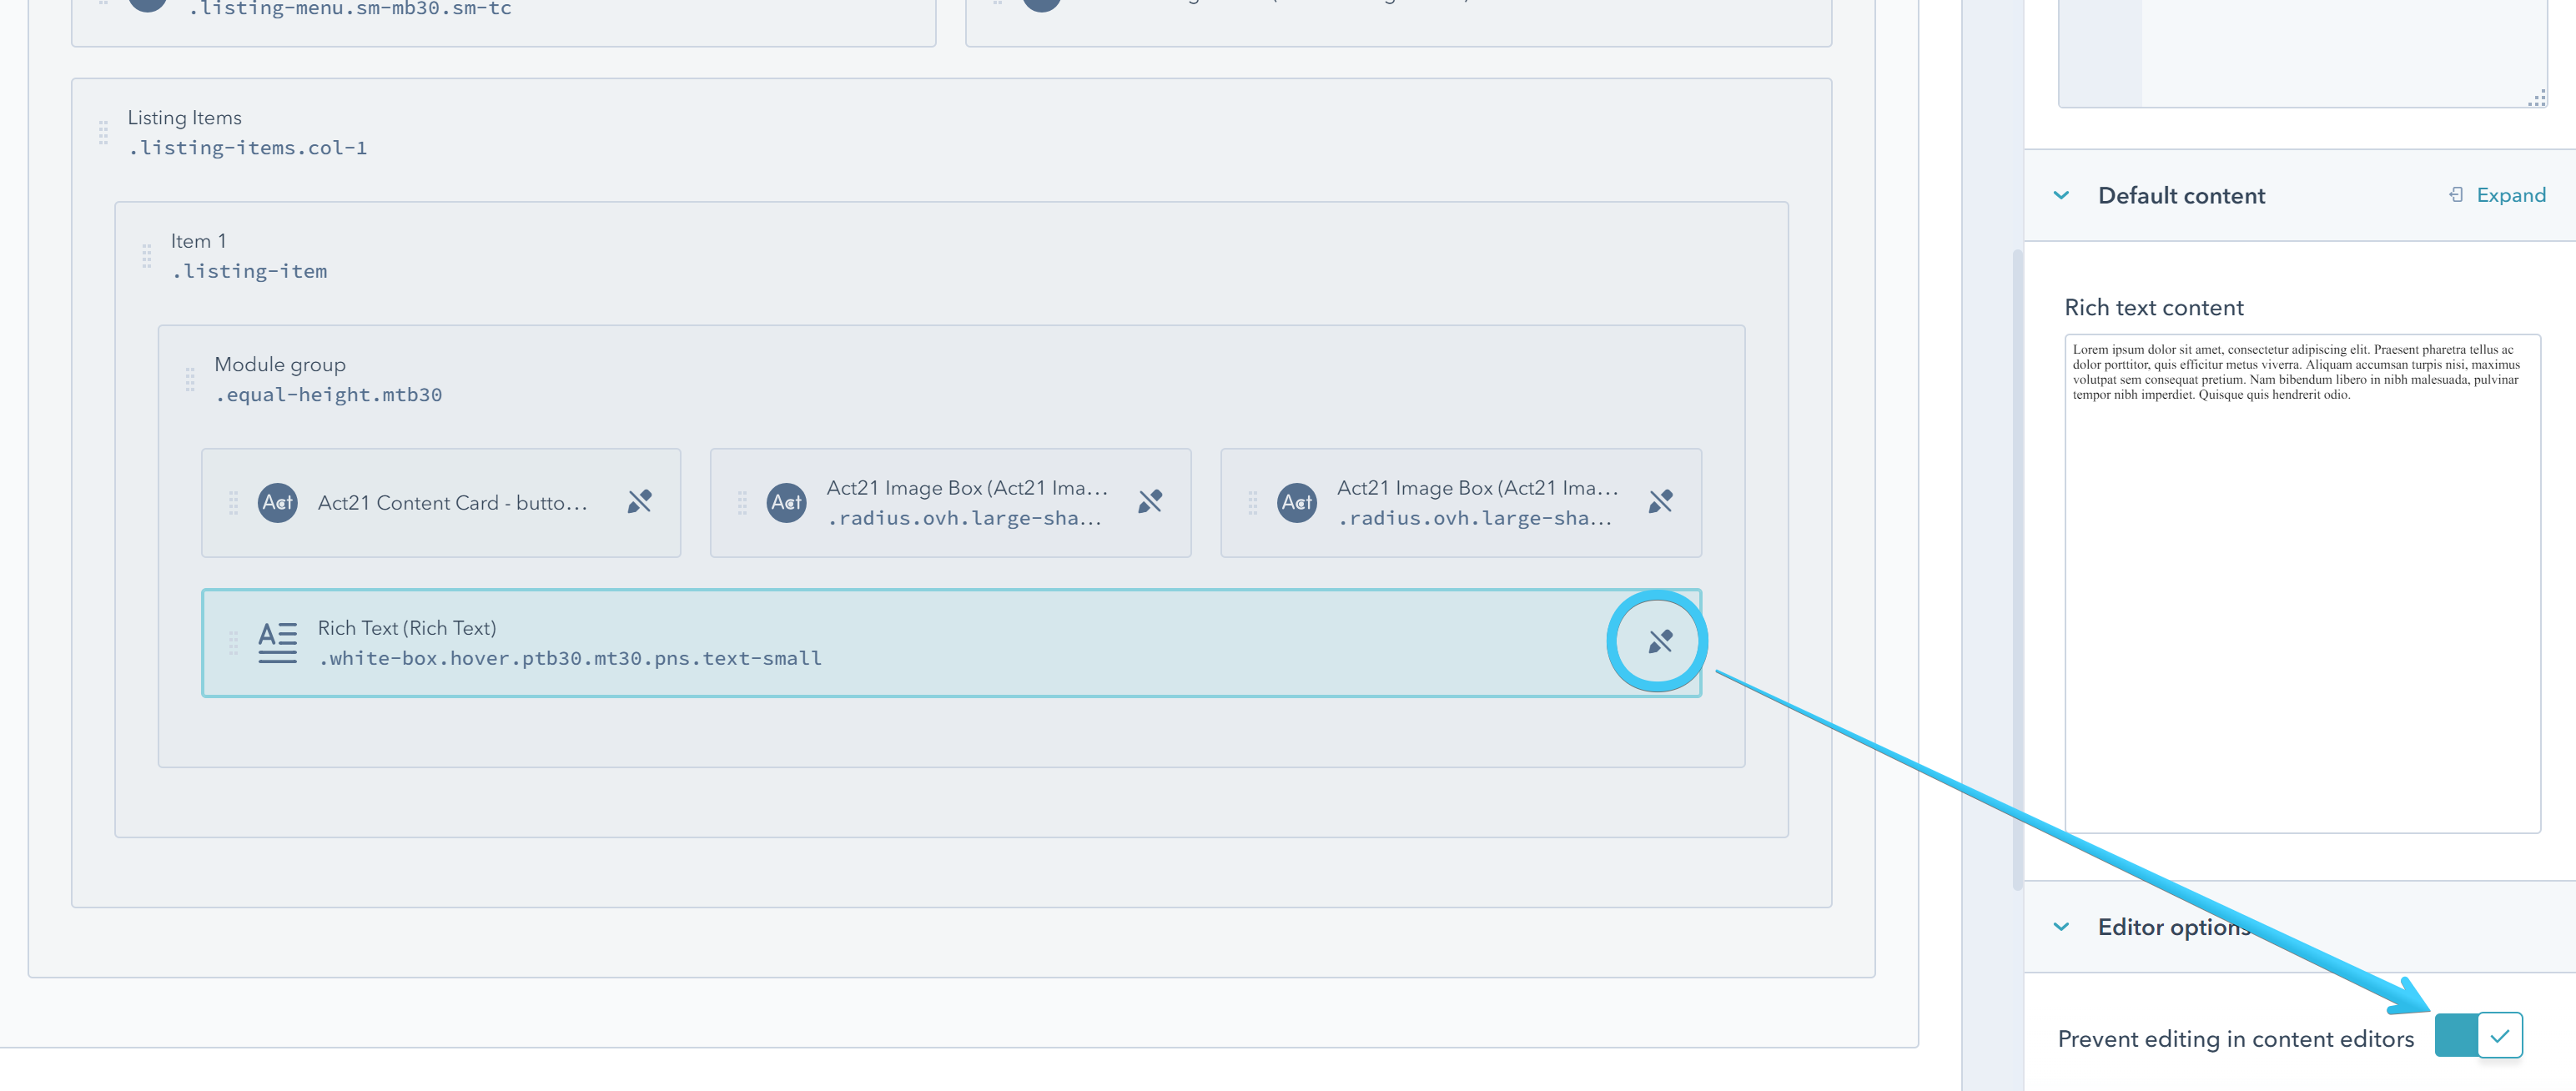
The content of individual modules can be locked in the template to avoid making changes in two places (page and template):
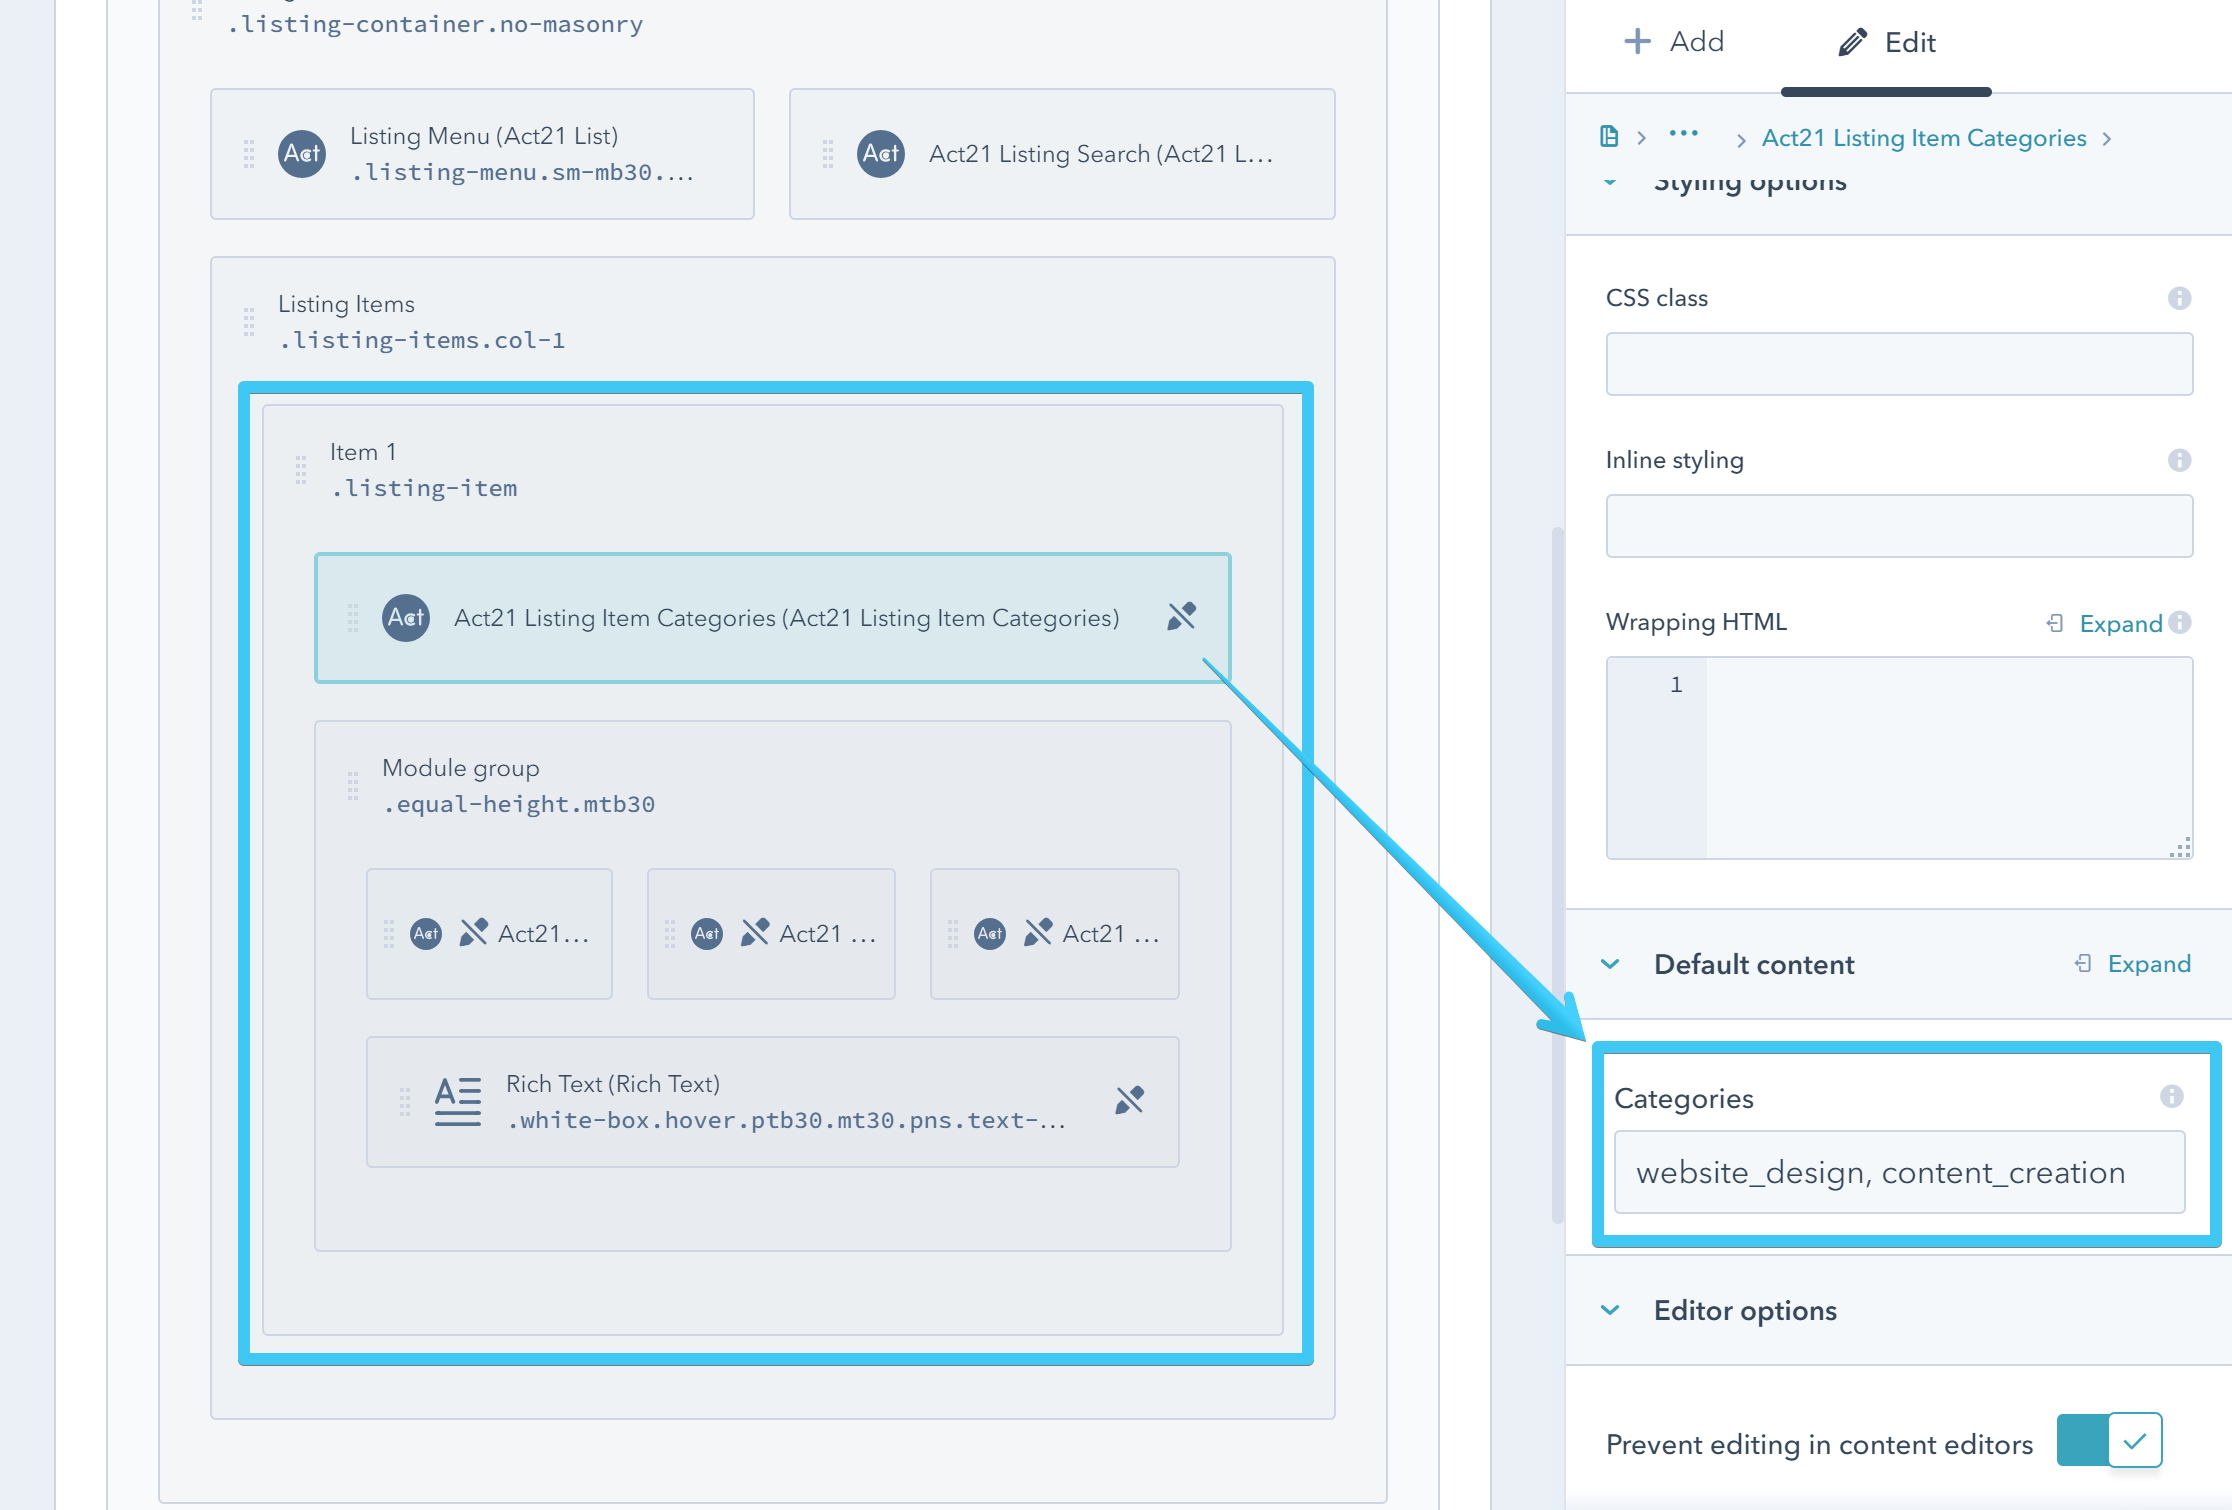
If you want to specify categories for this item you need to add an Act21 Listing Item Categories module at the top of your Listing Item (please make sure it's at the top). You can add multiple categories separated by comma:
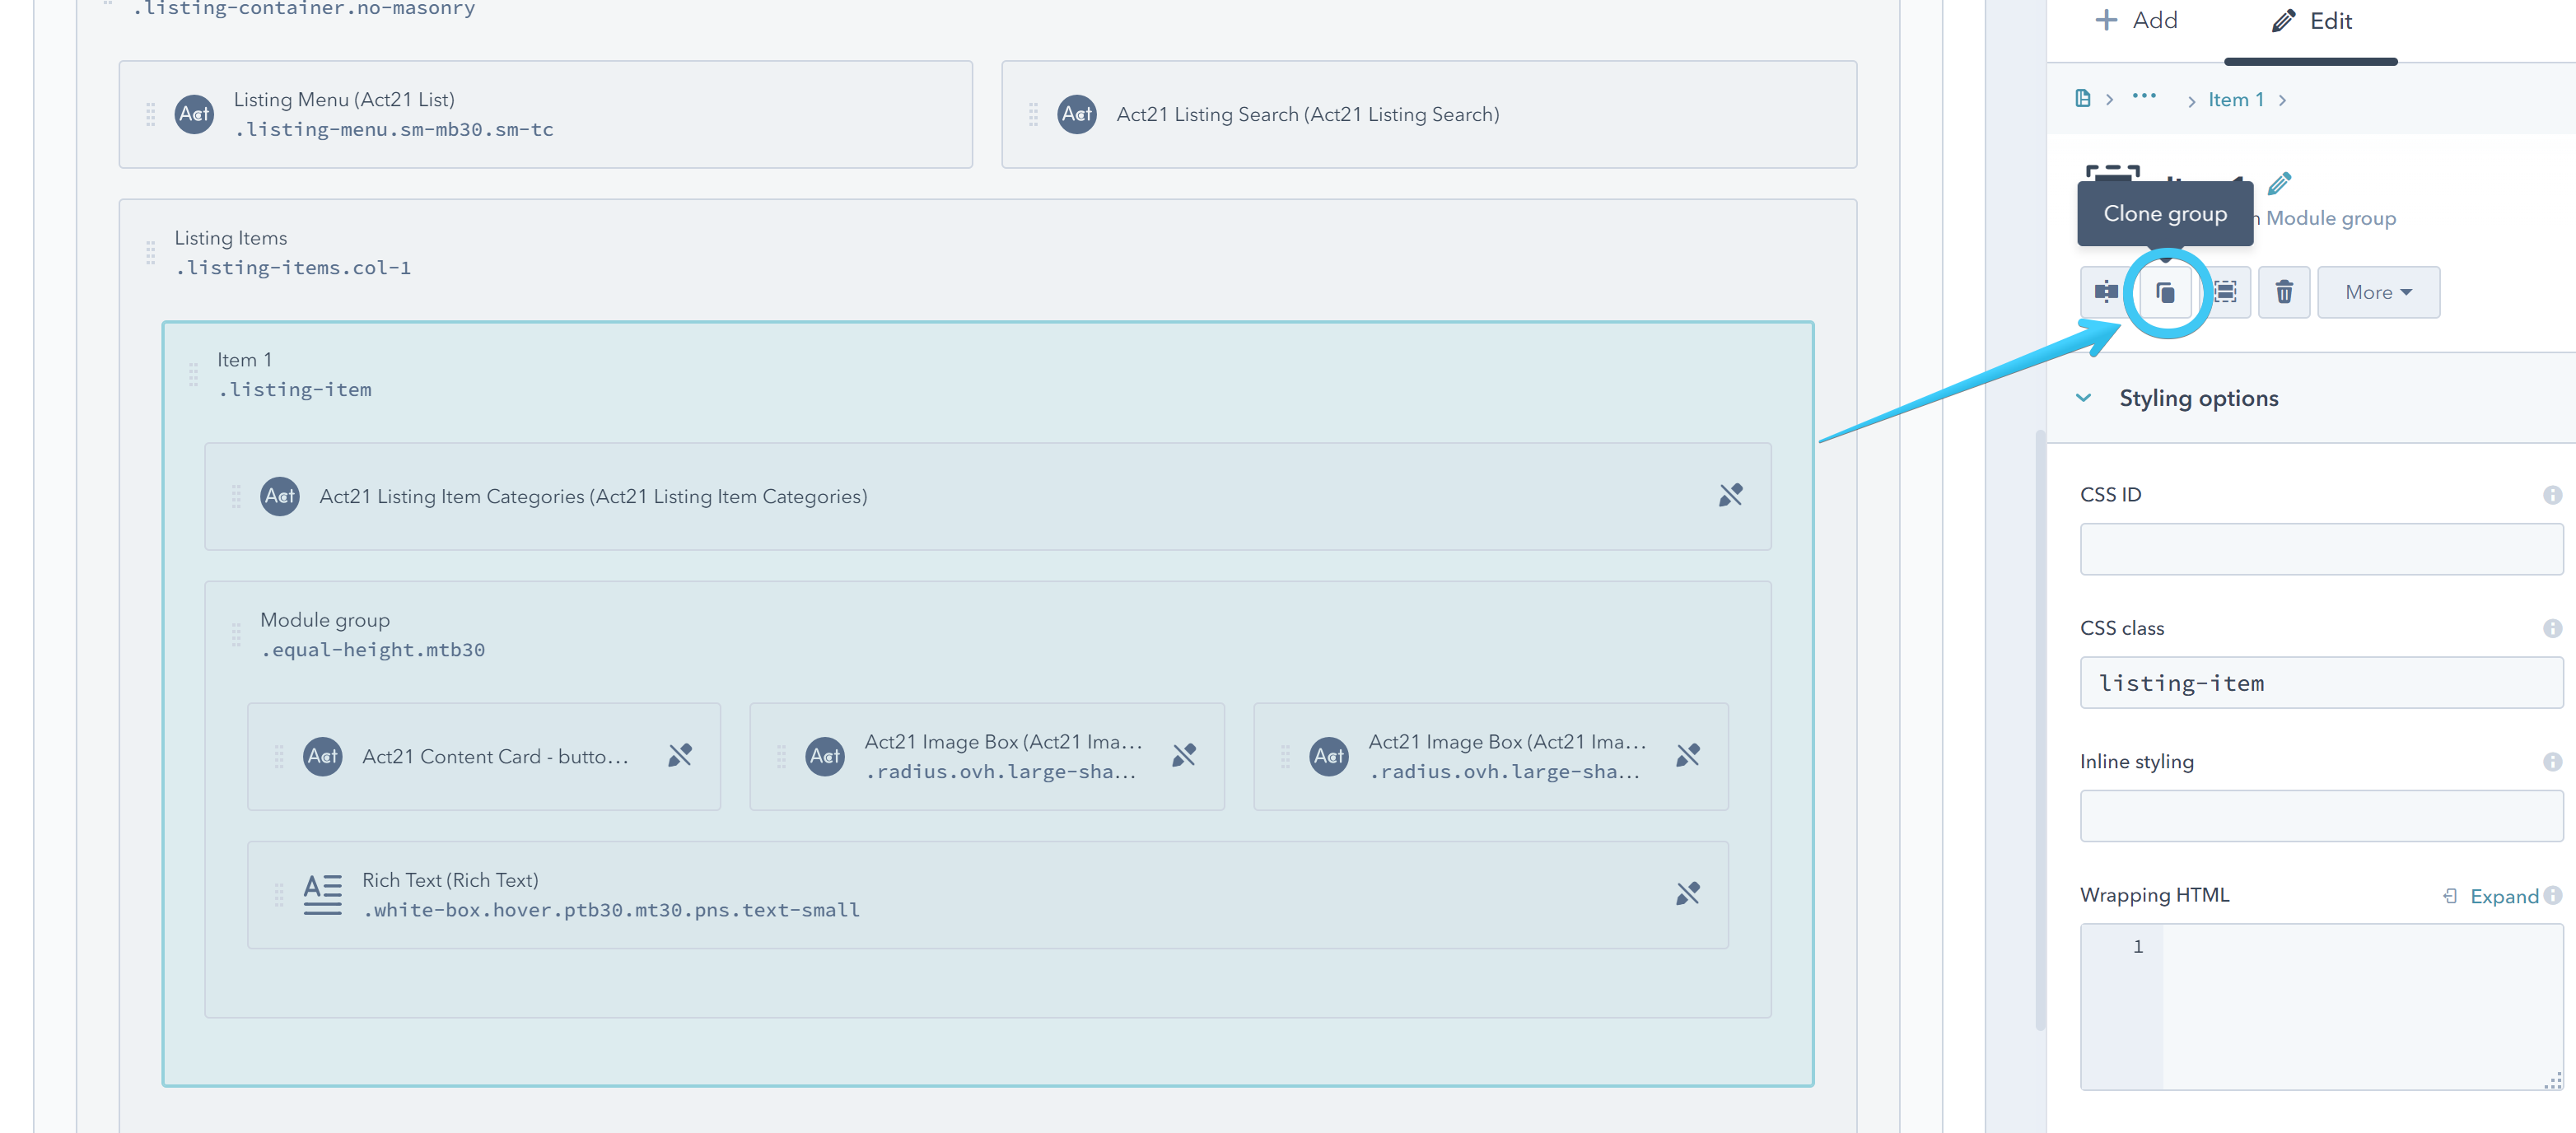
Now, you can easily clone this group if you want the same design for all items, then just change the default content and categories:
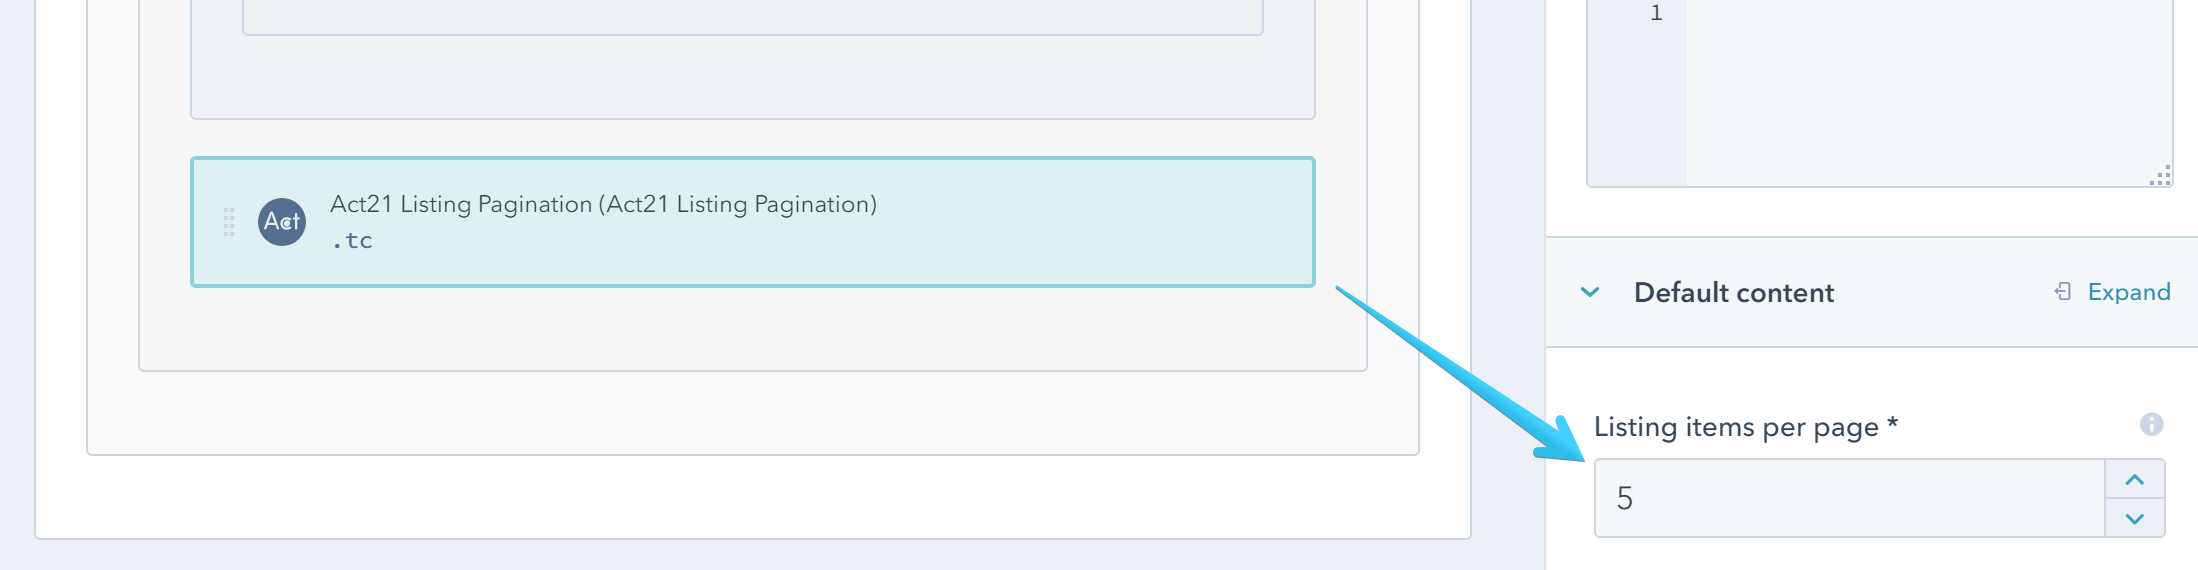
Listing Pagination
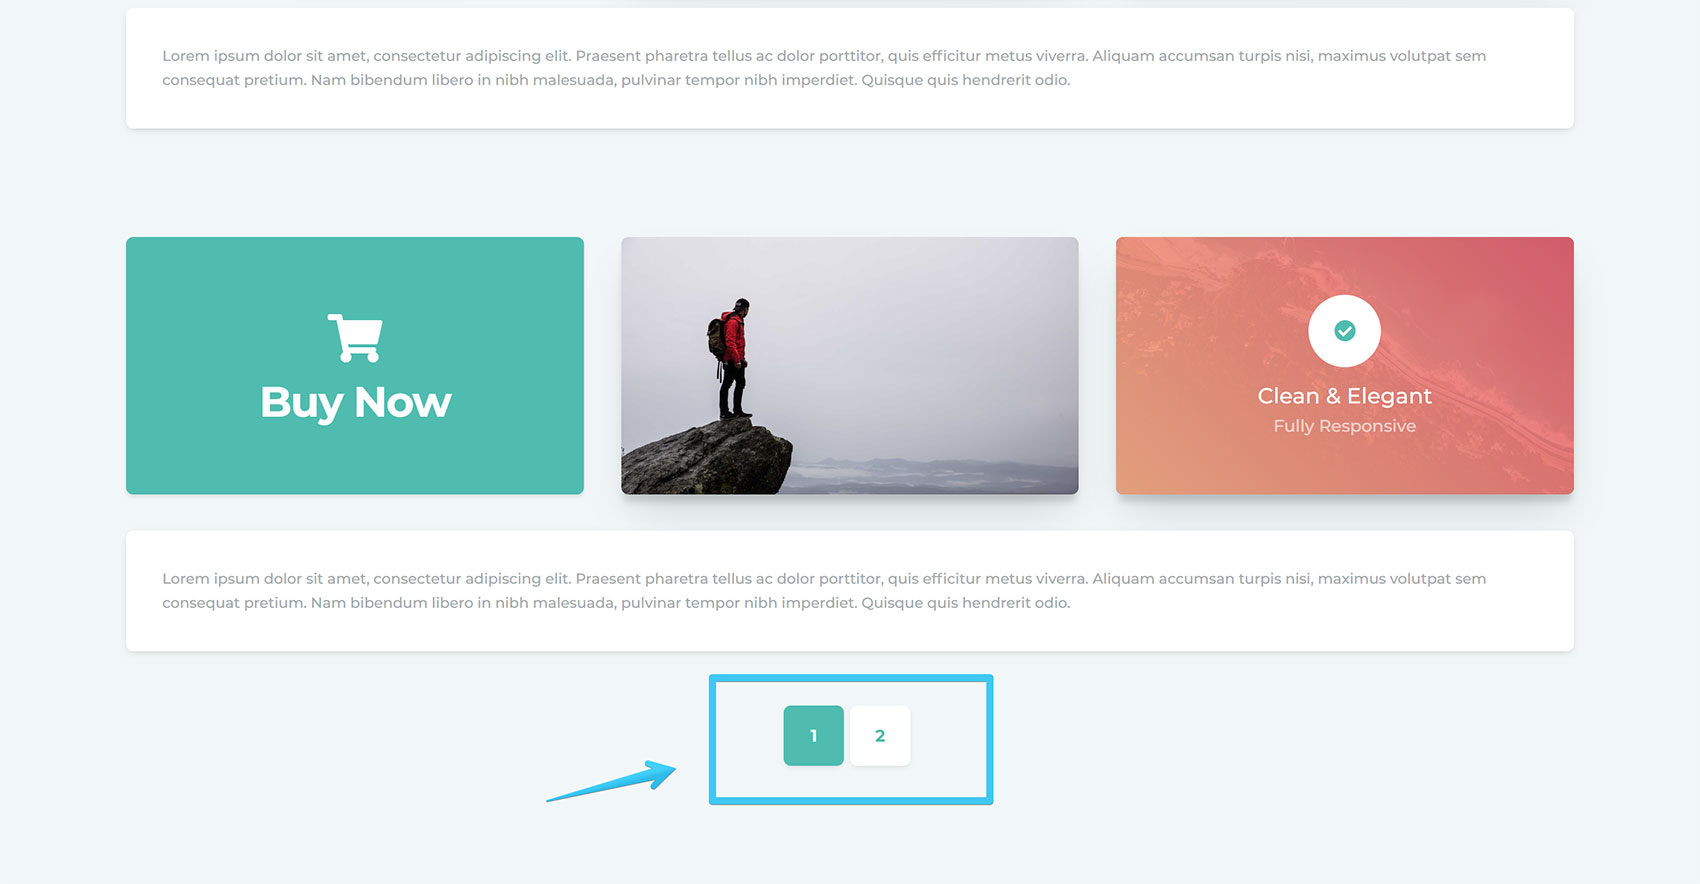
Add one Act21 Listing Pagination module anywhere in the Listing Container group, except Listing Items, to show a pagination and specify the number of items per page:
Alternatively, you can add an Act21 HTML module with the following code:
<div class="listing-pagination">
    <div class="listing-pagination-options" data-items-per-page="9"></div>
</div>
Auto-scroll
You can add a Horizontal Spacer module with one or both classes below to automatically scroll the page to its position when the user clicks a menu or pagination link. We recommend adding this before your filtering menu or listing items, but that depends on your design. You can also use two Horizontal Spacer modules, one for the menu and one for the pagination, each one with its class.
scroll-here-from-menu scroll-here-from-pagination
You can also increase the scroll position (especially if there is a sticky header on the page) by adding an offset class to your module: offset-80. Change 80 with the number of pixels you need. For example: offset-97. That is usually the height of your sticky header, but feel free to choose whatever value you want: