- Get started
- Assets
- Components
- Content Section
- Centered
- Section Intro
- Hero Banner
- Hero Slider
- Hero Format
- Equal Height
- No Gutter
- All Inline
- Vertical Center
- Stack
- Shift Col
- Buttons
- Icons
- Social Icons
- Tabs
- Slider
- Accordion
- Advanced Gallery
- Tooltips
- Video Background
- RSS Cards
- Change Image
- List Type Buttons
- List Type Tabs
- List Type Dropdown
- List Type Inline
- List Type Tags
- Sticky
- Reveal
- Animation
- Popups
- Image Box
- Listing
- Mega Menu
- Scroll to Top
- Breakpoints
- Utility classes
- Templates
Edit logo
Please head over to our Understanding the header article if you want to get a better understanding of how headers work in Act2, how many headers are there and the way they are structured.
Watch a Quick Video or follow the instructions below to learn how you can change your logo:
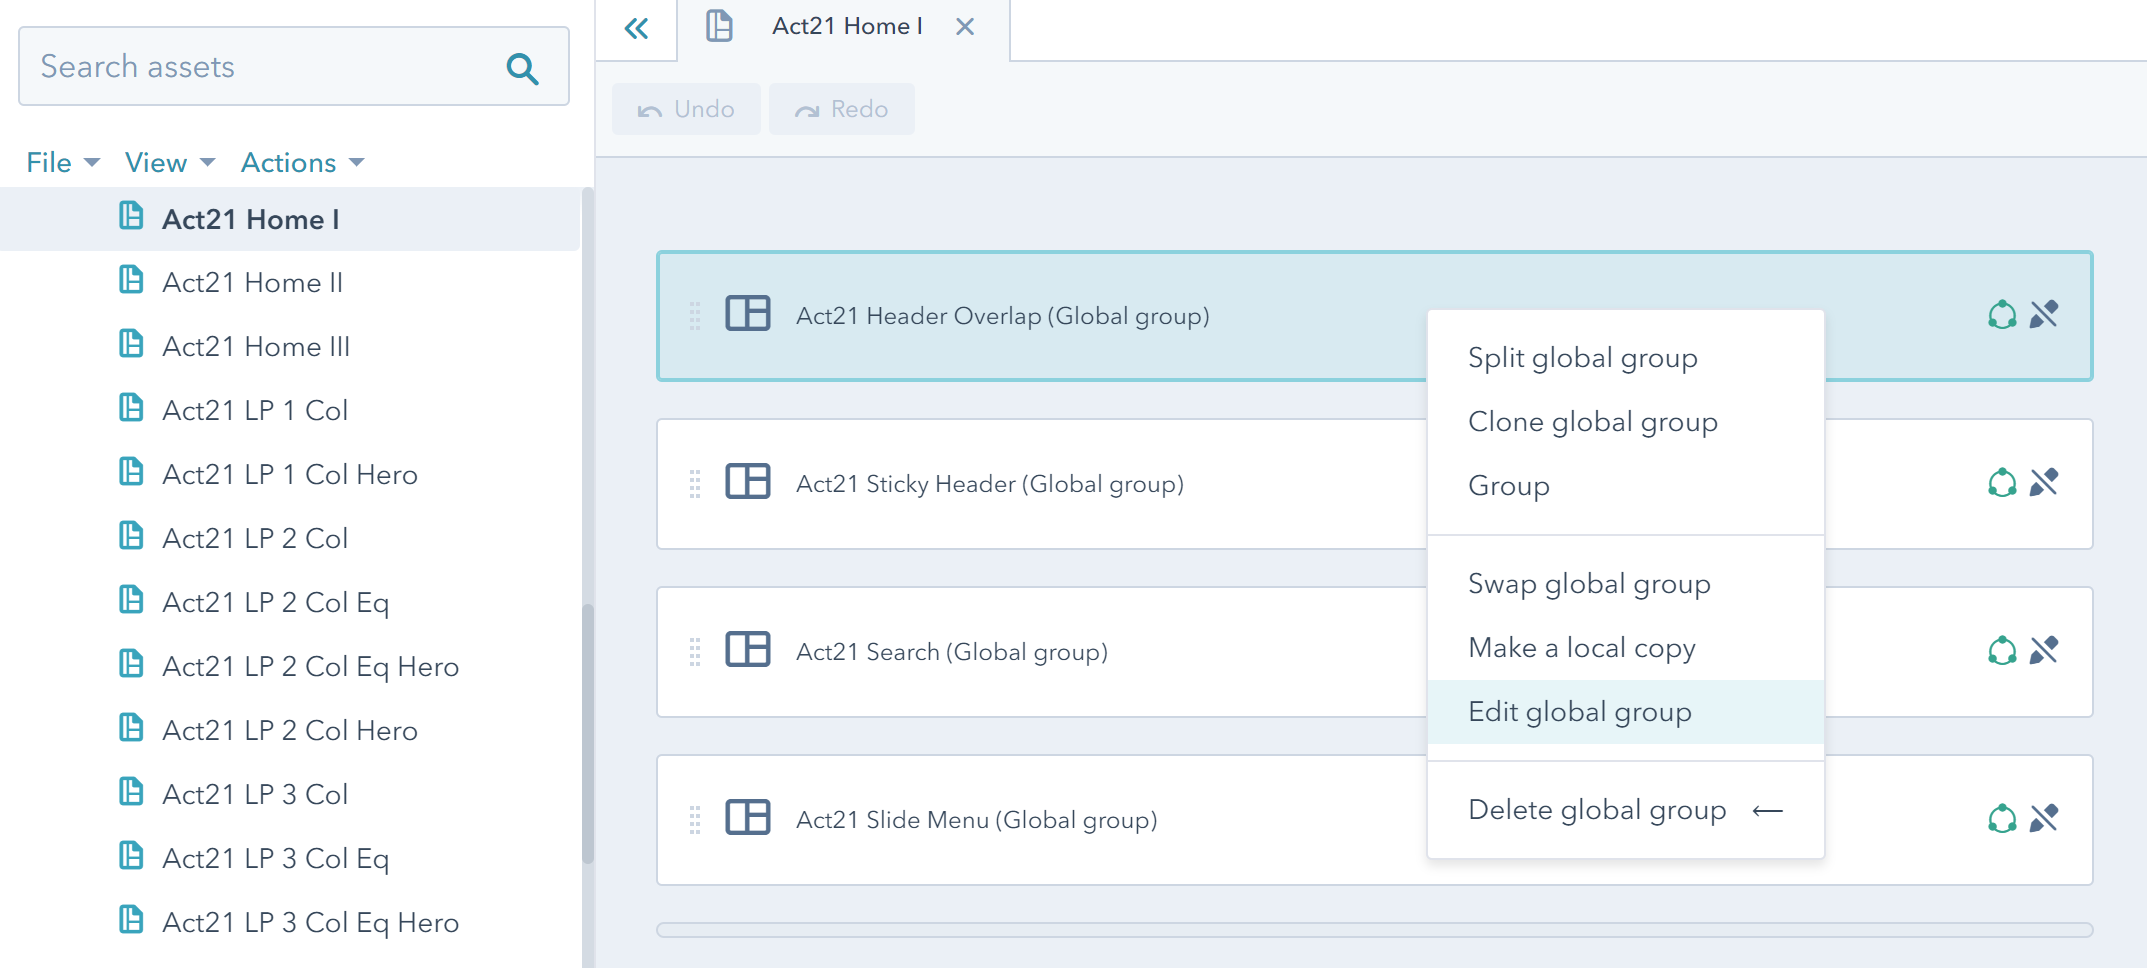
1 Go to the Design Tools within HubSpot and open an Act21 template with the header you want to edit, then edit the global group containing the Logo module (right click > Edit global group):
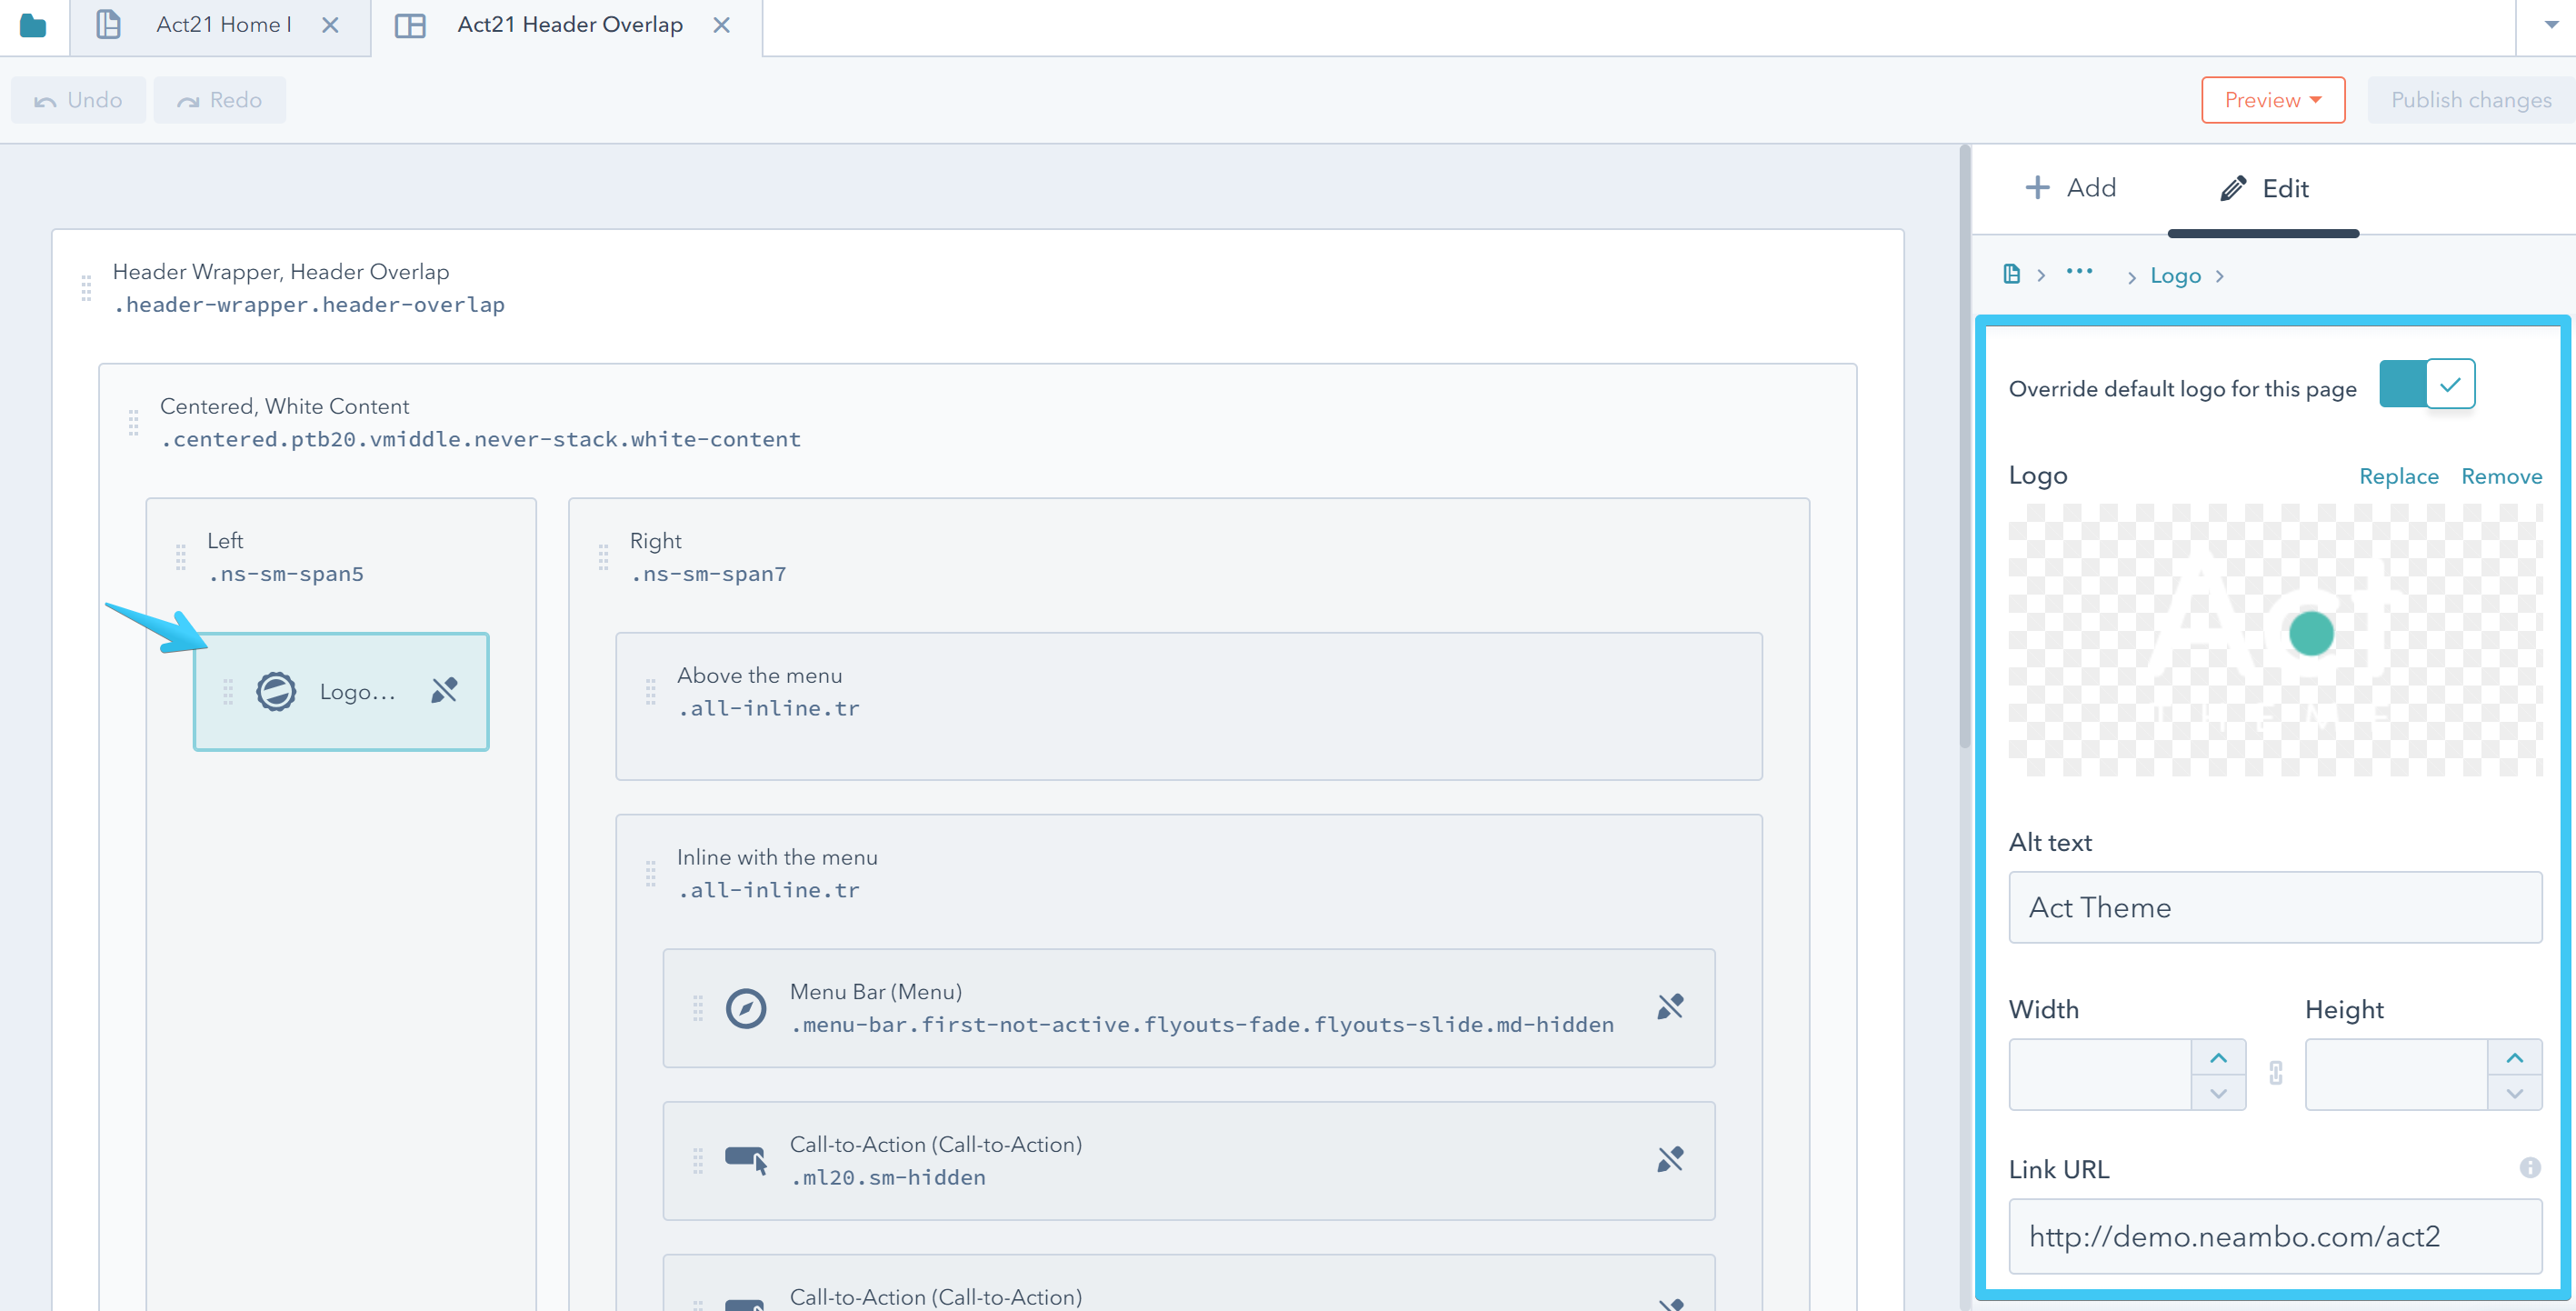
2 Click the Logo module inside the global group:
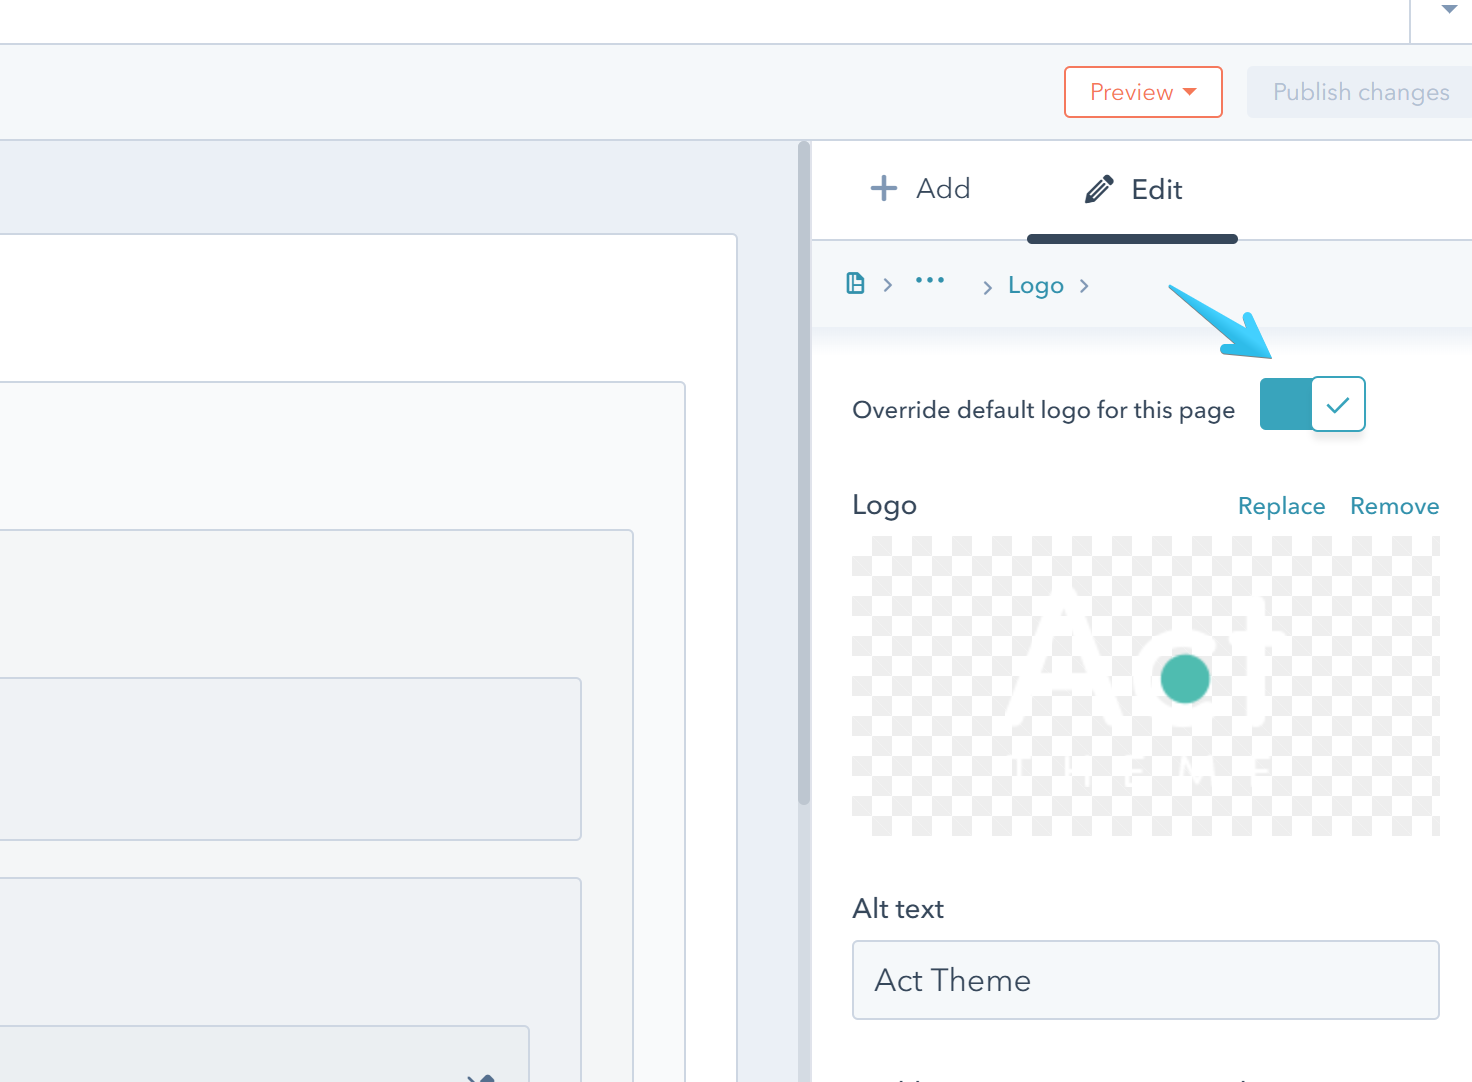
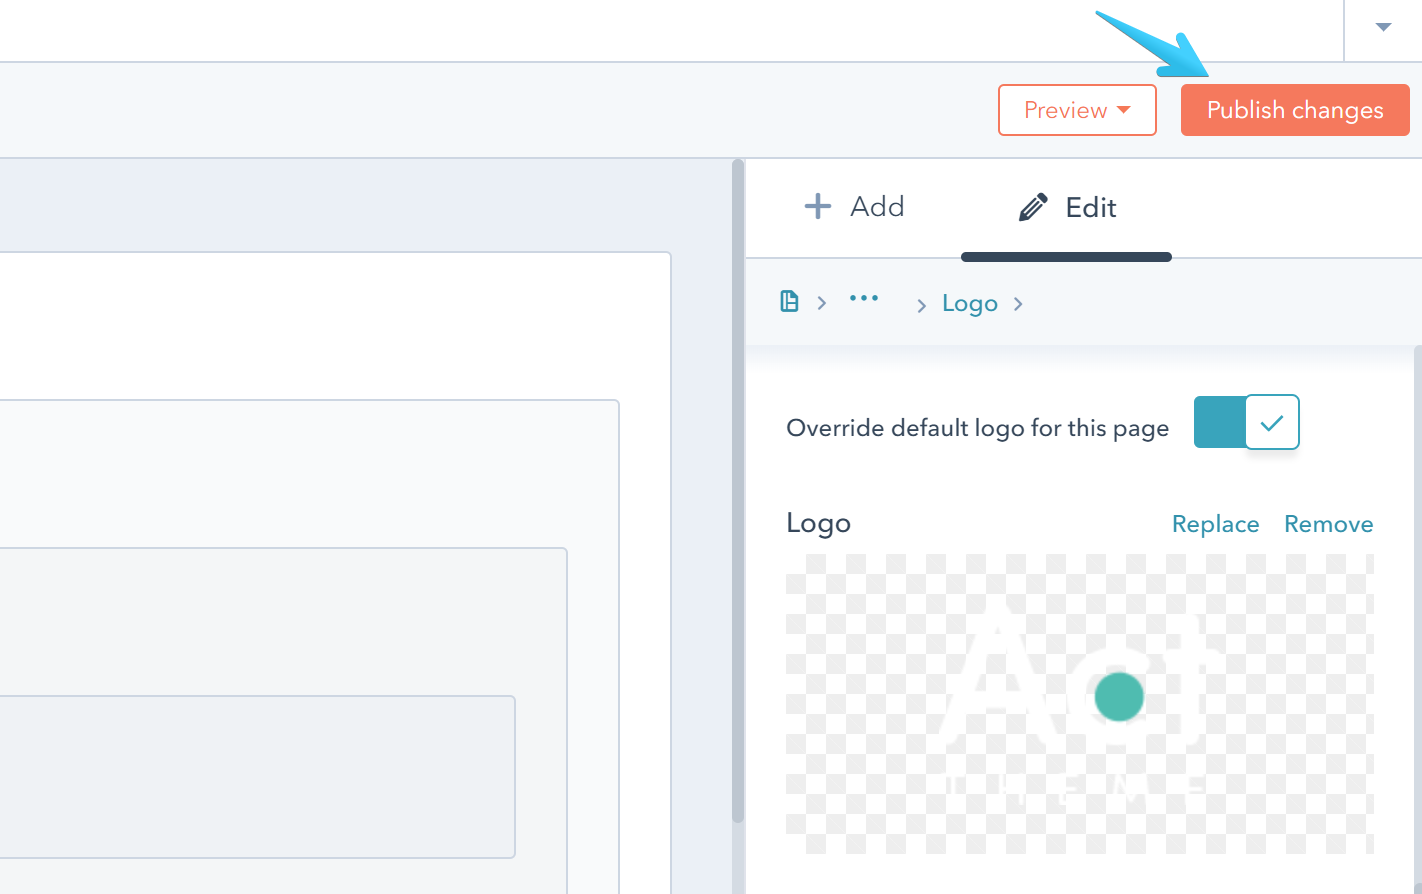
3 Uncheck this box if you want to use your default logo from Settings:
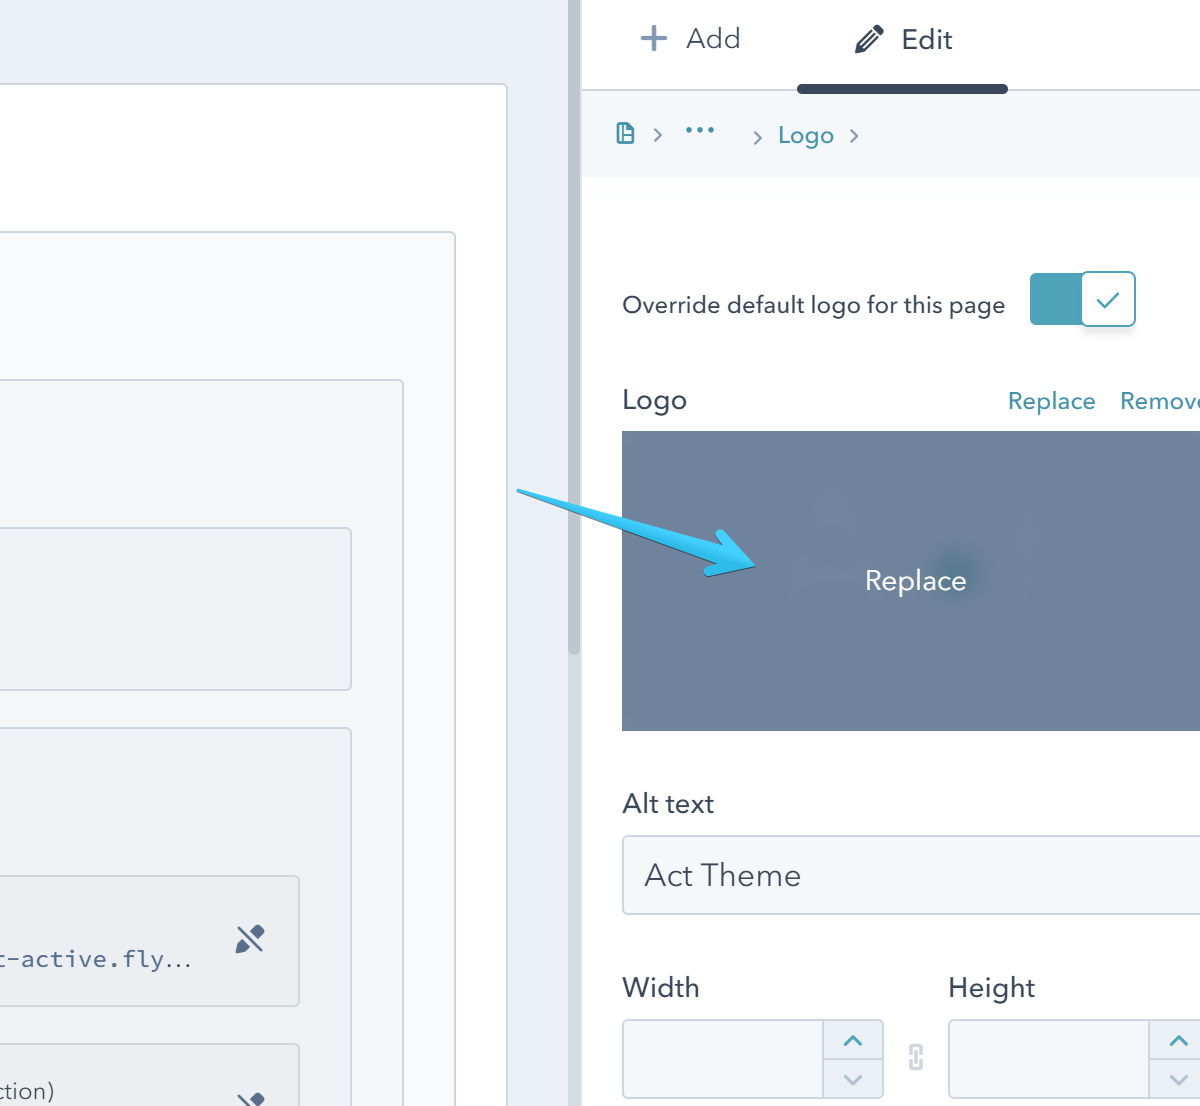
Otherwise replace the image with your logo:
4 Publish your changes:
5 Optional step, if your logo is too small on mobile:
You can either increase the size of the left column, or you can use Never Stack modifier classes to change the grid on mobile. For example, you can add this class ns-sm-span6 on both columns to make them equal on mobile:
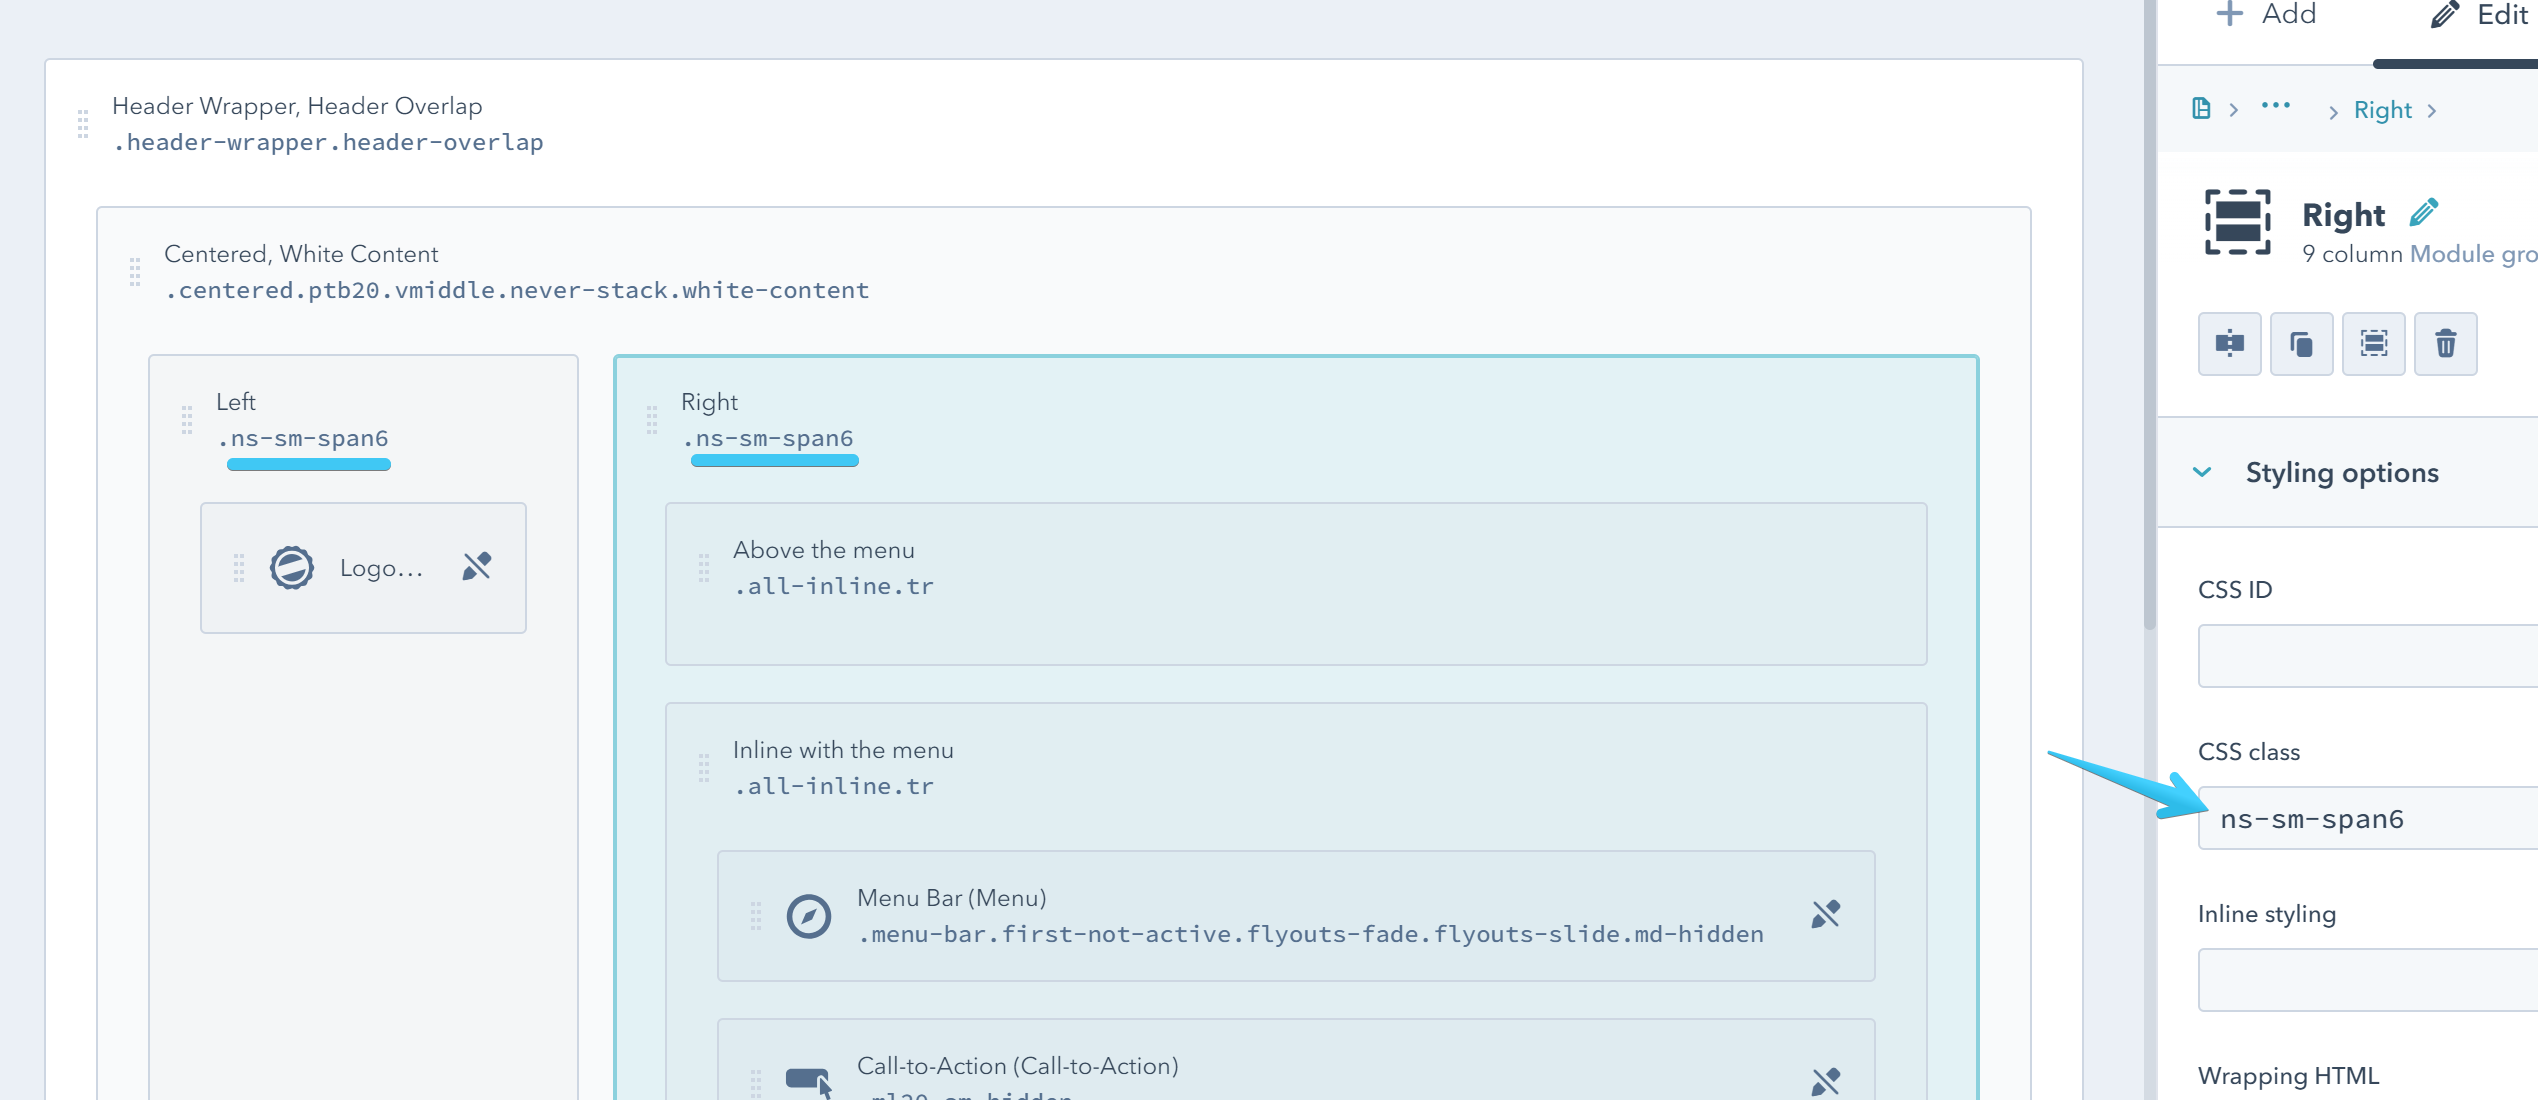
All the available classes are:
| ns-sm-span1 |
| ns-sm-span2 |
| ns-sm-span3 |
| ns-sm-span4 |
| ns-sm-span5 |
| ns-sm-span6 |
| ns-sm-span7 |
| ns-sm-span8 |
| ns-sm-span9 |
| ns-sm-span10 |
| ns-sm-span11 |
| ns-sm-span12 |
Please keep in mind that the combined span number must be 12. Example:
ns-sm-span3 and ns-sm-span9
ns-sm-span4 and ns-sm-span8
ns-sm-span5 and ns-sm-span7
ns-sm-span6 and ns-sm-span6
6 Repeat these steps for the other global groups you're using containing a Logo module (e.g. Sticky Header).
These are all global groups in Act2.1 containg a Logo module:
Act21 Header
Act21 Sticky Header
Act21 Header Overlap
Act21 Header, Mega-Menu
Act21 Sticky Header, Mega Menu
Act21 Header Overlap, Mega Menu
Act21 Sticky Header, One-Page Website
Act21 Header Overlap, One-Page Website
Act21 LP Header
Act21 LP Header Overlap