- Home
- Getting started
-
Modules
- General info
- Accordion
- Blog card
- Box over image
- Button
- Column navigation
- Compact card
- Comparison table
- Contact box
- Content card
- Cover card
- Feature card
- Features showcase
- Form
- Gallery
- Go card
- Heading
- Hero slider
- Icon
- Image
- Image box
- Image plus text
- Language selector
- Listing
- Logos
- Mobile navigation
- Modal
- Multi address
- Navigation
- Numbers
- Pillar navigation
- Pricing
- Properties
- Quick action
- Quick features
- Quote
- Review
- Rich text
- Scroll to
- Section extra settings
- Section intro
- Sharing
- Shifter
- Side menu
- Site search
- Steps
- Tabs
- Team card
- Timeline
- Video
- Blog configuration
- Articles
- Changelog
-
- License
- Support policy
- Refund policy
How to use external fonts
Important note!
HubSpot recently introduced a new method for using custom fonts in themes. You can learn more about it here. We developed the method described below before this new feature was available. Feel free to choose whichever method you prefer, but it’s generally recommended to use HubSpot's built-in tools whenever possible.
If you want to use other fonts than the ones available in the library, please follow the steps:
1. Prepare font files
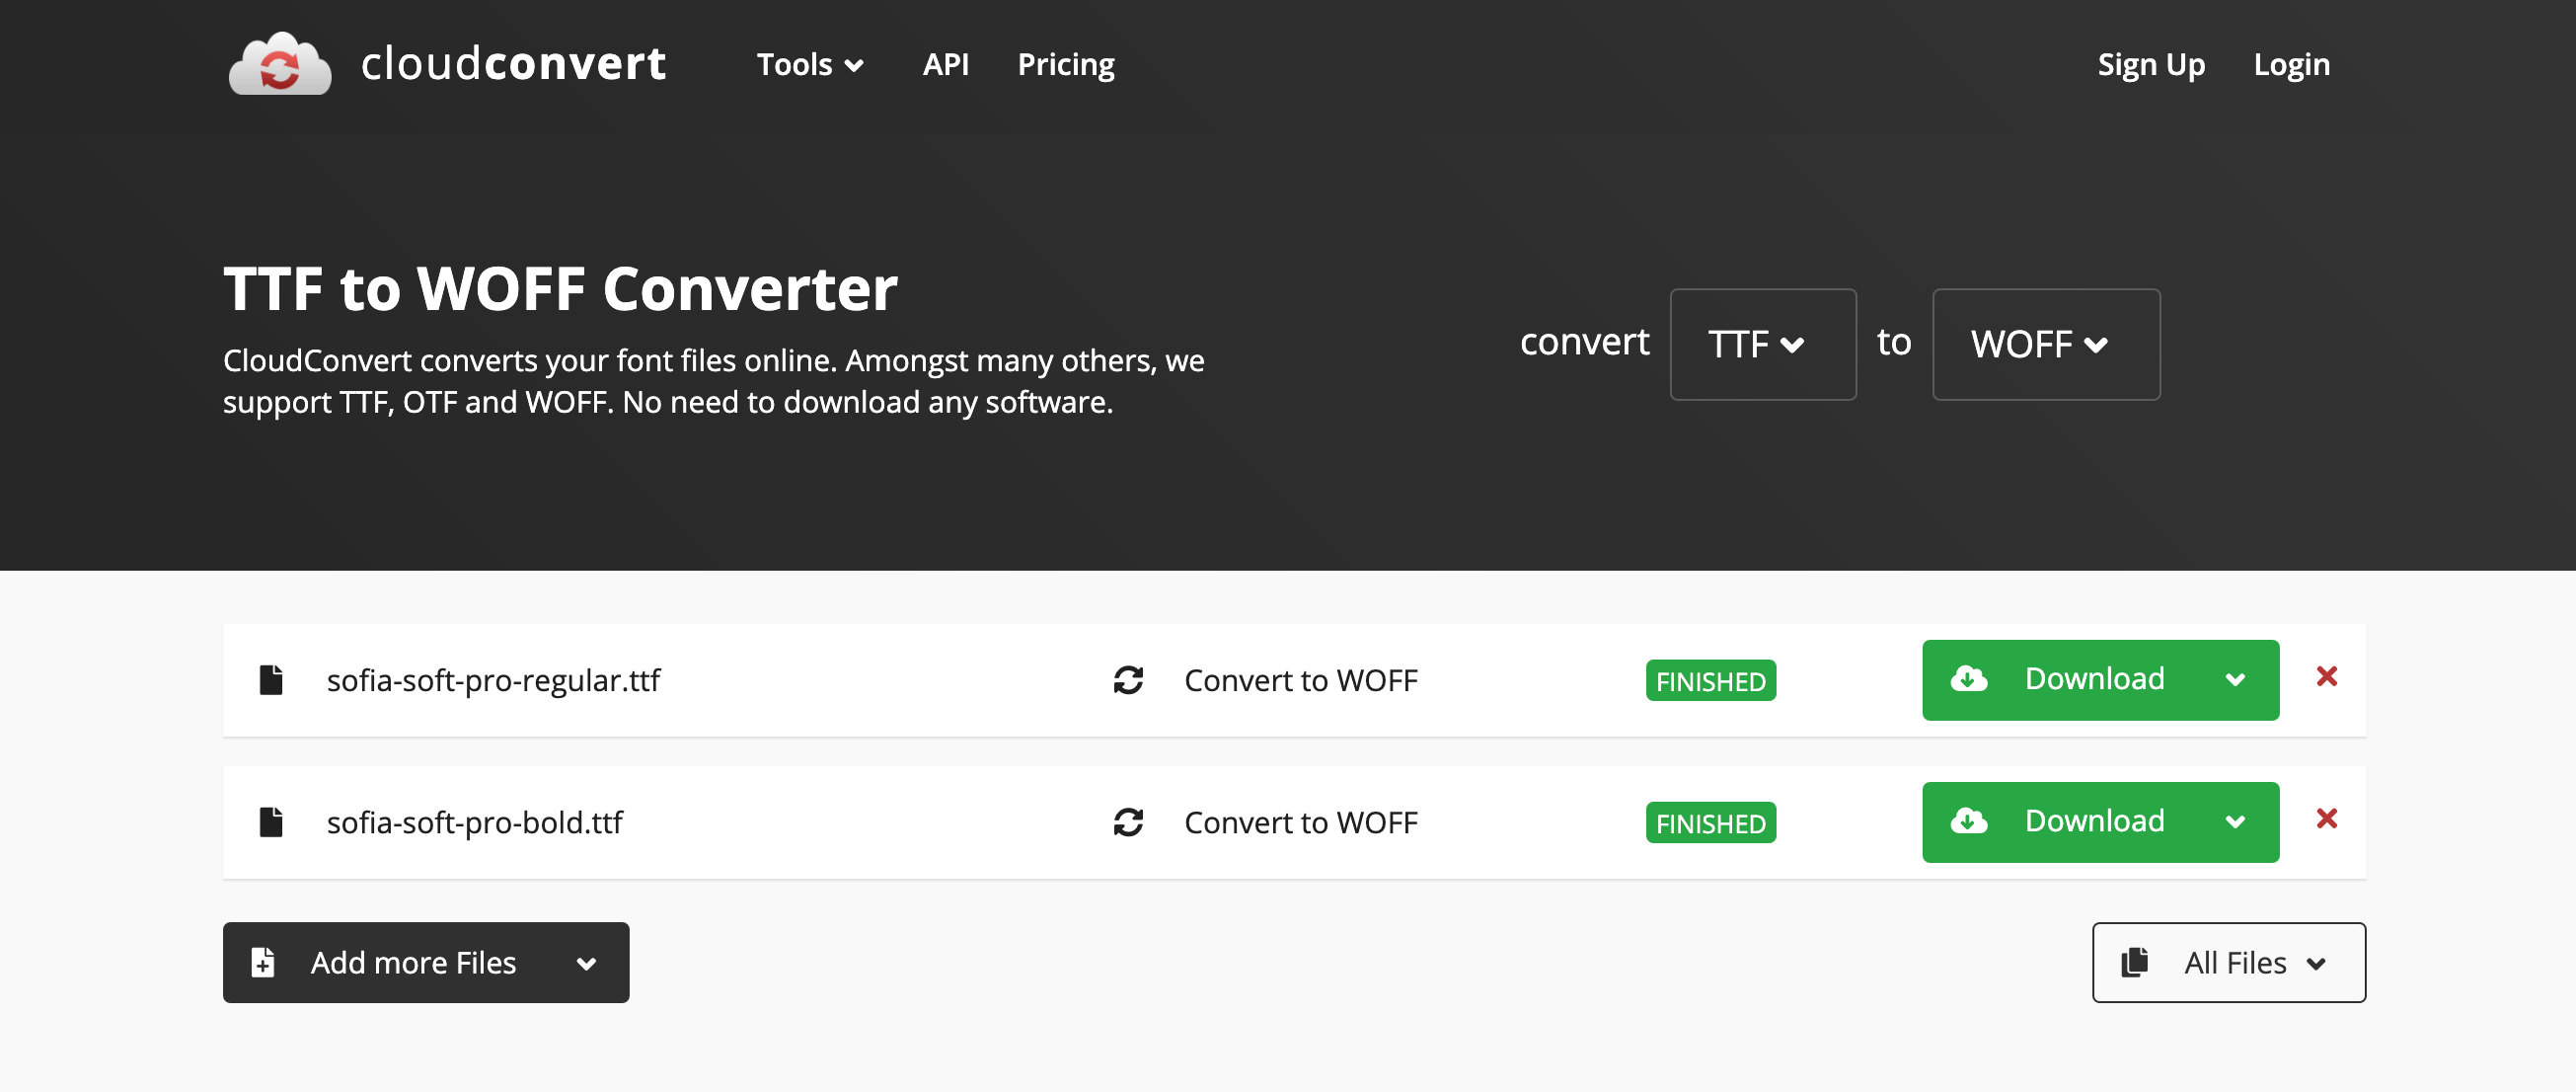
First, make sure your font files are in a web-friendly format — WOFF and WOFF2. You can use an online service like https://cloudconvert.com/ttf-to-woff2 to convert your font files. Please make sure you have the rights to do so. Check with your fonts provider and the license that comes with your fonts.
If your font provider offers the font files in web-friendly formats (e.g., WOFF, WOFF2), you can skip this step. If they provide a URL to a CSS file hosted on their platform, you can jump directly to using their provided CSS.
We recommend having a normal font variant (it may be named Light, Regular, Normal, Medium, Book, etc.) and a bold version for the bold text. You can have two versions (normal and bold) for all three types of text in Act3: text, headings, and UI text. Please check our Theme settings section to understand these three types of text.
2. Upload font files
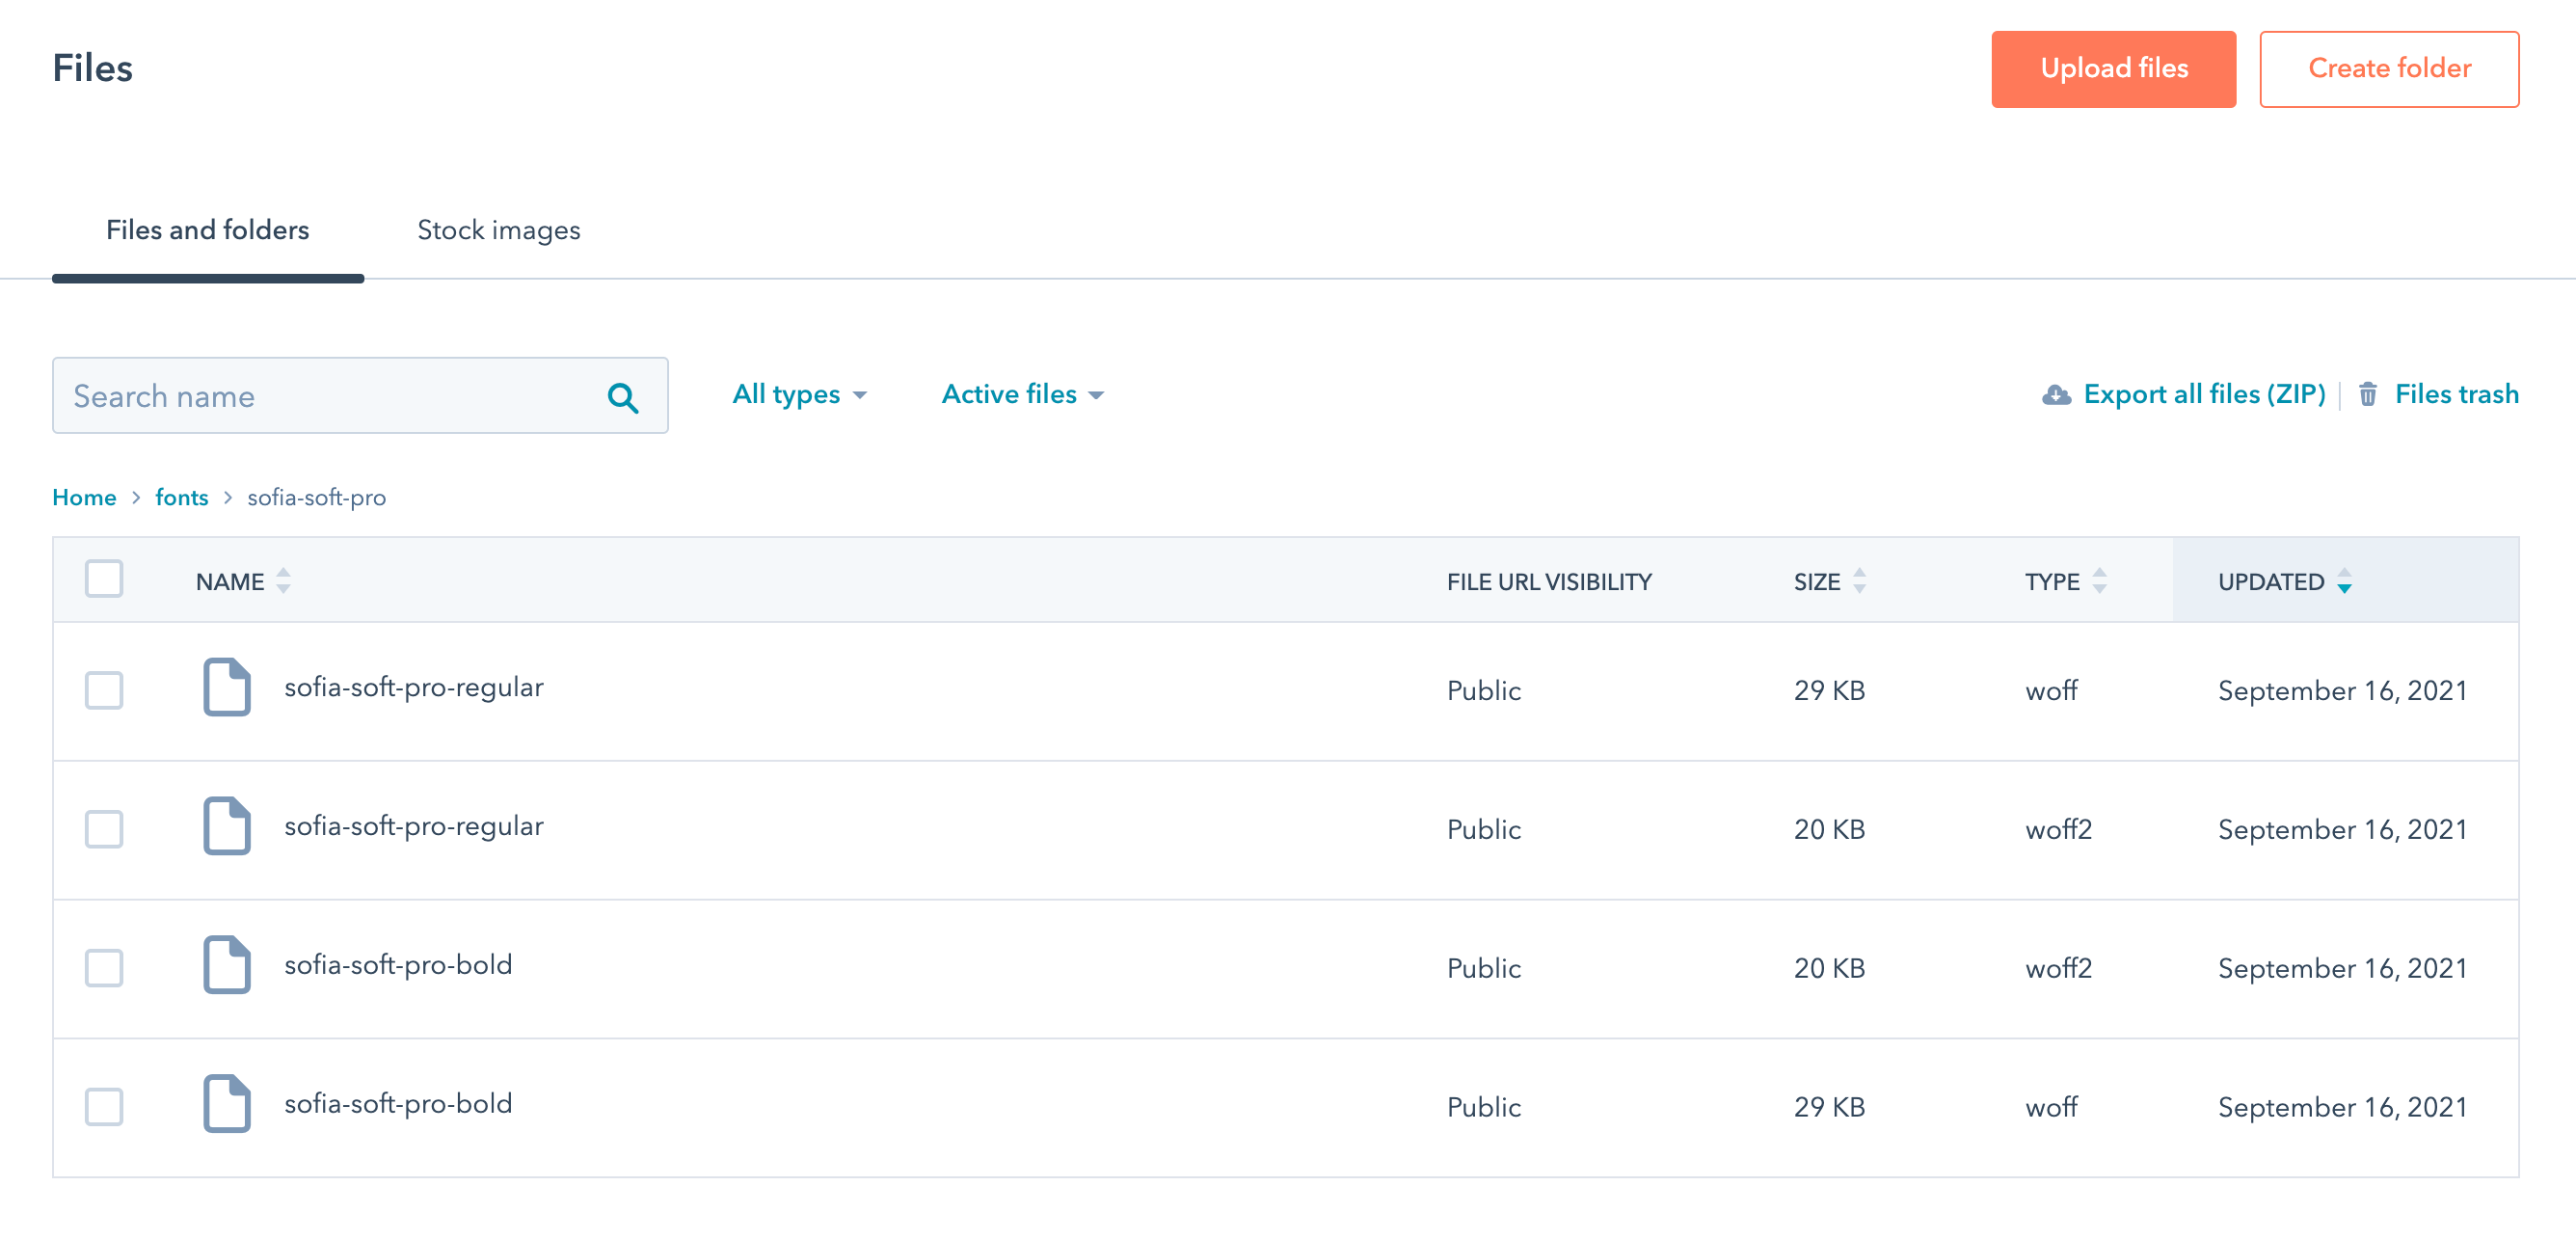
Once you have all your font files in the correct format, you can upload them to your HubSpot account using the File manager. Learn how to upload files in HubSpot
3. Define your fonts in the CSS
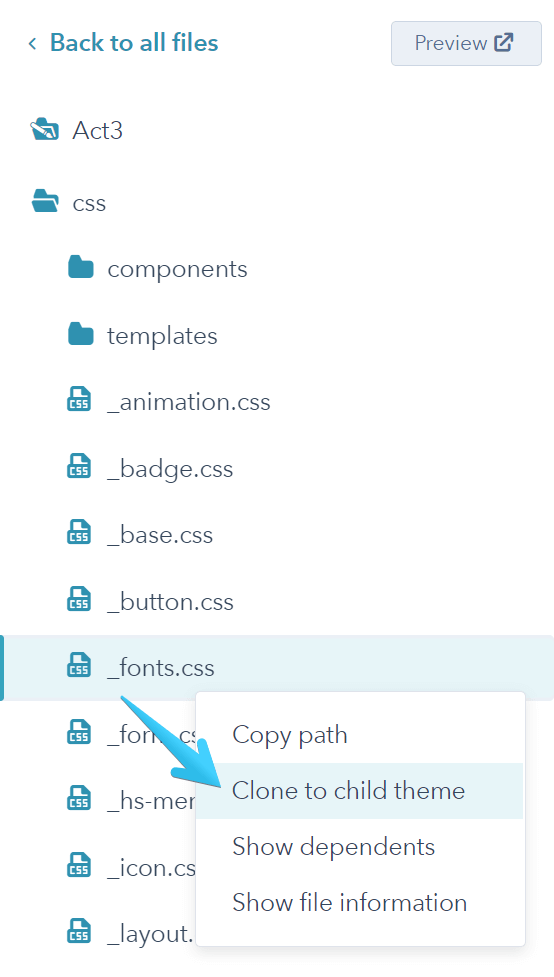
Assuming you already have an Act3 child theme, you need to create a css folder inside your child theme and a file inside this folder, named _fonts.css. To speed up this process, go to your parent theme and right-click, then Clone to child theme the _fonts.css file and select your child theme. It will copy the file into your child theme, where you'll be able to edit it:
You can now define your fonts with a code like this, just below the code in that file in your child theme. If your font vendor provided you with a CSS link, you can skip this and scroll here to see how you can import it.
@font-face {
  font-family: 'Font name';
  src: url('path_to_font_file.woff2') format('woff2'),
       url('path_to_font_file.woff') format('woff');
  font-weight: normal;
  font-style: normal;
}
Replace the path to your font files from the File manager, like this (make sure to add the WOFF2 file path to the WOFF2 line and the WOFF file path to the WOFF line):
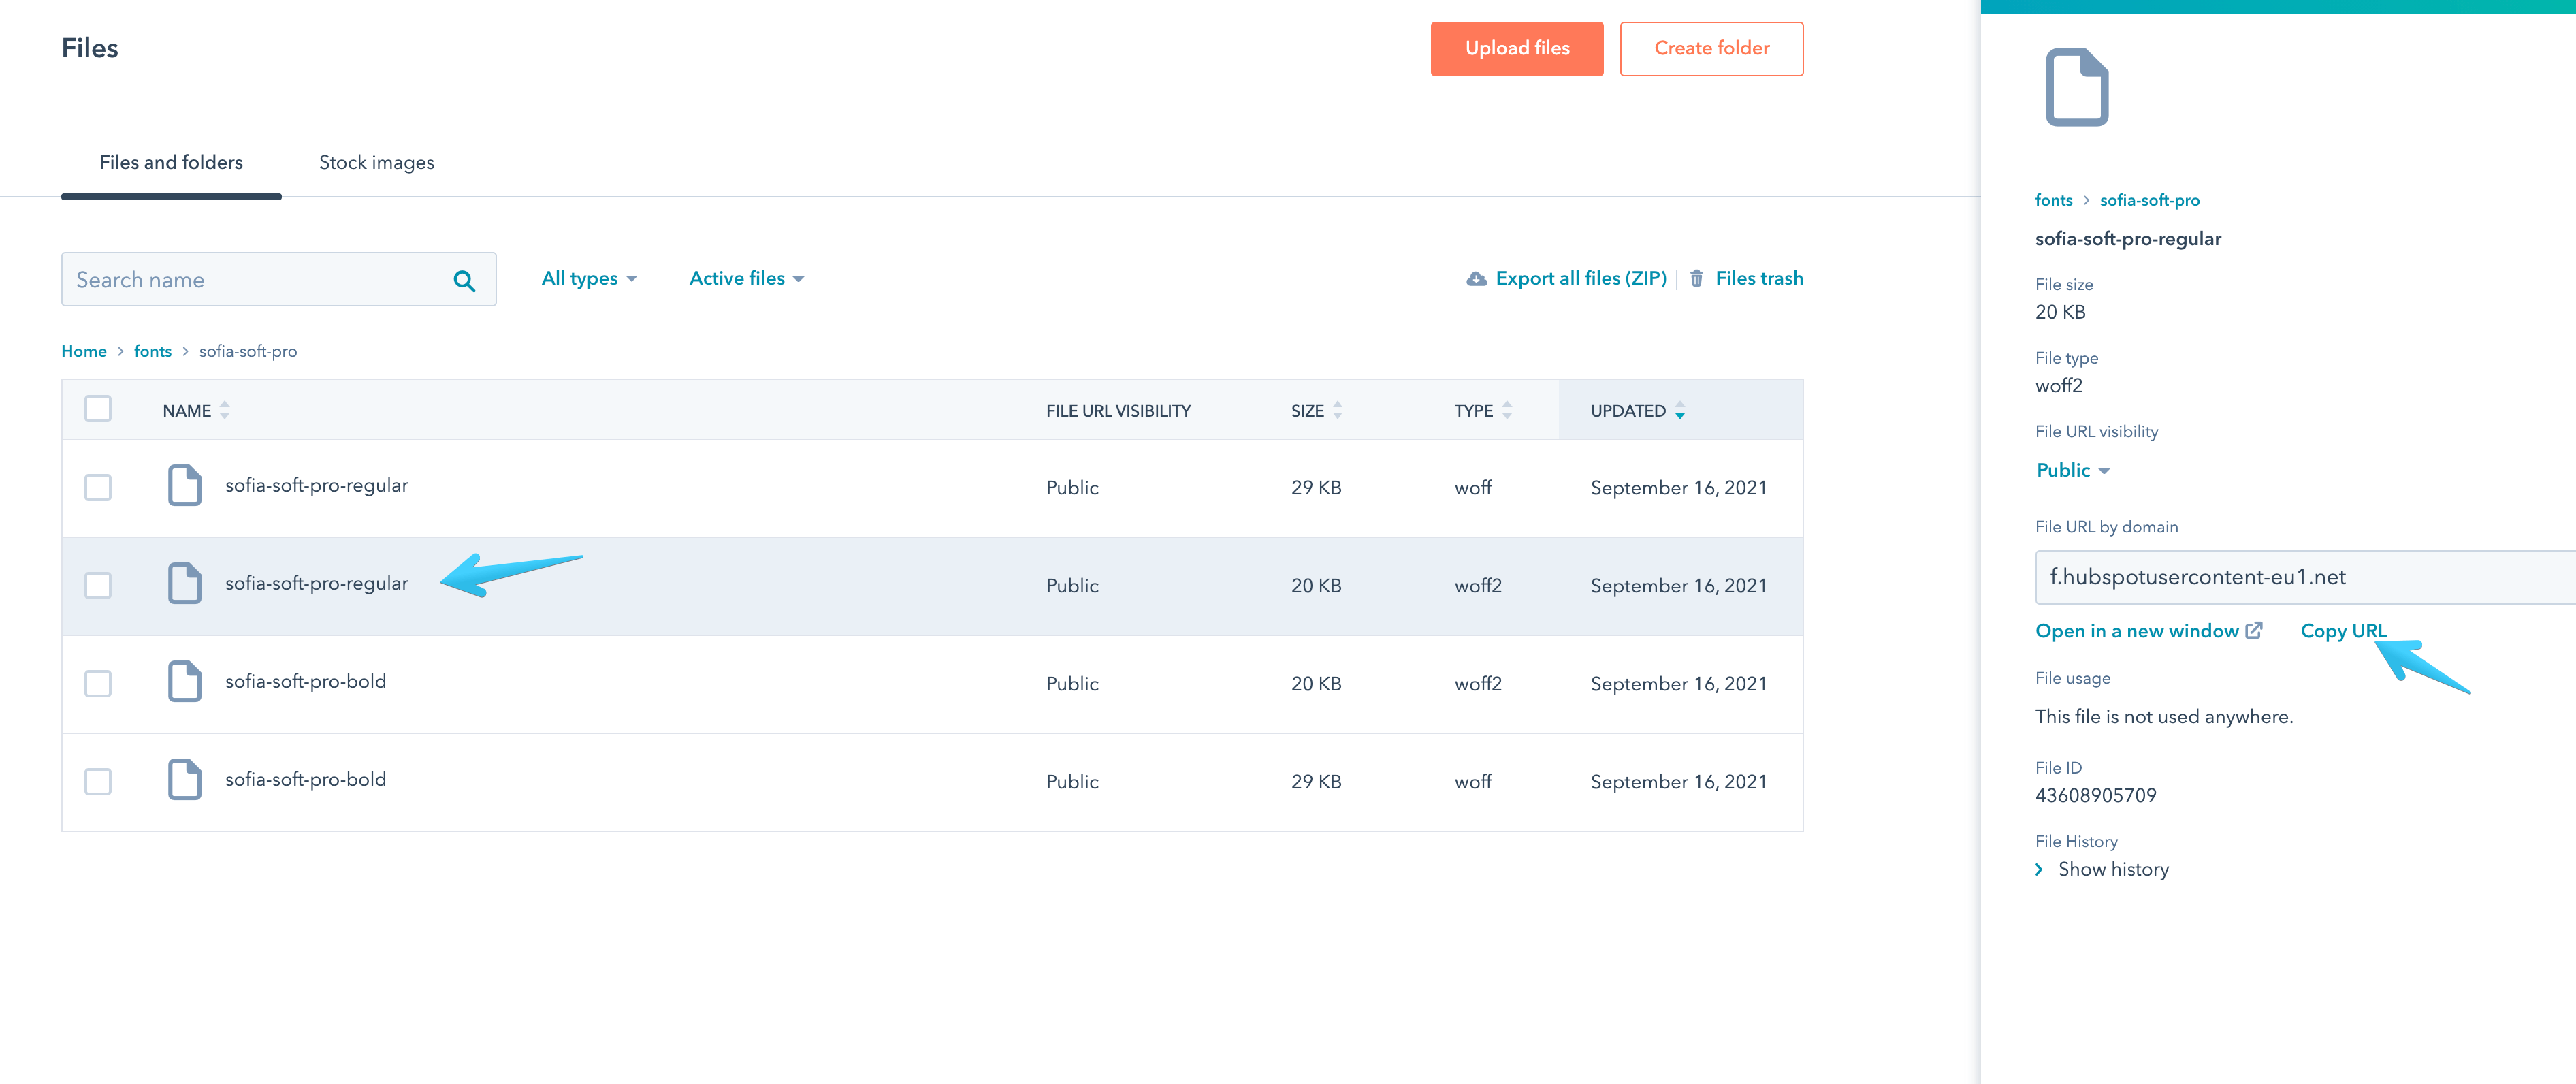
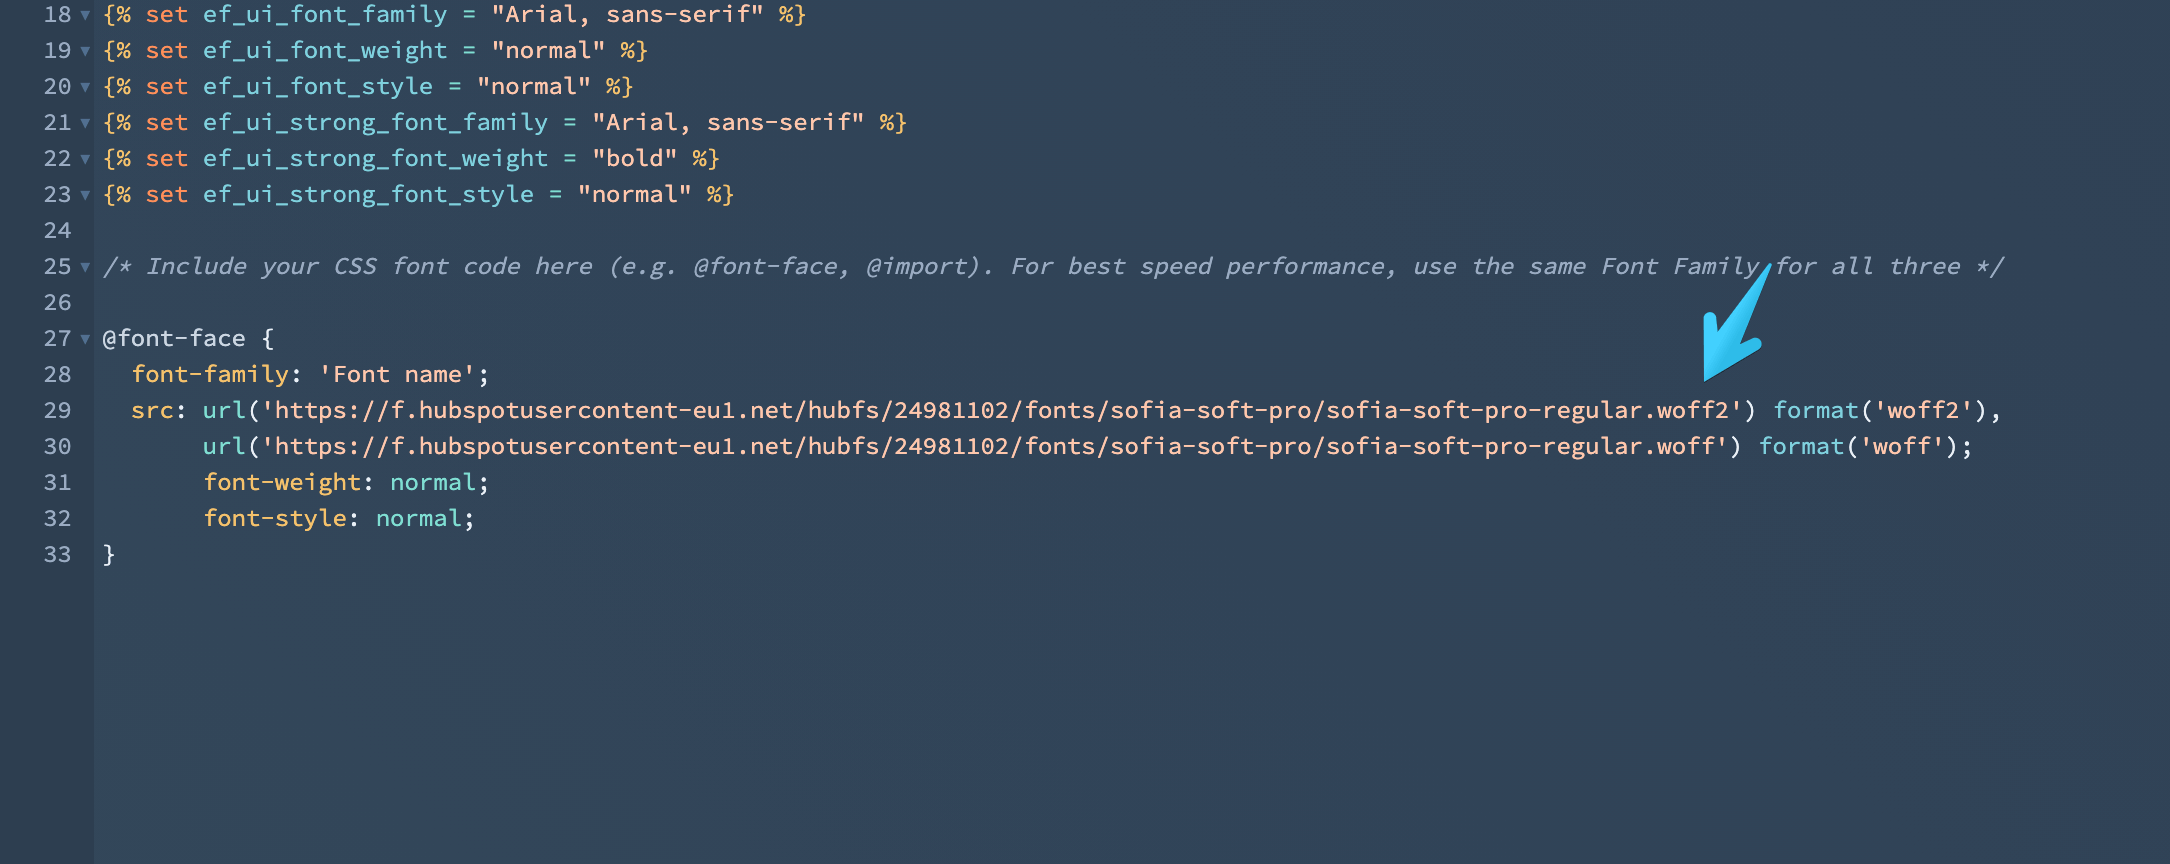
Add the font name:

The font-style remains normal everywhere, but the font-weight value will be either normal or bold, depending on your font variant.
Repeat these steps for all your fonts. Here is a full example:
/* --- Sofia Soft Pro --- */

/* Regular */

@font-face {
  font-family: 'Sofia Soft Pro';
  src: url('https://example/sofia-soft-pro-regular.woff2') format('woff2'),
       url('https://example/sofia-soft-pro-regular.woff') format('woff');
  font-weight: normal;
  font-style: normal;
}

/* Bold */

@font-face {
  font-family: 'Sofia Soft Pro';
  src: url('https://example/sofia-soft-pro-bold.woff2') format('woff2'),
       url('https://example/sofia-soft-pro-bold.woff') format('woff');
  font-weight: bold;
  font-style: normal;
}
Notice that we defined this font with the same name, but only the paths to the files and the font-weight values are different.
You can repeat and adjust this code if you have more fonts, like a special font for the headings or UI text, but please keep in mind that the more font files you have, the slower the page will be. Here is an example defining two fonts — one with both a normal and bold variant and another with just the bold variant:
/* --- Text: Sofia Soft Pro --- */

/* Regular */

@font-face {
  font-family: 'Sofia Soft Pro';
  src: url('https://example/sofia-soft-pro-regular.woff2') format('woff2'),
       url('https://example/sofia-soft-pro-regular.woff') format('woff');
  font-weight: normal;
  font-style: normal;
}

/* Bold */

@font-face {
  font-family: 'Sofia Soft Pro';
  src: url('https://example/sofia-soft-pro-bold.woff2') format('woff2'),
       url('https://example/sofia-soft-pro-bold.woff') format('woff');
  font-weight: bold;
  font-style: normal;
}

/* --- Headings: Avenir Next --- */

@font-face {
  font-family: 'Avenir Next';
  src: url('https://example/avenir-next-bold.woff2') format('woff2'),
       url('https://example/avenir-next-bold.woff') format('woff');
  font-weight: bold;
  font-style: normal;
}
Other methods
If your font vendor provided you with a URL to a CSS file hosted on their platform, you can either include it in your css/_fonts.css file at the bottom of the code, like this:
@import url('https://fonts.someprovider.com/path-to-file.css');Or, add it with a <link> tag in your HubSpot Settings > Website > Site header HTML:
<link rel="stylesheet" href="https://fonts.someprovider.com/path-to-file.css">
The second method is recommended for page speed.
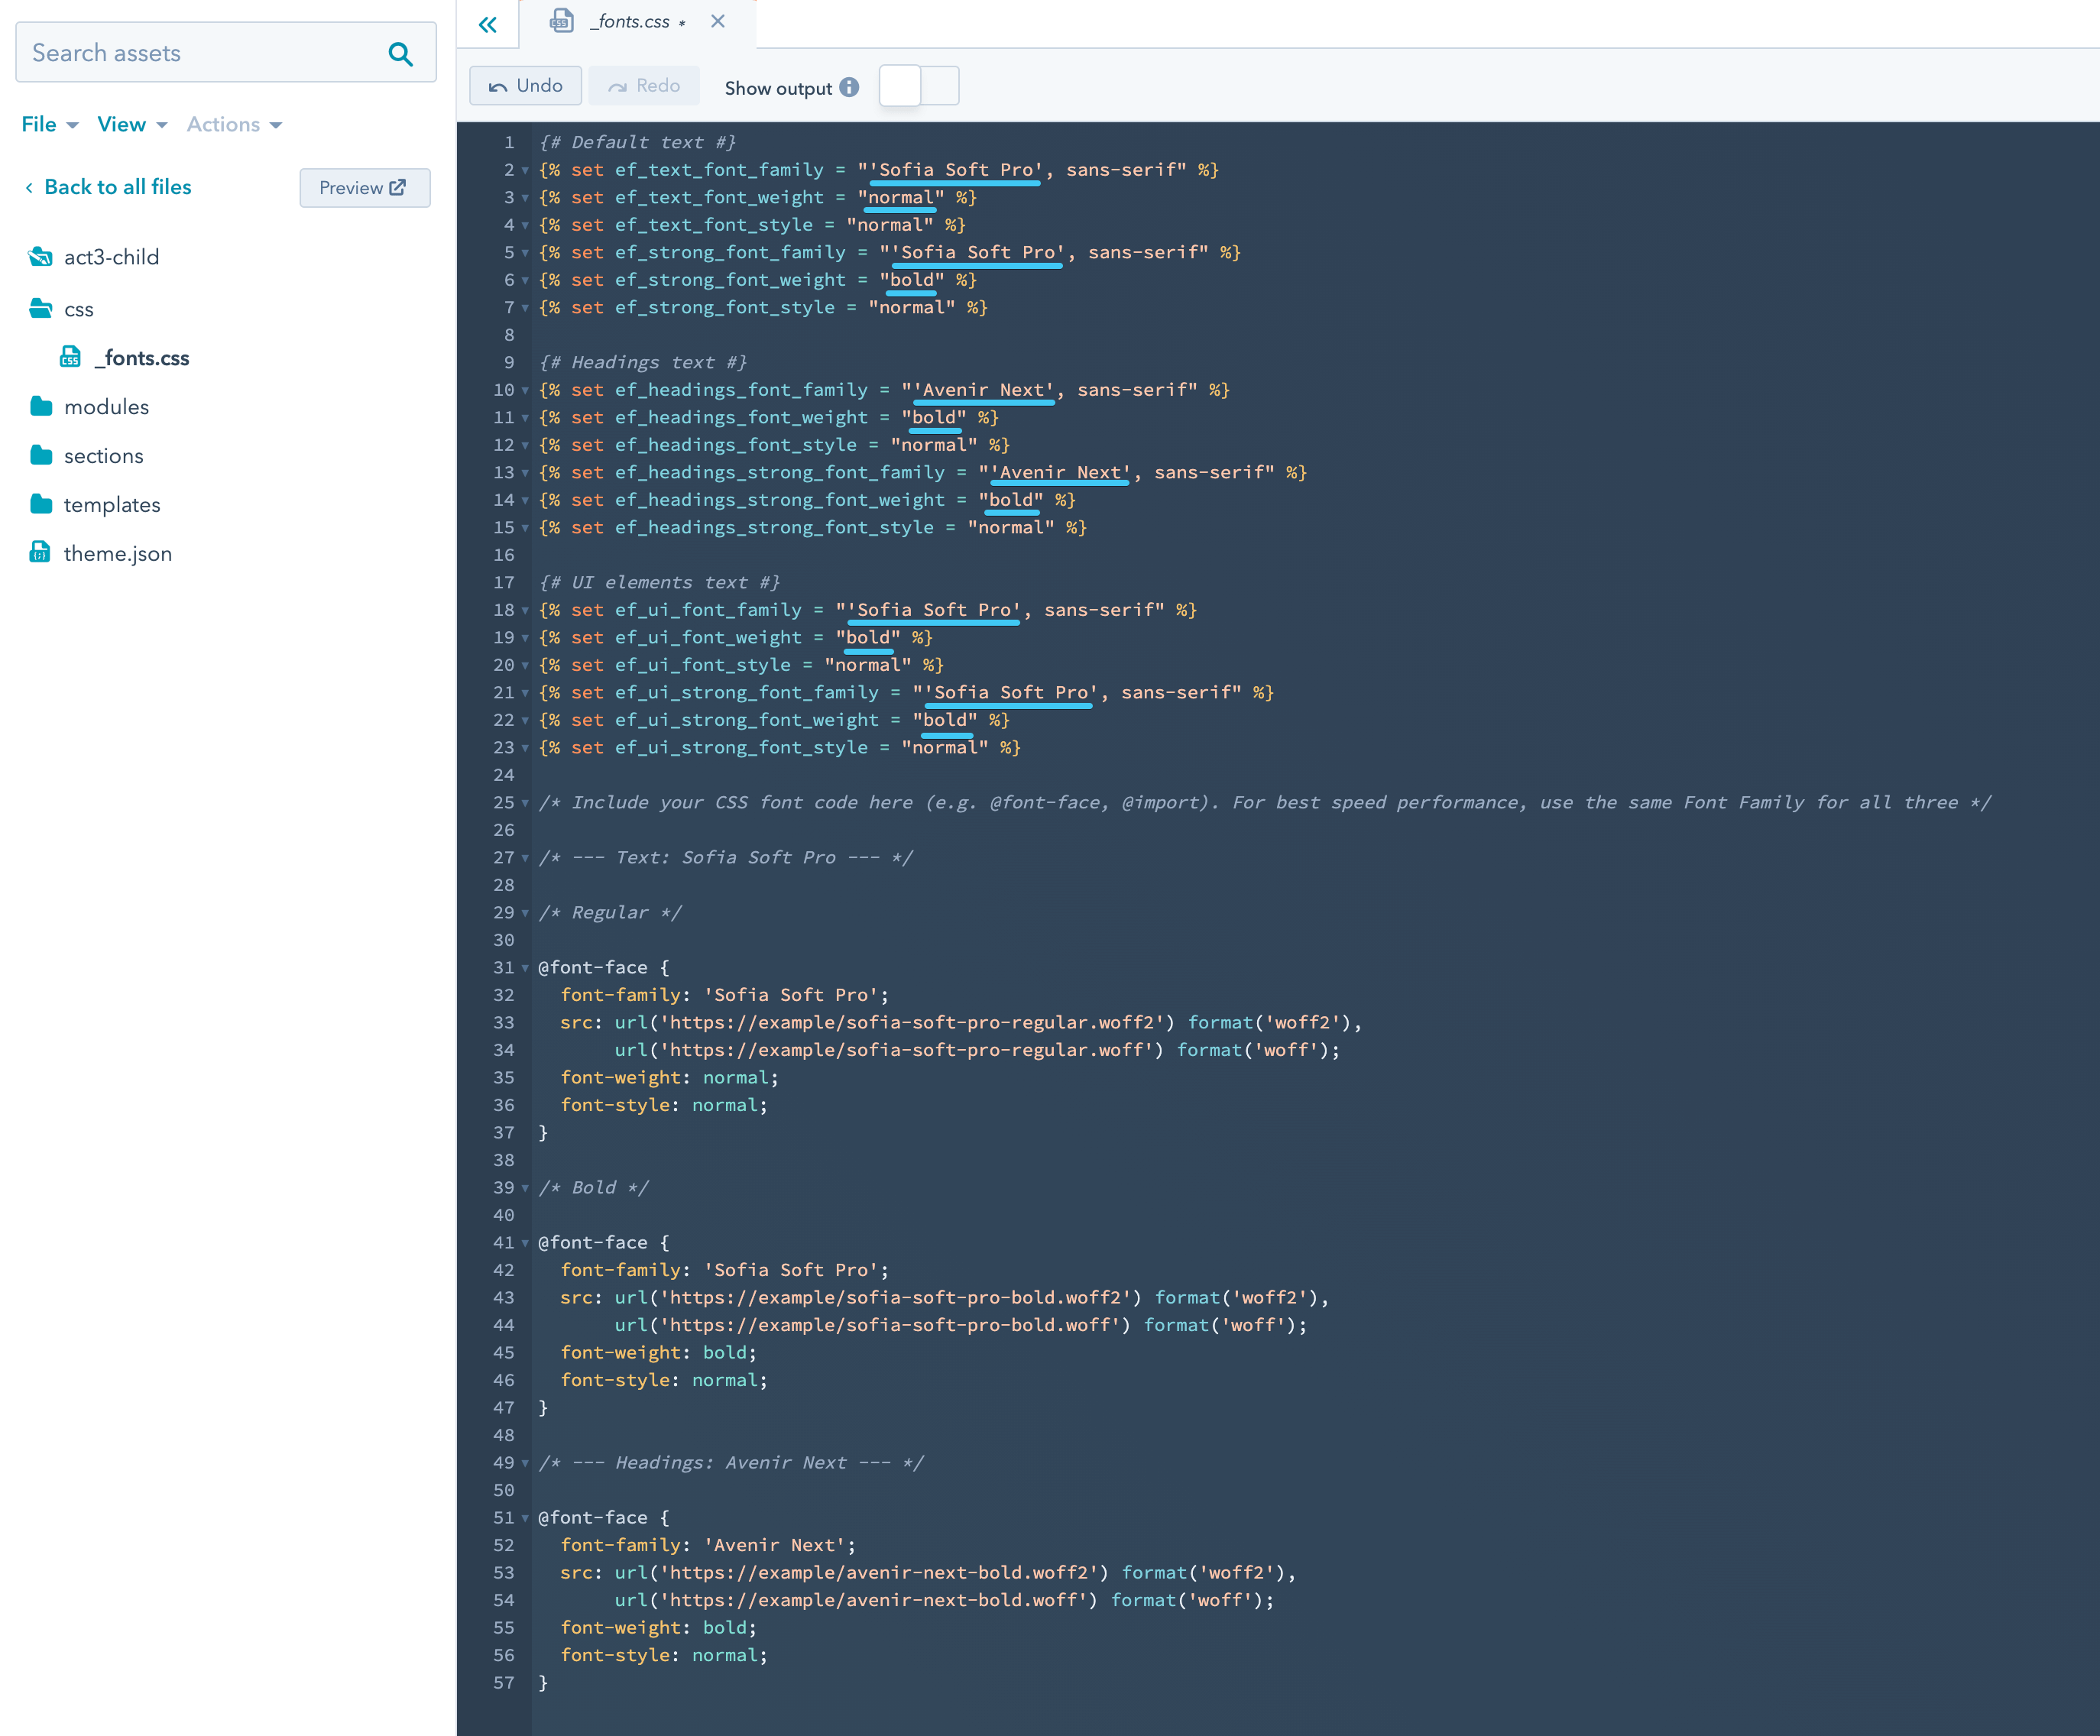
4. Set font variables
Now that your font files are available with your website, you need to assign them to the various text elements in your theme, using the variables in your css/_fonts.css file. You may only need to change the font name. Please check our Theme settings section to understand the three types of text in Act3.
5. Disable the fonts in the Theme settings
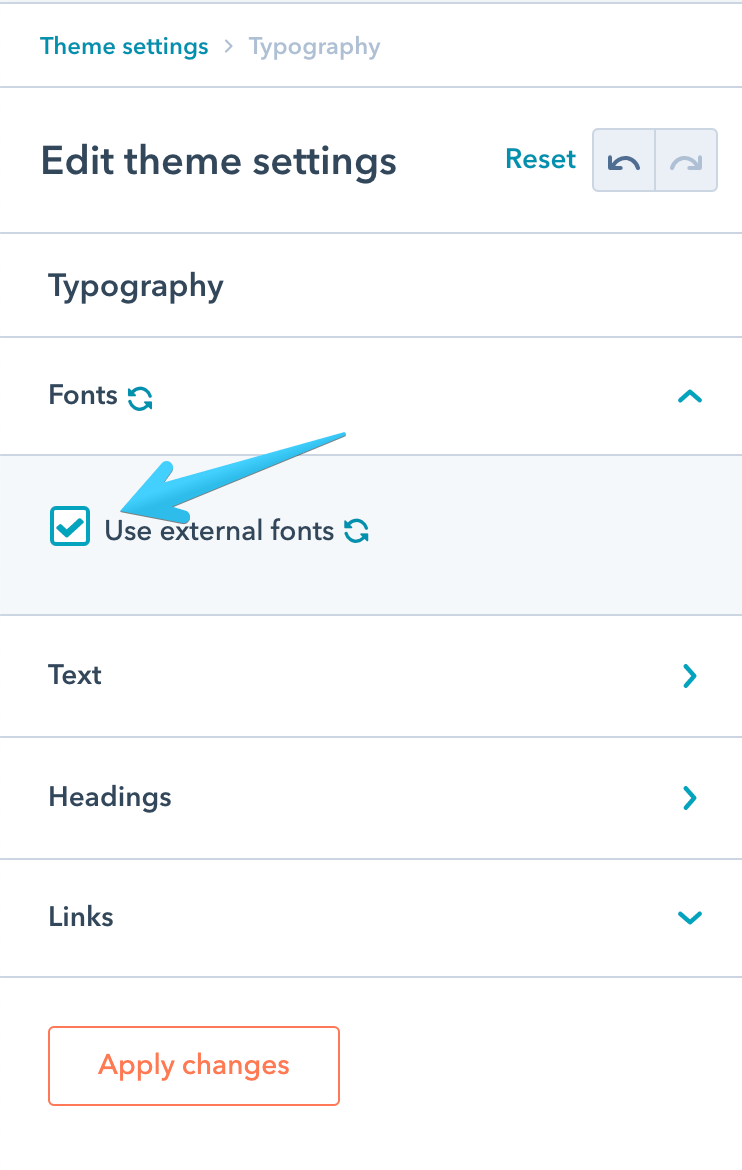
The last thing to do now is to disable the fonts from the Theme settings, so these custom fonts and variables are used instead. Go to your Theme settings > Typography > Fonts and check the Use external fonts box, then publish your changes:
